
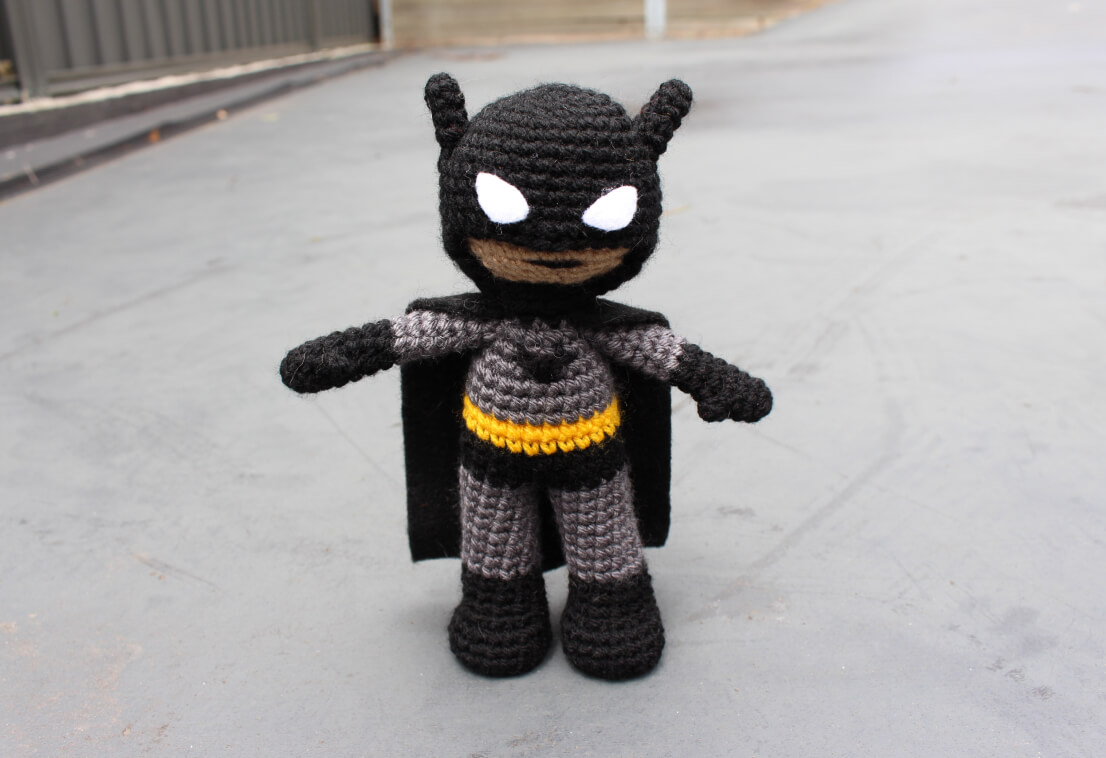
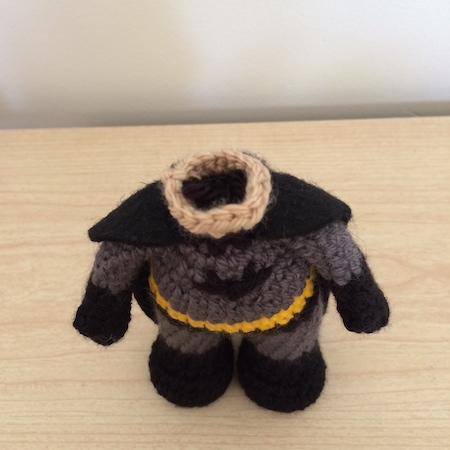
Batman was one of the very first amigurumi I made and I’m still so proud of him to this day! I love amigurumi dolls you can dress or do something with, so this free Batman crochet doll pattern includes a cowl that you can peel back to reveal Bruce Wayne underneath.
You can purchase and ad-free PDF of this pattern over on my Ravelry, and if you do a huge thank-you in advance for your wonderful support!
What materials will you need?
Note some of the links on this site are affiliate links. This means I get paid a small fee if you decide to purchase anything at no extra cost to you. I will only ever link products I happily use myself.
- 3.00 mm crochet hook
- Yarn needle
- Scissors
- Stitch markers
- Polyester fiberfill or some other stuffing material
- Black yarn (Stylecraft Special DK – 1002 Black)
- Grey yarn (Stylecraft Special DK – 1063 Graphite)
- Beige yarn (Stylecraft Special DK – 1710 Stone)
- Yellow yarn (Stylecraft Special DK – 1263 Citron)
- White felt
- Black felt
- Fabric glue
There are affiliate links in the brackets next to the colours for the yarn I used in this project, but any DK weight yarn will do!
Quick reference for beginners
Check out some of the below tutorials if you get stuck on any of the stitches or techniques
- How to read patterns
- Magic ring
- Single crochet
- Increase
- Decrease
- How to change colours
- Attaching amigurumi limbs
- Half double crochet
- Chain
- Back loop only
- Front loop only
If you get stuck anywhere else, check out the FAQ or the tutorials page.
Batman crochet pattern
Head
row 1. (in Black) MR 6 (6)
row 2. [ inc ]x 6 (12)
row 3. [ inc, sc ]x 6 (18)
row 4. sc, inc, [ sc 2, inc ]x 5, sc (24)
row 5. [ inc, sc 3 ]x 6 (30)
row 6. (continue in Black) sc 2, inc, sc 4, inc, sc 2 (change to Beige) sc 2, inc, sc 4, inc, sc 2 (change to Black) sc 2, inc, sc 4, inc, sc 2 (12) (36)
rows 7-9. (continue in Black) sc 12 (change to Beige) sc 12 (change to Black) sc 12 (36)
rows 10-12. (continue in Black) sc 11 (change to Beige) sc 14 (change to Black) sc 11 (36)
row 13. (continue in Black) sc 2, dec, sc 4, dec, (change to Beige) [ sc 4, dec ]x 2, sc 4, (change to Black) dec, sc 4, dec, sc 2 (30)
row 14. (continue in Black) dec, sc 3, dec, (change to Beige) sc 3, dec, sc 3, dec, sc 3, dec, sc, (change to Black) sc 2, dec, sc 3 (24)
row 15. (change to Beige) sc, [ dec, sc 2 ]x 5, dec, sc (18)
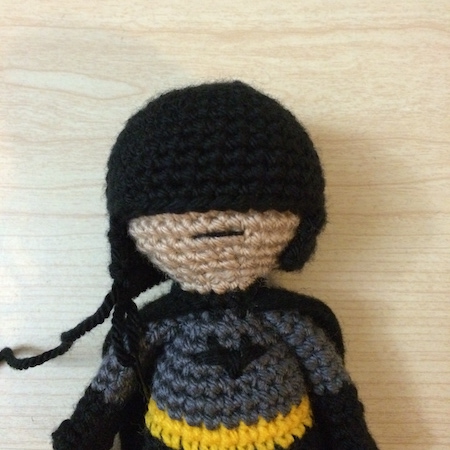
Leave tail for sewing, finish off and stuff firmly. Stitch on the mouth using a few threads of black embroidery or cross-stitch thread. Yarn works as well but leaves the mouth a bit thick. Insert safety eyes between rows 9 and 10, with approximately 5 stitches between them.
If you’re not interested in a removable mask, you can do the instructions above entirely in beige, and save yourself the trouble of numerous colour changes. To make it more readable the instructions in one colour are:
row 1. (in Beige) MR 6 (6)
row 2. [ inc ]x6 (12)
row 3. [ inc, sc ]x 6 (18)
row 4. sc, inc, [ sc 2, inc ]x 5, sc (24)
row 5. [ inc, sc 3 ]x 6 (30)
row 6. sc 2, inc, [ sc 4, inc ]x 5, sc 2 (36)
rows 7-12. sc 36 (36)
row 13. sc 2, dec, [ sc 4, dec ]x 5, sc 2 (30)
row 14. [ dec, sc 3 ]x 6 (24)
row 15. sc, dec, [ sc 2, dec ]x 5, sc (18)
ARM (make 2)
row 1. (in Black) MR 6 (6)
row 2. [ inc, sc 2 ]x 2 (8)
rows 3-4. sc 8 (8)
row 5. sc 3, 4sc popcorn, sc 4 (8)
rows 6-8. sc 8 (8)
rows 9-15. (in Grey) sc 8 (8)
No need for stuffing, leave tail for sewing and finish off! The popcorn stitch is what makes the thumb in the arm. If you find it a bit tricky, feel free to replace it with a sc for simpler arms.
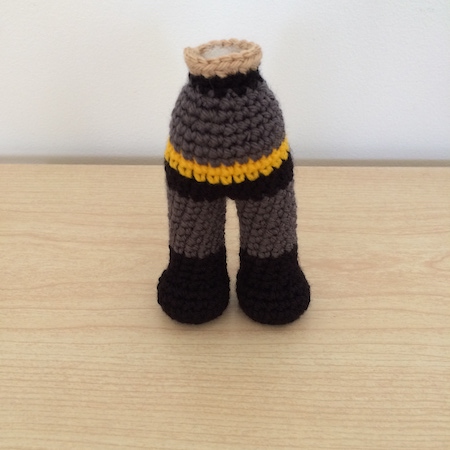
LEG (make 2)
row 1. (in Black) MR 6 (6)
row 2. [ inc ]x 6 (12)
row 3. [inc, sc ]x 6 (18)
row 4. BLO sc 18 (18)
rows 5-7. sc 18 (18)
row 8. sc 3, dec 6, sc 3 (12)
row 9-11. sc 12 (12)
row 12-19. (in Grey) sc 12 (12)
Finish off the first one (no tail necessary). Leave the second one on the hook to make attaching the legs together easier.
Body
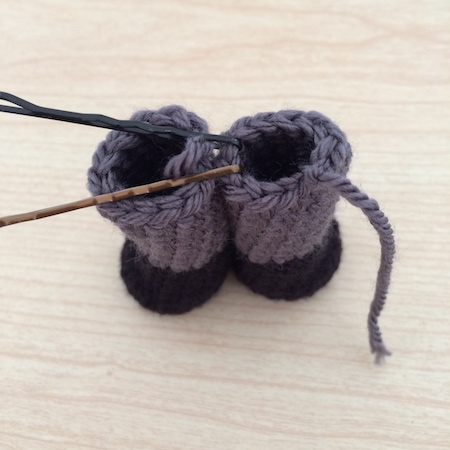
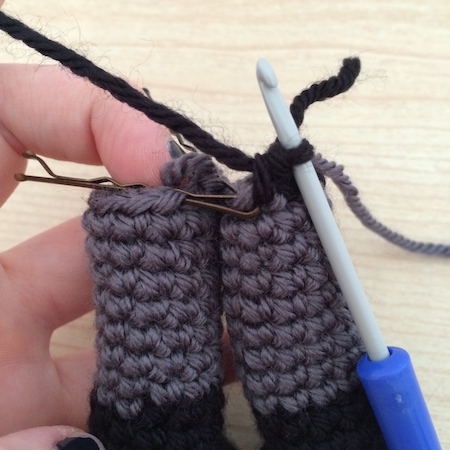
Take the two legs and position them so that the feet are pointing correctly, I like to place two bobby pins in the stitches where the legs will join to make it easier to manage. Make a slip knot, insert hook in the stitch you are going to begin the round with. Make sure to begin the round at the back of the doll so that the colour changes are kept out of sight. Put the slip knot on the hook, and pull it through. The next stitch will be a regular single crochet and will begin the round.
rows 1-3. (in Black) sc 24 (24)
rows 4-5. (in Yellow) sc 24 (24)
rows 6-8. (in Grey) sc 24 (24)
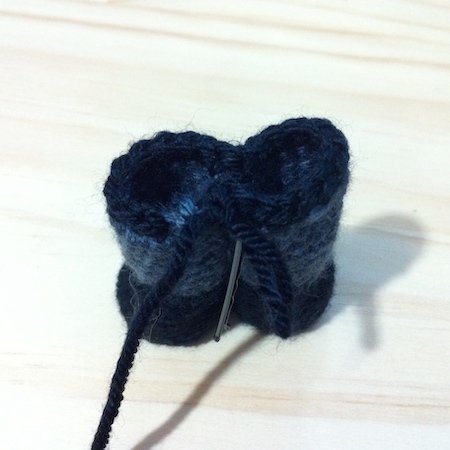
(at this point stuff the legs)
row 9. sc 3, dec, [ sc 6, dec ]x 2, sc 3 (21)
row 10. [dec, sc 5 ]x 3 (18)
row 11. sc 2, dec [ sc 4, dec ]x 2, sc 2 (15)
row 12. (in Black) [ dec, sc 3 ]x 3 (12)
row 13. sc 12 (12)
row 14. (in Beige) [ sc, inc ]x 6 (18)
Finish off and stuff the rest of the body. If you wanted to make a New 52 version of his costume, you can replace rows 1-3 with the same grey you use for the legs and rest of the body.
TIP Stuff the legs before beginning the decreases. Make sure that he’s not stuffed so firmly that he can’t balance on his own. To help with balancing, push the bottoms of the feet in so that they slightly curve inwards.
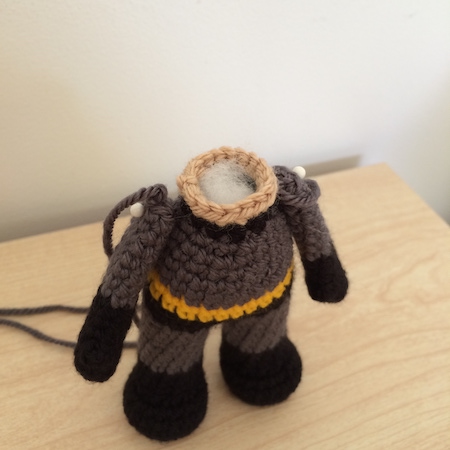
Putting it all together
When attaching the arms, I like to pin them in place first so that I can get an idea of positioning. Attach them as a flattened piece.
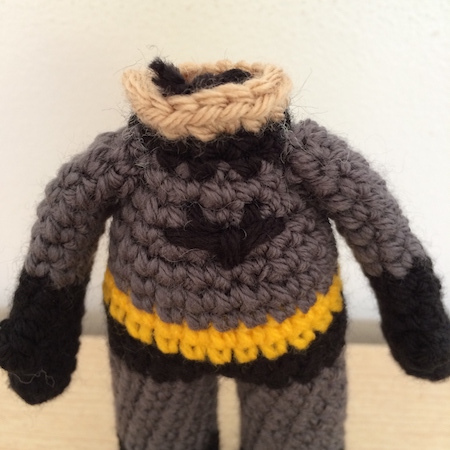
Next, embroider the bat insignia on his chest.
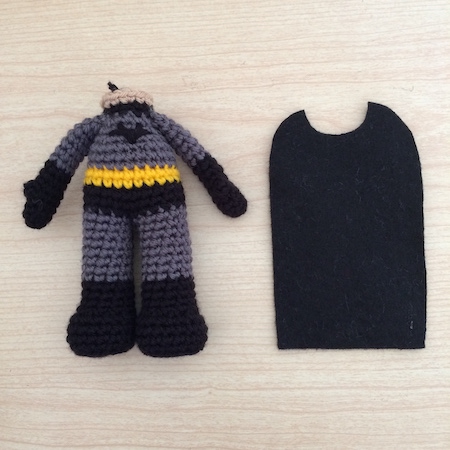
For the cape, take a rectangular piece of black felt and trim it until it matches your doll. Each cape shape is different for each doll but are similar to the shape shown in the pictures. Sew the cape around the shoulders using a thread of black yarn.
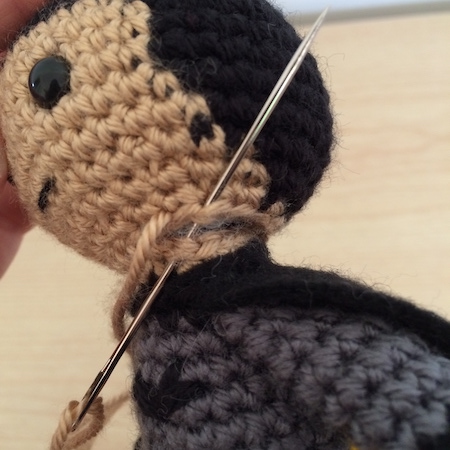
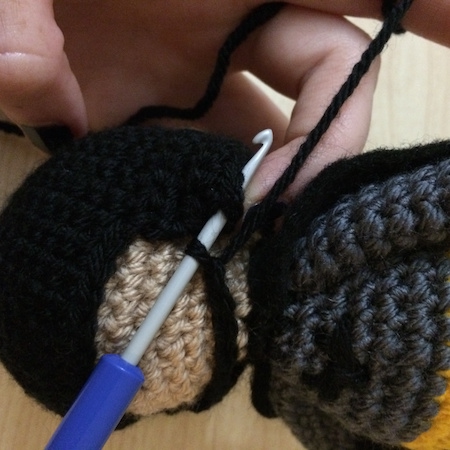
Attach the head. There should have been 18 stitches in the last round of the head and the body, so they match up evenly. Simply align the head properly, and whipstitch closed! But wait, we still need to keep that identity secret.
Cowl
When you make the cowl, check that the proportions are good for your doll. Make sure it covers his eyes before you start row 14.
row 1. (in Black) MR 6 (6)
row 2. [ inc ]x 6 (12)
row 3. [ inc, sc ]x 6 (18)
row 4. sc, inc, [ sc 2, inc ]x 5, sc (24)
row 5. [ inc, sc 3 ]x 6 (30)
row 6. sc 2, inc, [ sc 4, inc ]x 5, sc 2 (36)
rows 7-12. sc 36 (36)
row 13. sc 5, dc 2, sc 29 (36)
rows 14-17. ch 1, turn, sc 24 (24)
(put the cowl on Batman at this point)
row 18. ch 6, (start the next sc on the other side), sc 4, dec 8, sc 10, sl st 2 (30)
Finish off and hide tail.

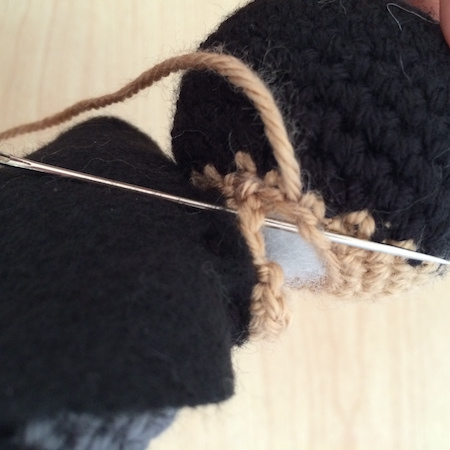
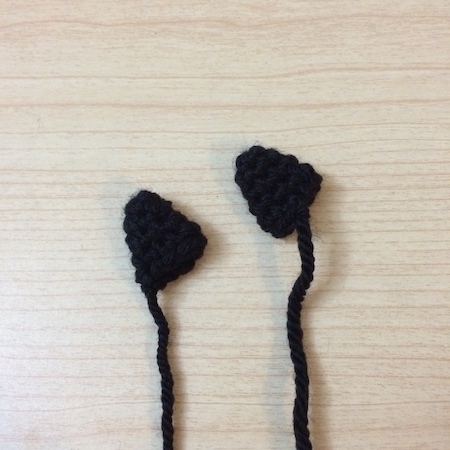
Ears (make 2)
row 1. (in Black) MR 4 (4)
row 2. [ inc, sc ]x 2 (6)
row 3. sc 6 (6)
row 4. [ inc, sc 2 ]x 2 (8)
row 5. sc 8 (8)
Finish off, leaving a tail to attach to the cowl.
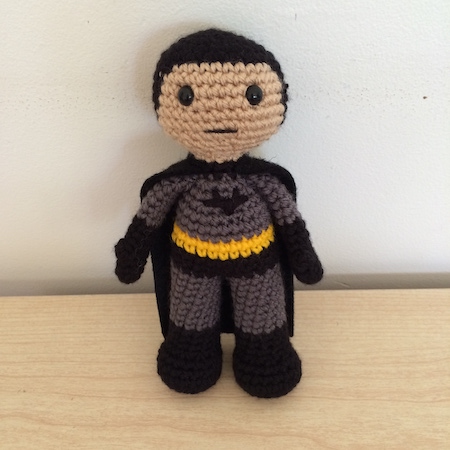
Then all that’s left to do is cut out the cowl eyes out of white felt and glue them on.
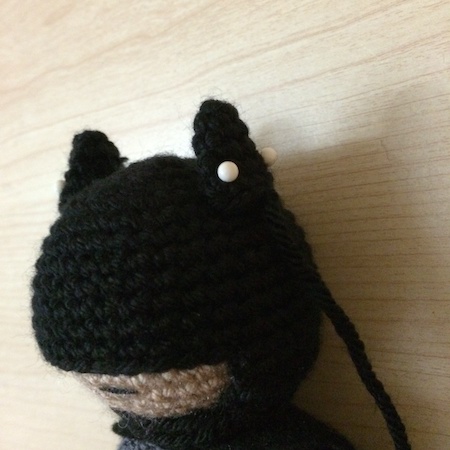
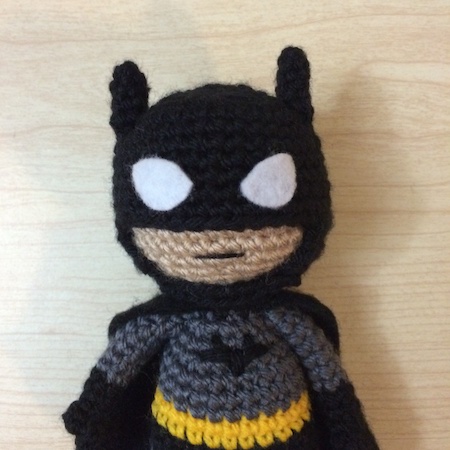
Finished! The cowl can be pulled back (though it is a bit tight, as long as the head is sewed on tight it should be fine!). I hope you had a great time making your crochet Batman!

Other patterns in the series
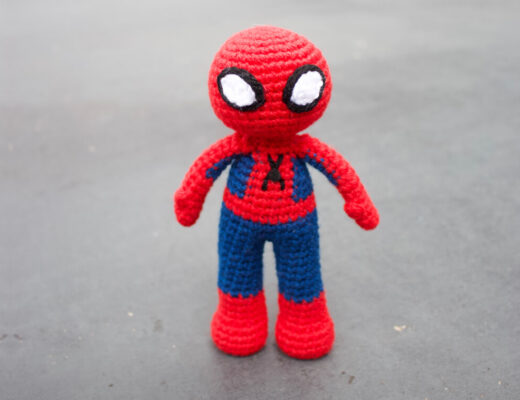
You can find Superman on our blog and a number of other DC patterns I’m in the process of adding free to the blog. If you can’t wait, you can purchase some of those over on my Etsy store!
If you make your own and you share on Instagram or Tumblr, don’t forget to tag @53stitches so I can check it out ☺️


Janine
May 23, 2023 at 4:59 pmThanks for an easy quick crochet Batman. I crocheted my own eyes and cape as I don’t have any felt and like to do it all the same. Thank you