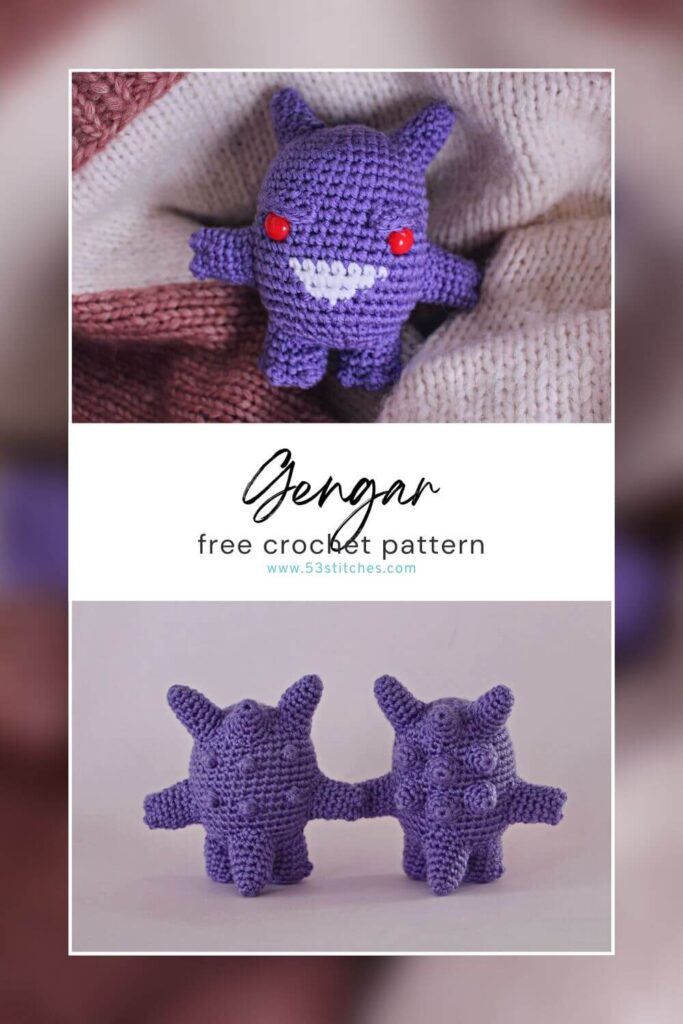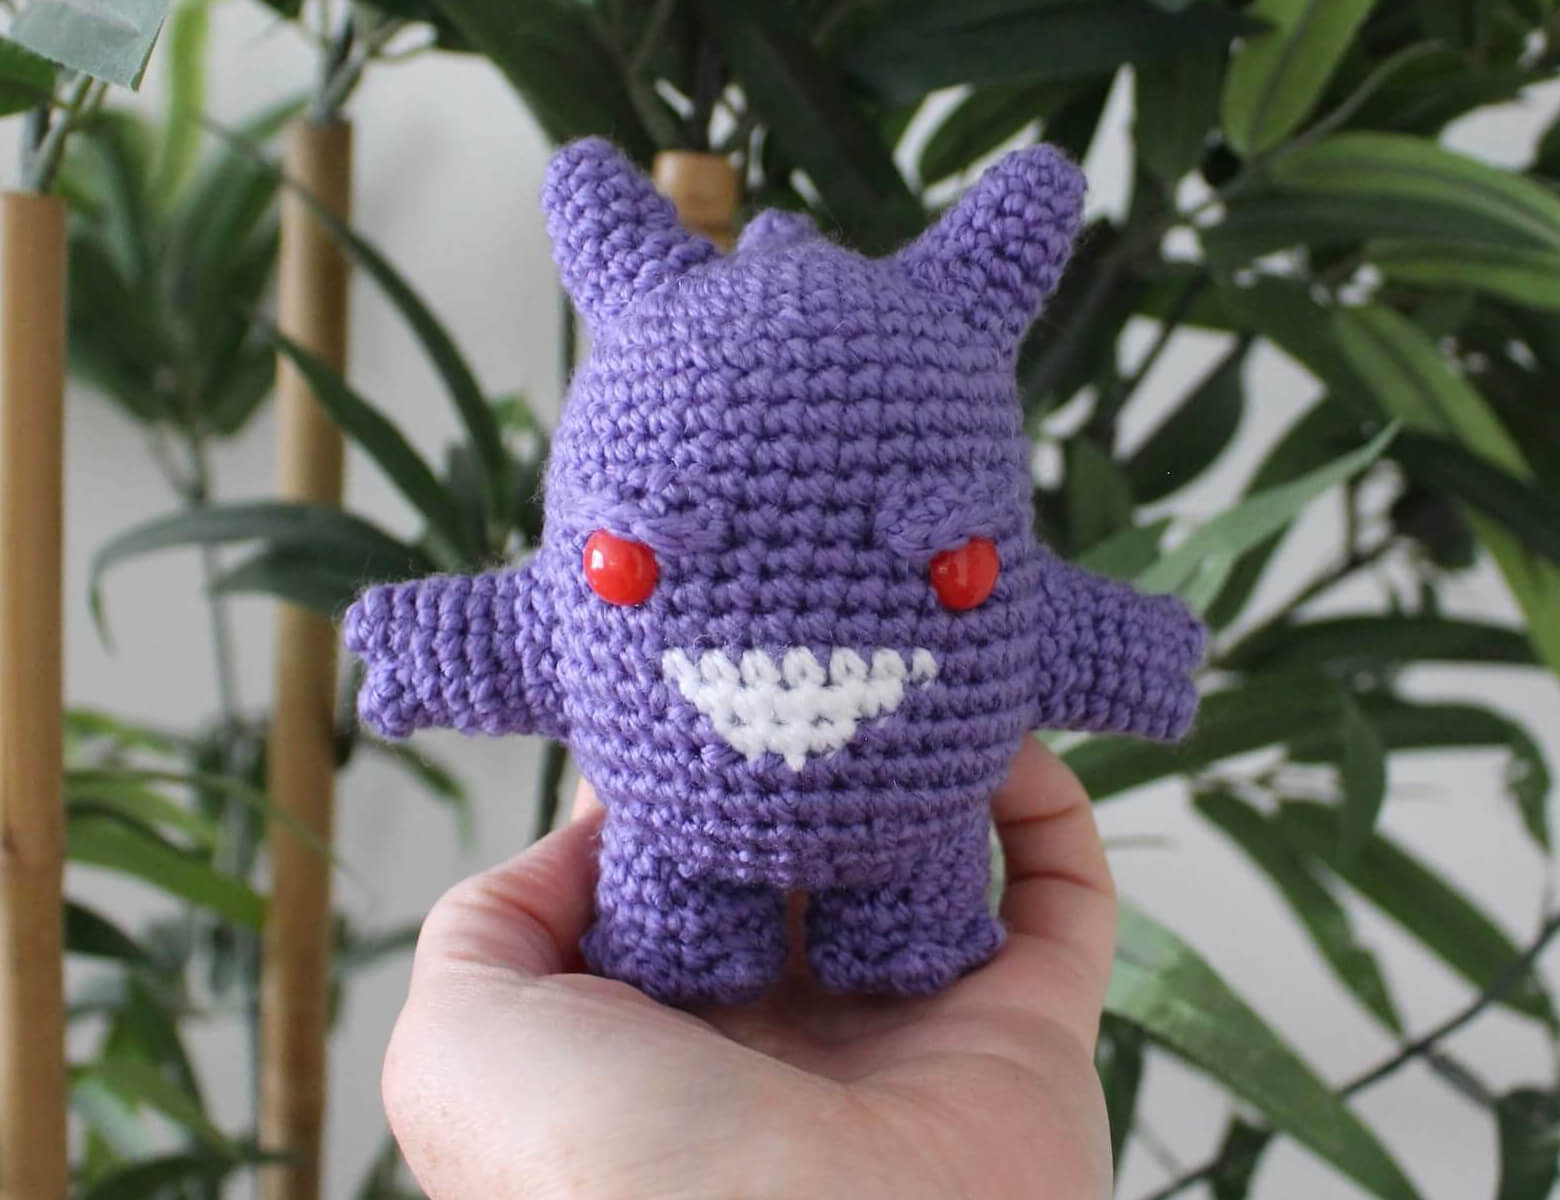
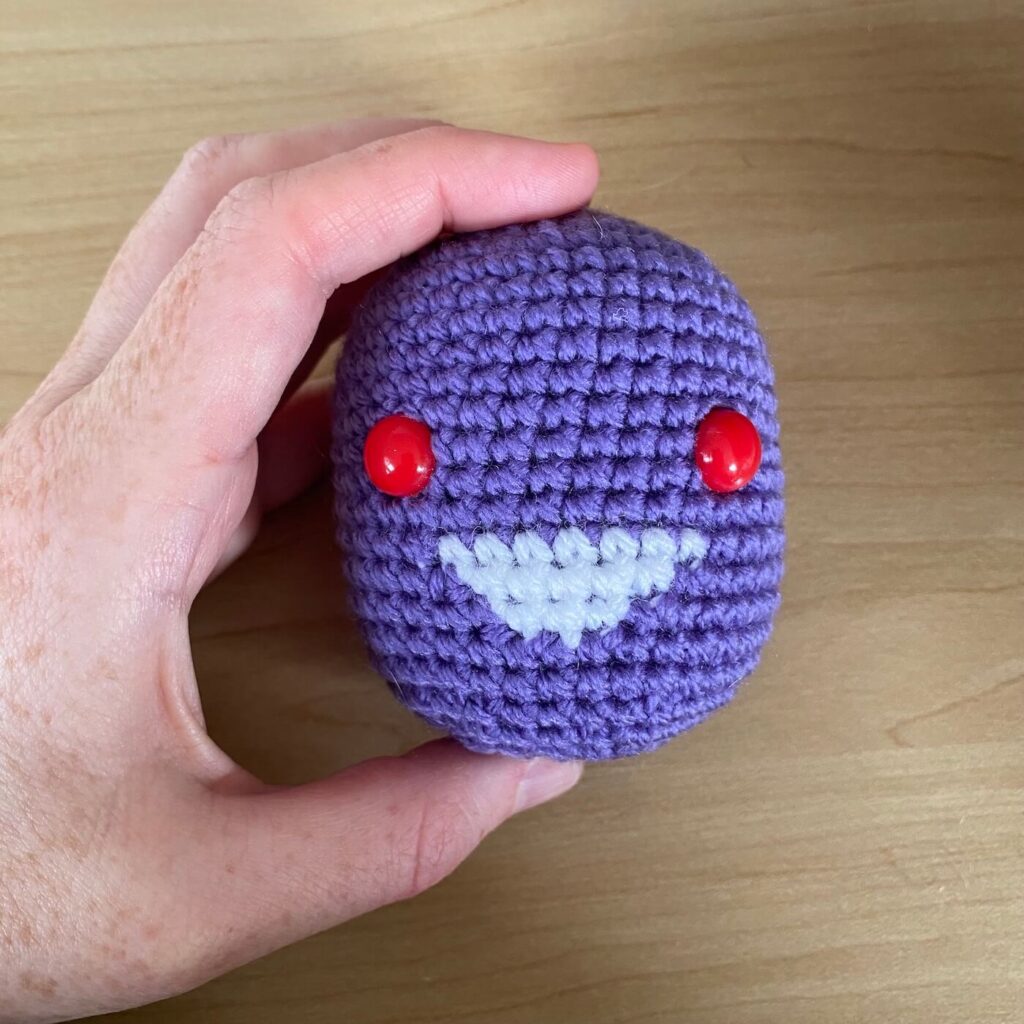
I first started working on this Gengar crochet pattern design over a year ago in 2022. I finished the body shape pretty quickly, and then for some reason it took me another year to go ahead and figure out the colour changes for the mouth and the spikes for the back! Does anyone else procrastinate everything, including enjoyable projects? Well, hopefully the wait has been worth it! Presenting this adorable Gengar amigurumi!
This pattern has a lot of sewing in it because of all of the little spikes on Gengar’s back. I know sewing isn’t the favourite activity of a lot of crocheters, so I’ve included some alternative body instructions for a version that uses popcorn stitches instead of sewing on the spikes. It’s definitely faster to finish, but can be trickier to get a symmetrical doll.
You can purchase and ad-free PDF of this pattern over on my Etsy or Ravelry and if you do a huge thank-you in advance for your wonderful support! You can also find a diy crochet kit on my Etsy which has all the materials you need to make your own!
What materials will you need?
Note some of the links on this site are affiliate links. This means I get paid a small fee if you decide to purchase anything at no extra cost to you. I will only ever link products I happily use myself.
All yarn I use is DK weight. For this particular doll I used Stylecraft Special DK, I’ve got affiliate links for the colours below! Stylecraft Special DK is one of my favourite yarns for amigurumi because they have a huge colour range, it’s super affordable, and although I like the finished look of cotton better, I prefer working with softer acrylic yarn.
- 3.00mm crochet hook
- 2 x 10mm or 12mm red safety eyes – I make mine, but you can 12mm ones online from GlassEyesOnline
- Yarn needle
- Scissors
- Polyester filling
- Purple yarn – I’ve used Stylecraft Special DK in 1277 Violet
- White yarn – Stylecraft Special DK in 1001 White
Quick reference for beginners
This pattern is worked in continuous rounds, using US terms and I suggest using a stitch marker to help you mark the first stitch of each round. Check out some of the below tutorials if you get stuck on any of the stitches or techniques
- How to read patterns
- Magic ring
- Single crochet
- Increase
- Decrease
- Attaching amigurumi limbs
- Popcorn stitch
- Slip stitch
- Chain
- Back loop only
- Colour change
If you get stuck anywhere else, check out the FAQ.
To popcorn or not?
Before starting this pattern you’ll need to decide which version of his back design you’d like. There are two versions – the popcorn stitches on the left, and the sewn on spikes on the right:
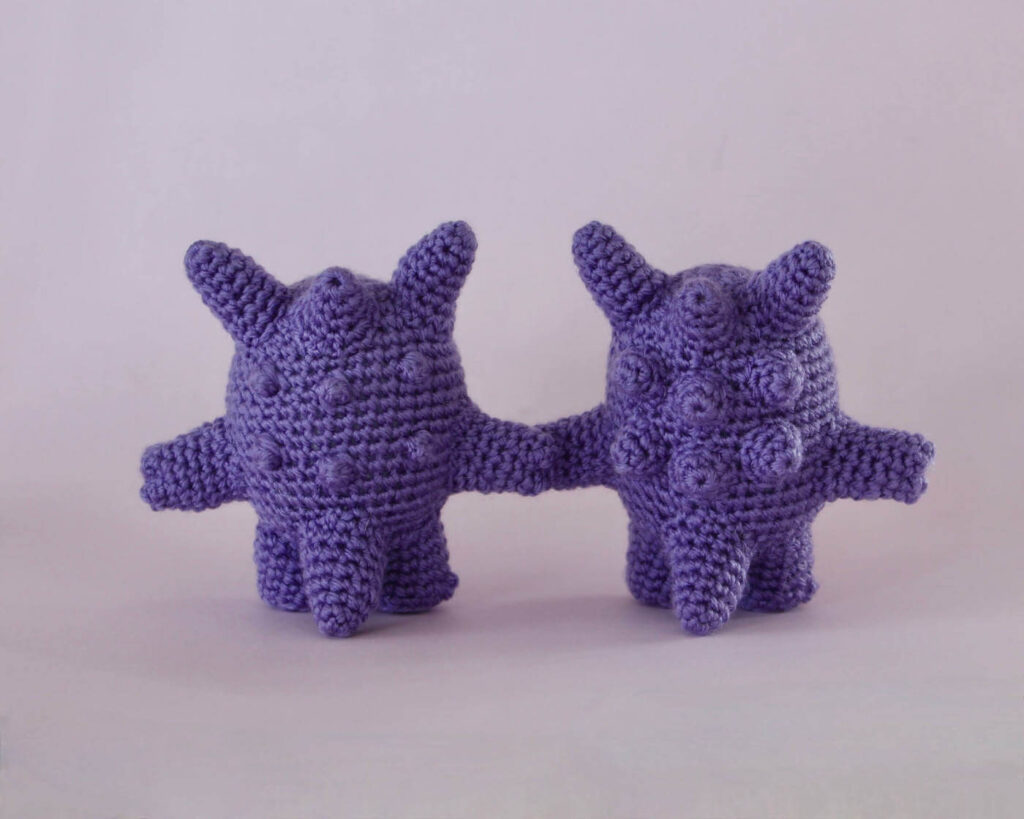
Sewn on spikes
For this version, follow the pattern written below without adjustments. There’s more sewing involved, since there are 9 spikes you’ll have to position and sew in place.
Popcorn stitches
The popcorn stitch version means less sewing, but it’s easier for the elements to become lopsided because of trying to centre both the spikes and the mouth colour changes.
For the popcorn stitch version, skip the “body” and “small spikes” instructions in the regular pattern below. Instead, you have an alternative body pattern at the end of this document – click here to skip there! All other pieces, such as the arms and legs, are completed without adjustments.
Let’s start crocheting Gengar!
Body
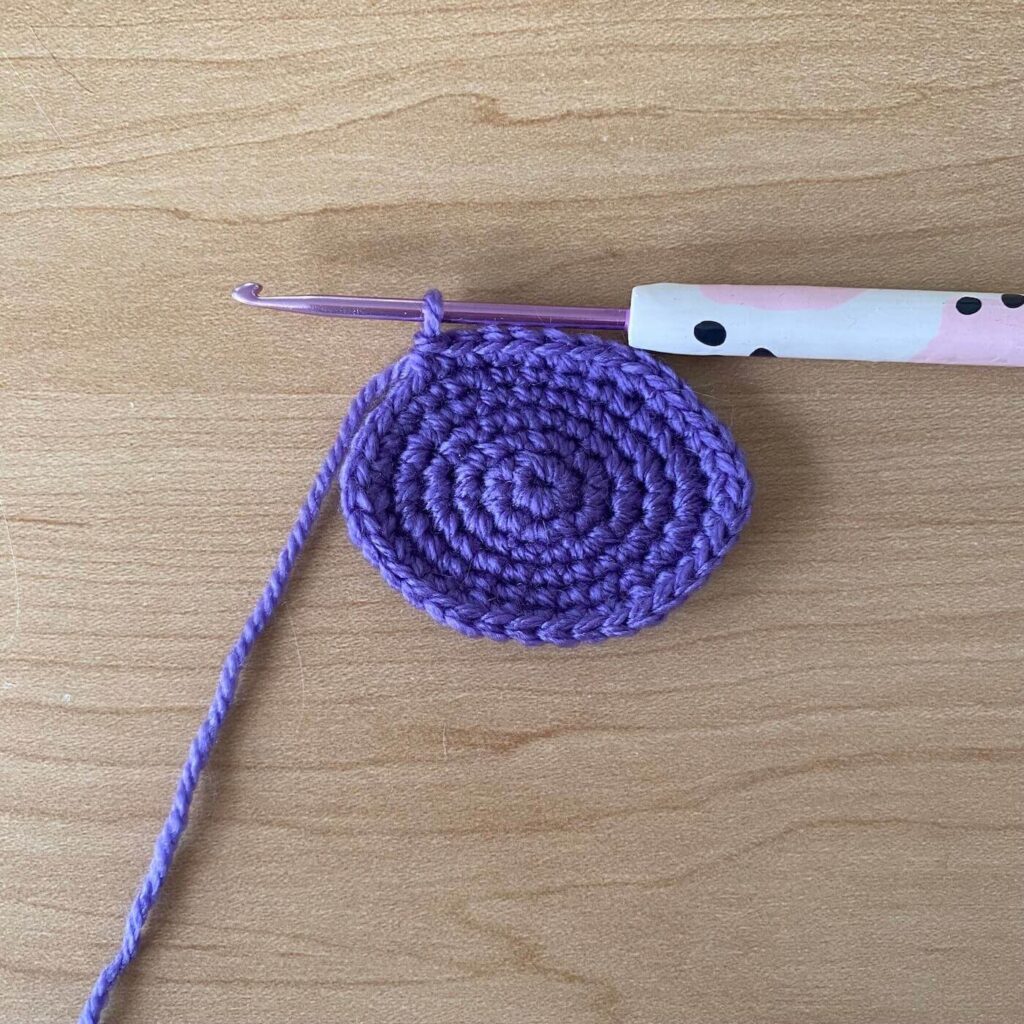
row 1: (in Purple) MR 6sc (6)
row 2: inc 6 (12)
row 3: inc 3, sc 3, inc 3, sc 3 (18)
row 4: sc 2, inc 3, sc 6, inc 3, sc 4 (24)
row 5: sc 4, inc 3, sc 9, inc 3, sc 5 (30)
row 6: [ sc 2, inc, sc 2 ]x 6 (36)
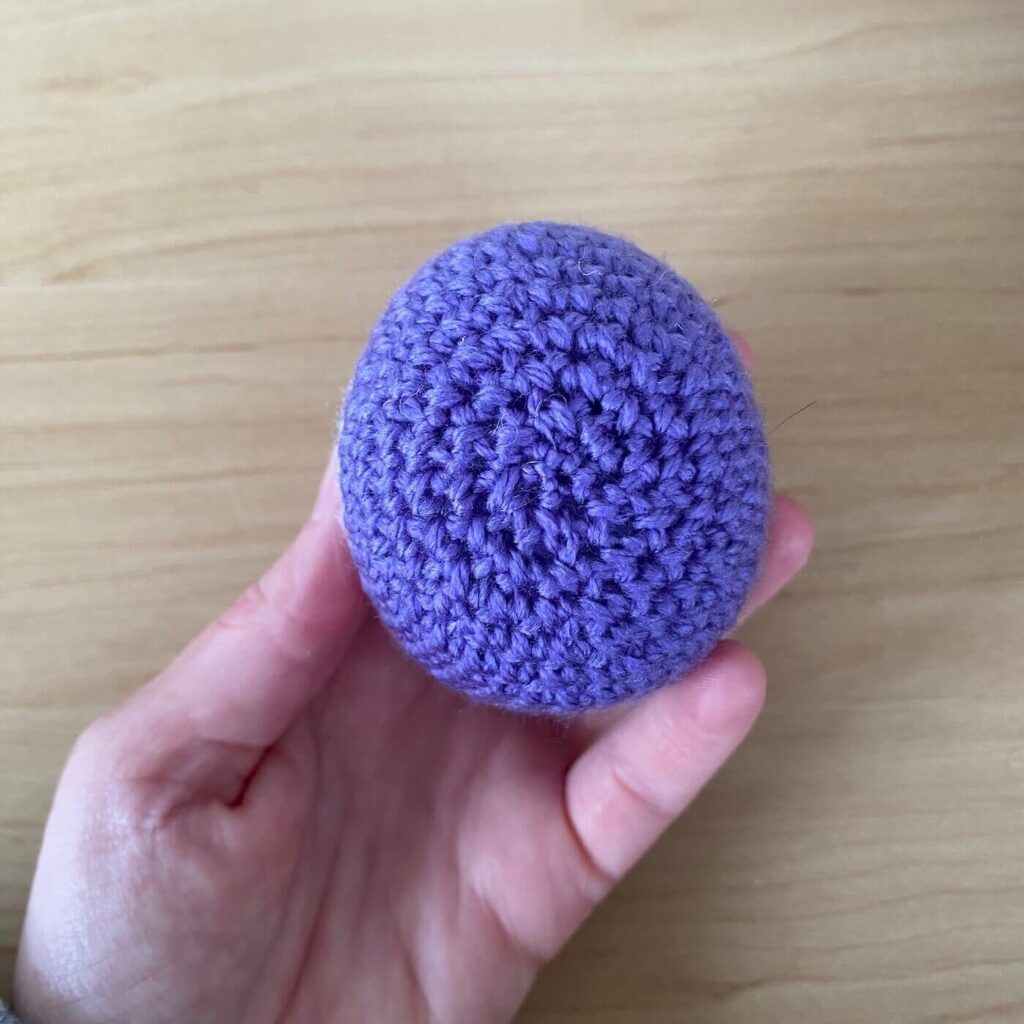
At this point, make sure you have the correct side on the “outside” of the doll (check out this tutorial for more info). This starting shape should be an oval.
rows 7-15: sc 36 (36)
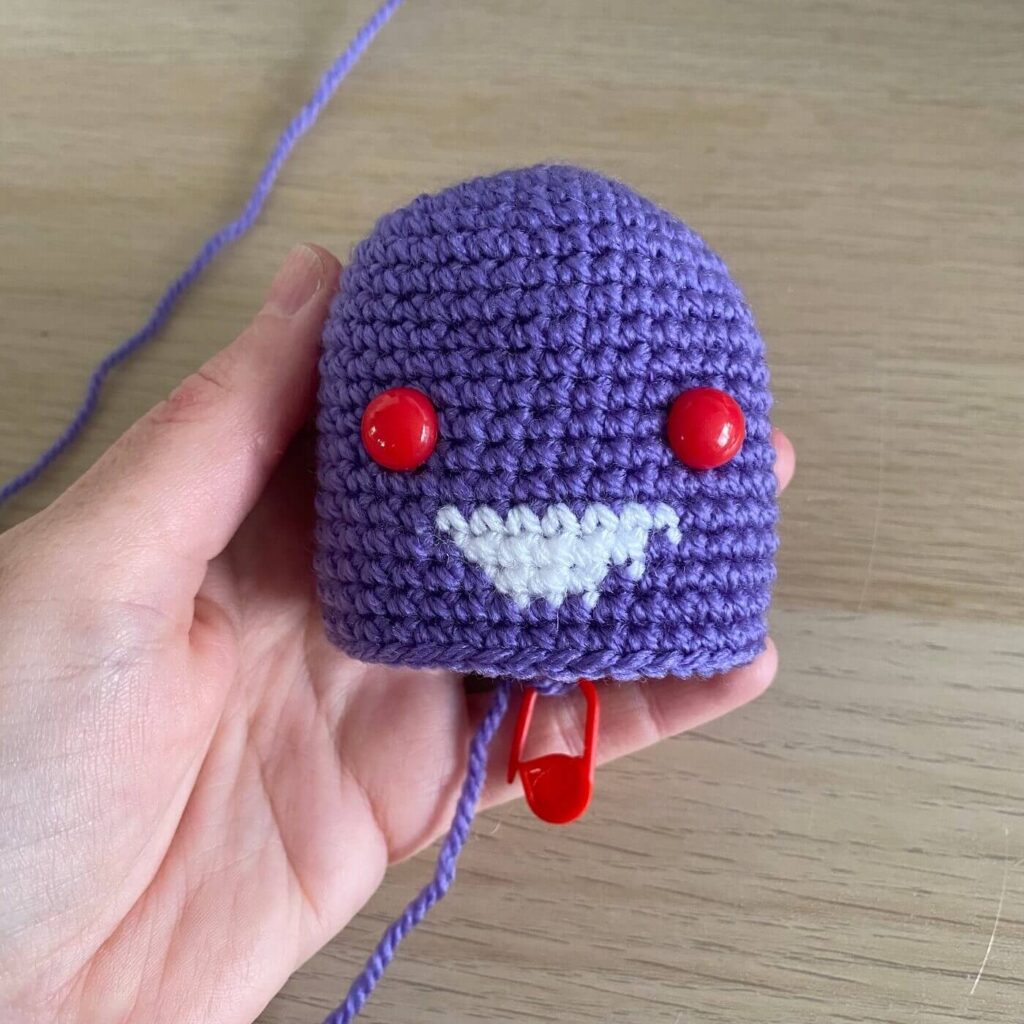
row 16: (continue in Purple) sc 14, (change to White) sc 7, (change to Purple) sc 15 (36)
row 17: (continue in Purple) sc 15, (change to White) sc 5, (change to Purple) sc 16 (36)
row 18: (continue in Purple) sc 16, (change to White) sc 3, (change to Purple) sc 17 (36)
rows 19-20: (continue in Purple) sc 36 (36)
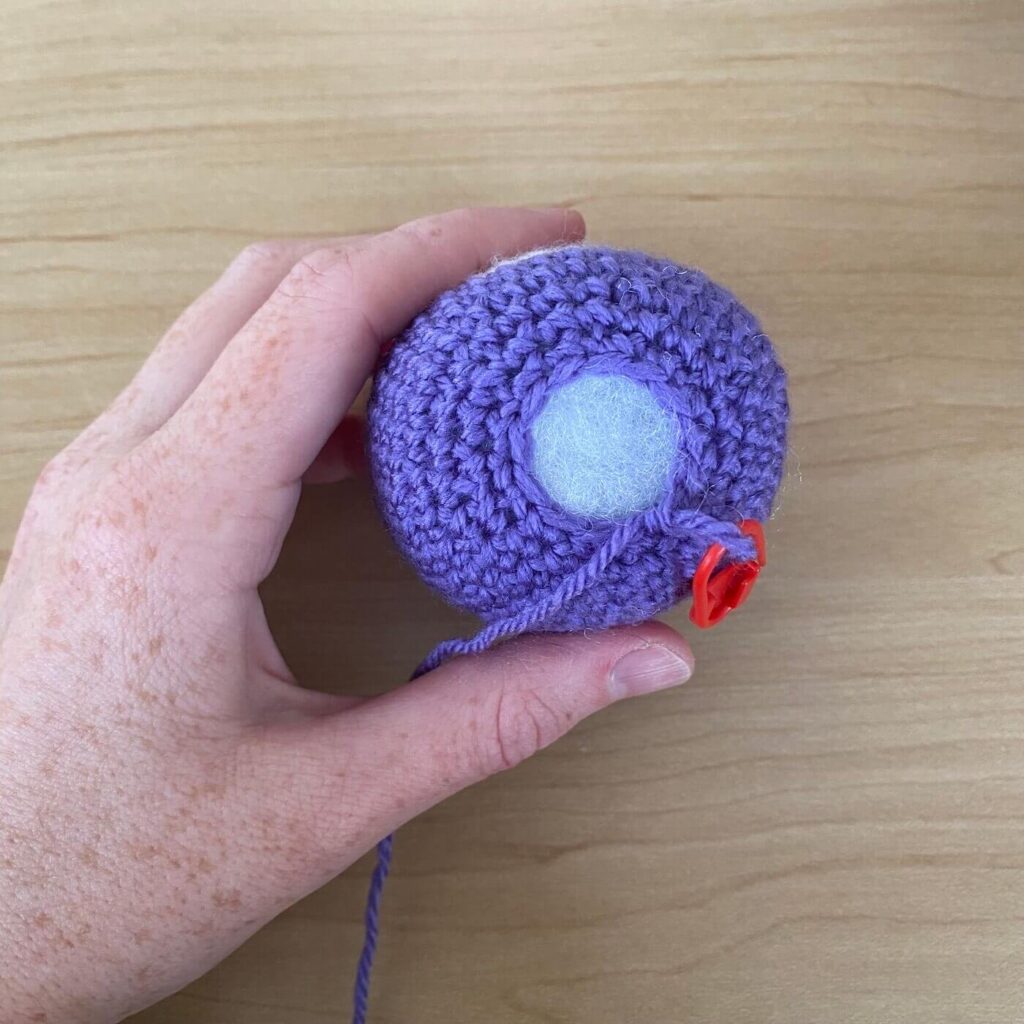
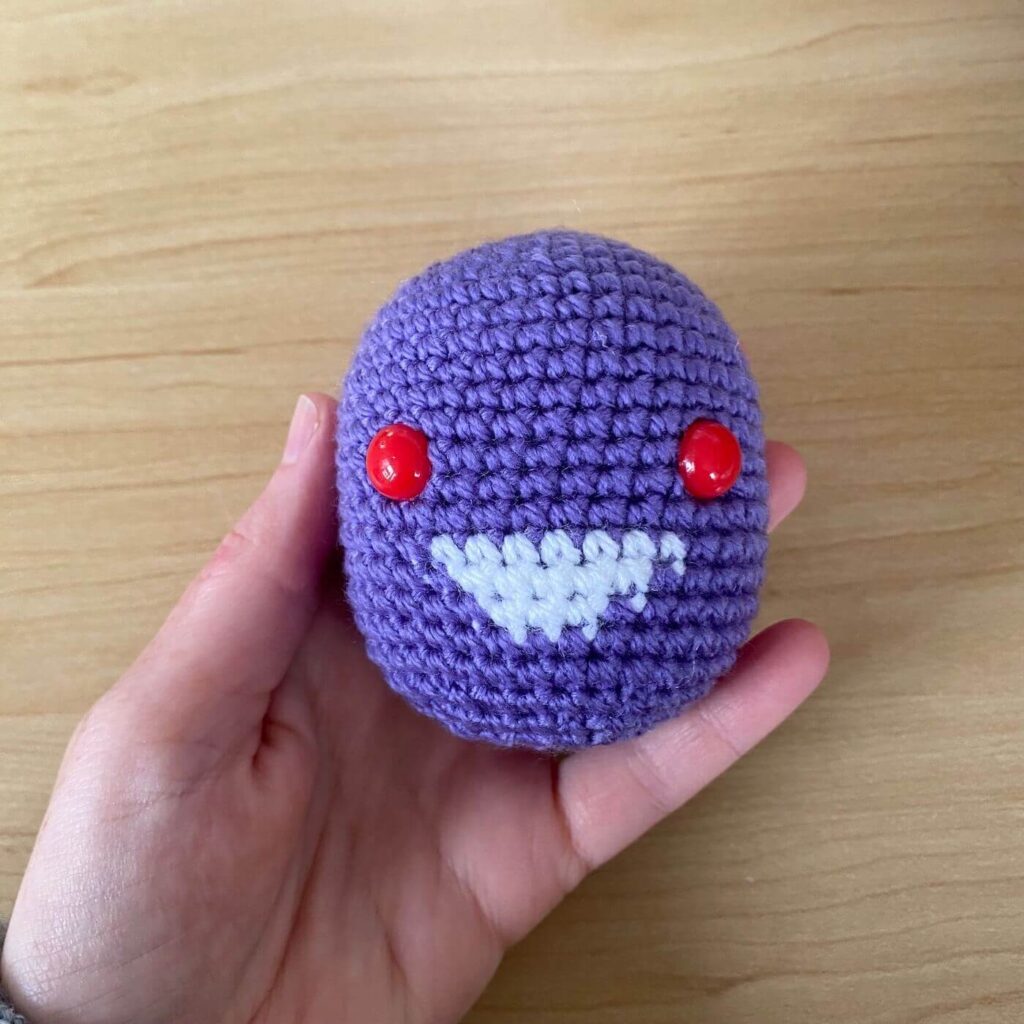
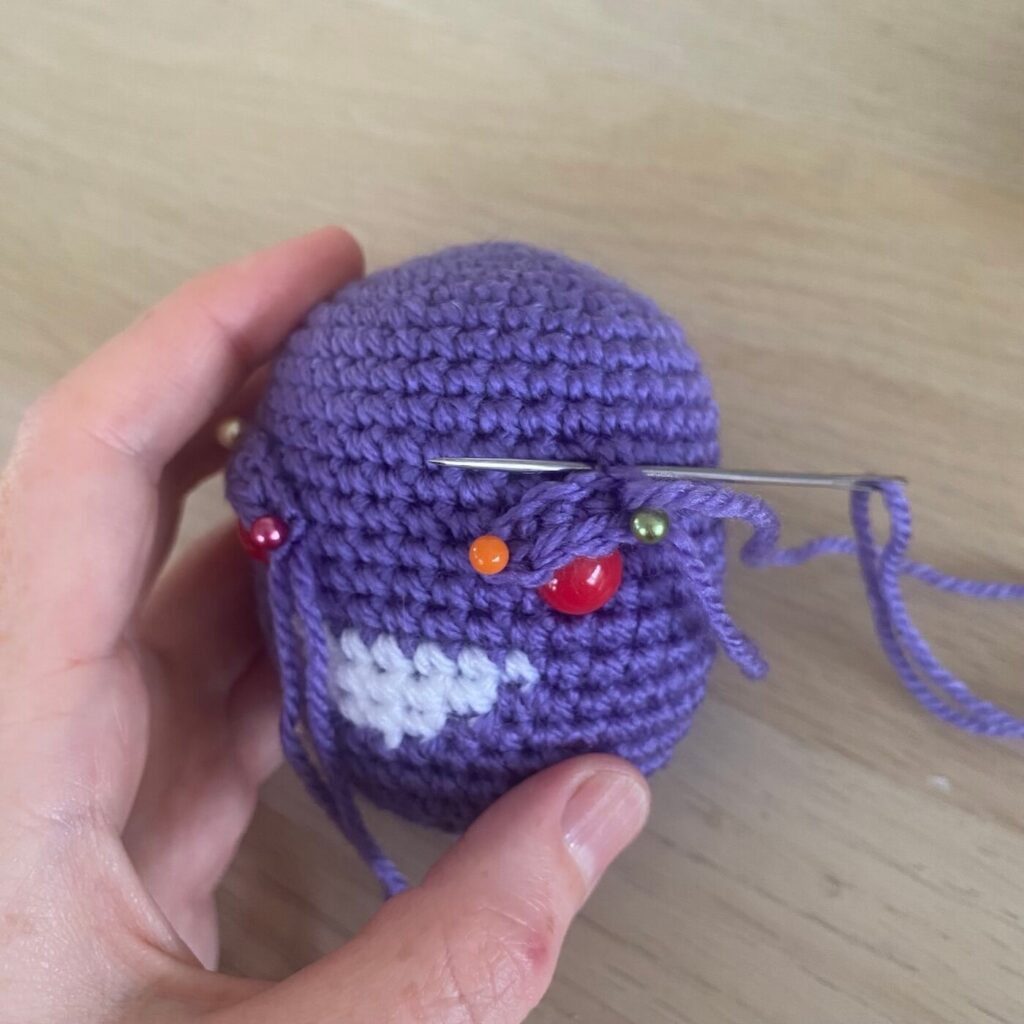
Before beginning row 21, insert your safety eyes two rows above the top of the mouth, between rows 13 and 14. The inside edge of the safety eye should line up with the edge of the mouth. After inserting the safety eyes, begin stuffing your amigurumi.

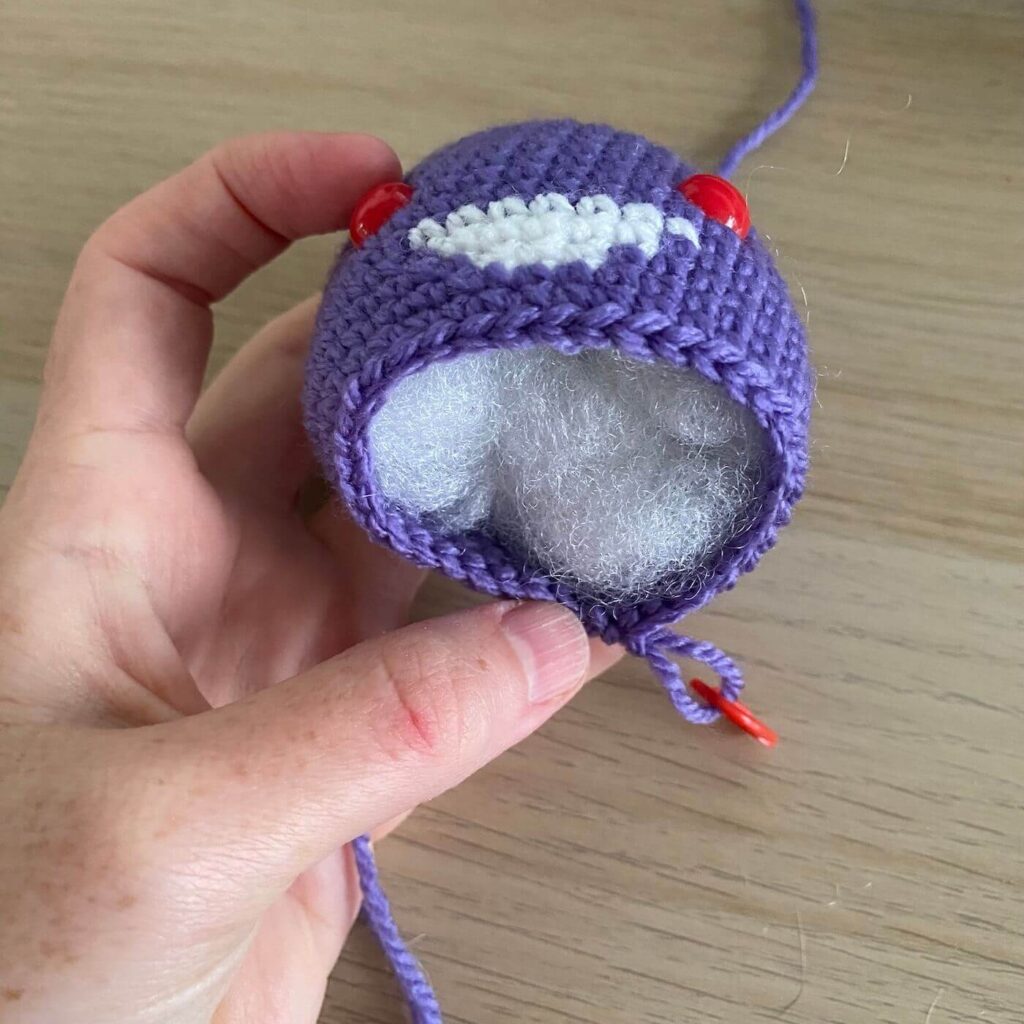
row 21: [ sc 2, dec, sc 2 ]x 6 (30)
row 22: [ dec, sc 3 ]x 6 (24)
row 23: [ sc, dec, sc ]x 6 (18)
row 24: [ dec, sc ] x 6 (12)
Continue stuffing your amigurumi, being careful not to overstuff. See this stuffing tutorial for more info on finding the right balance.
row 25: dec 6 (6)
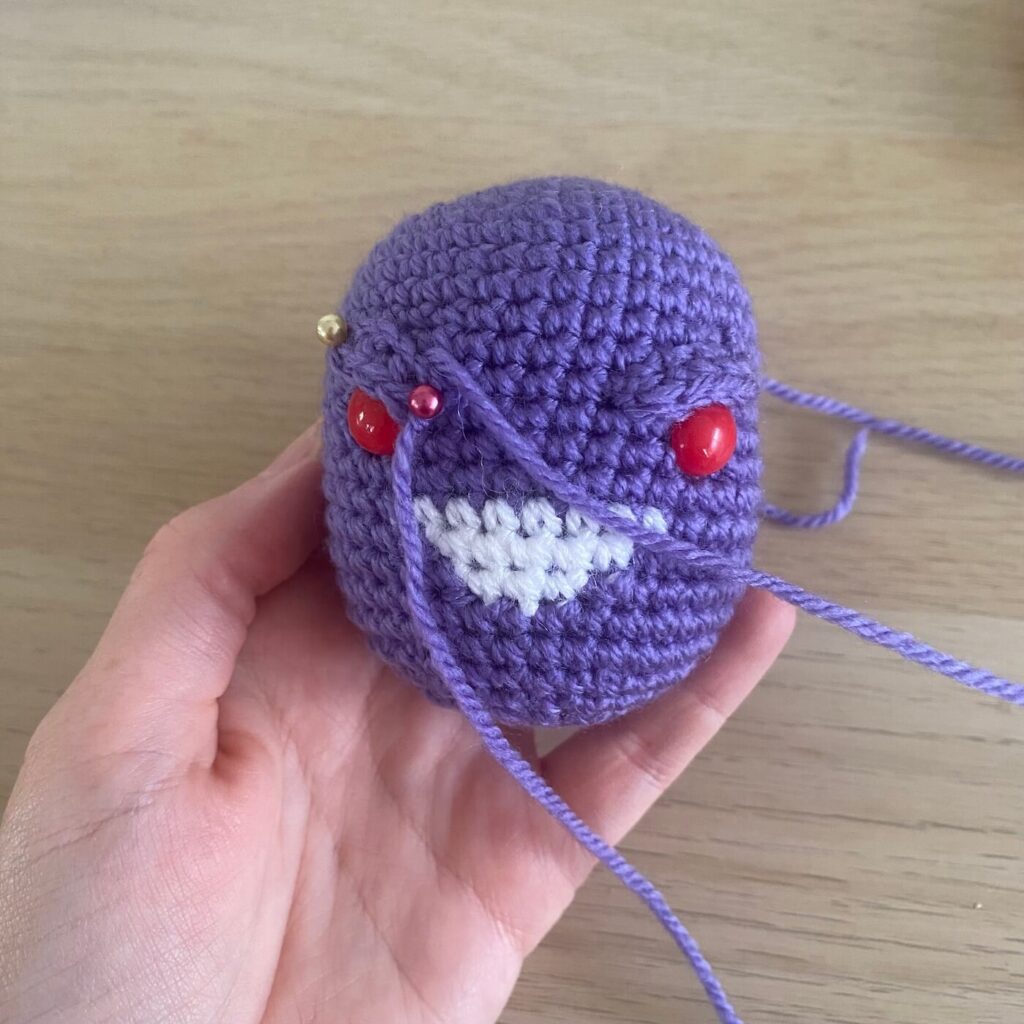
Finish off the body by closing up the hole (see this tutorial here).
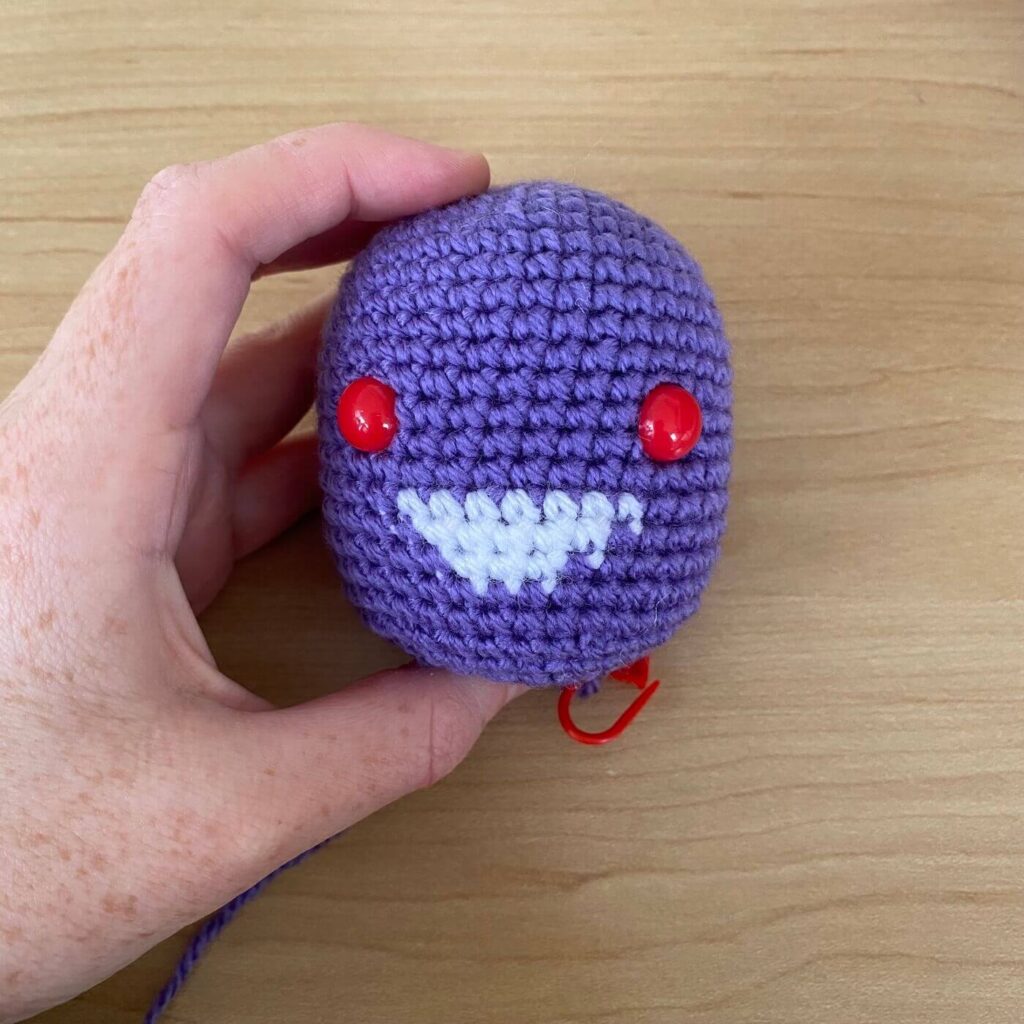
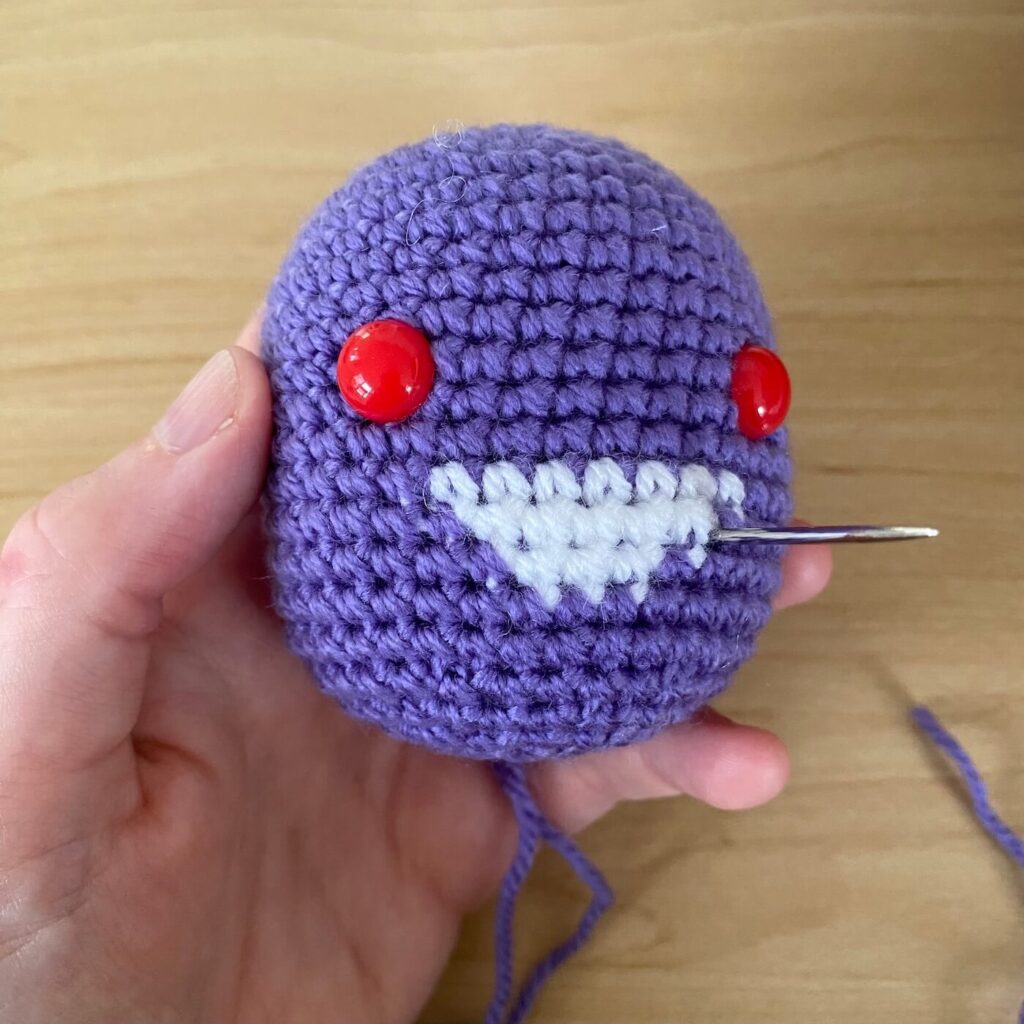
Once the body is finished, I like to take a length of purple yarn and embroider over the messy areas of the colour changes. This step is completely optional.
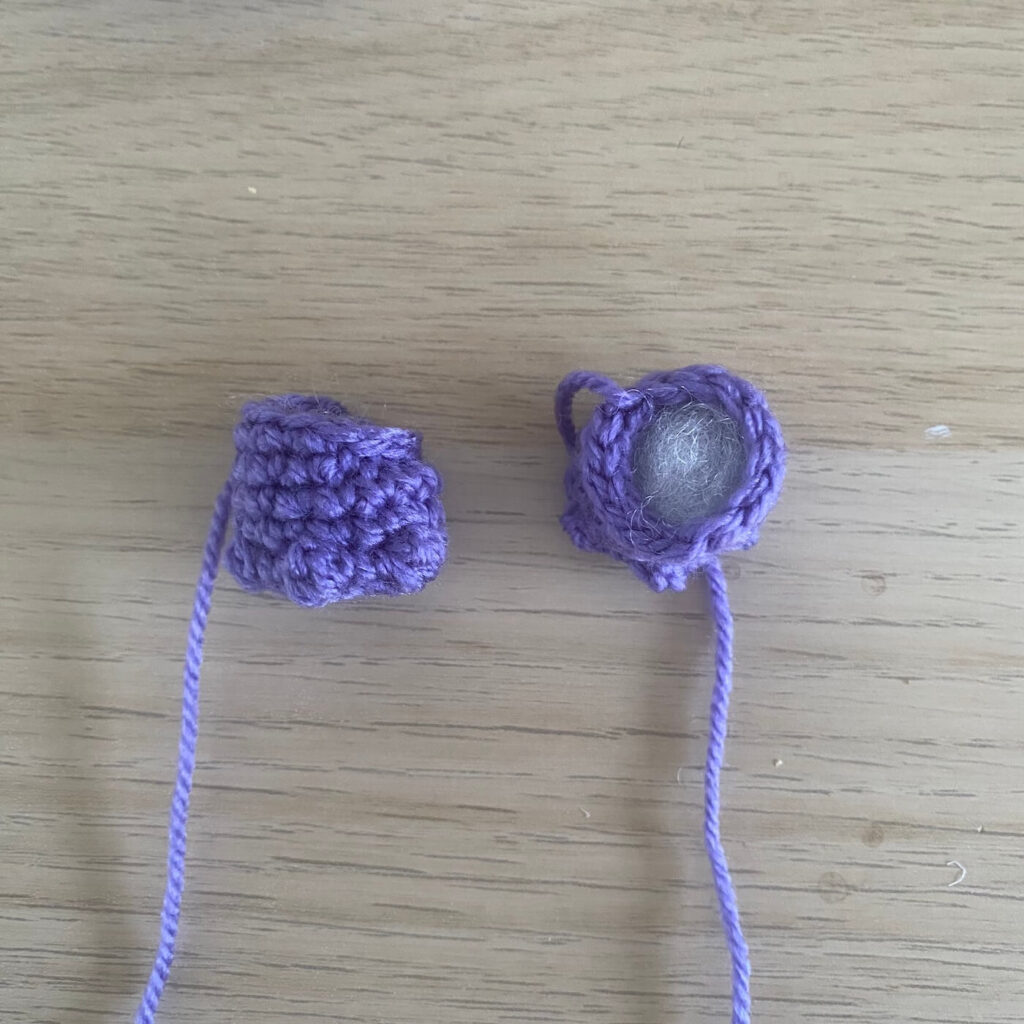
Ears (make 2)
row 1: (in Purple) MR 6sc (6)
row 2: sc 6 (6)
row 3: [ inc, sc 2 ]x 2 (8)
row 4: inc, sc 7 (9)
row 5: sc 9 (9)
row 6: inc, sc 8 (10)
row 7: inc, sc 9 (11)
row 8: inc, sc 5, sl st 5 (12)
Finish off with a slip stitch and cut the yarn, leaving a tail approximately 12cm or 5 inches.
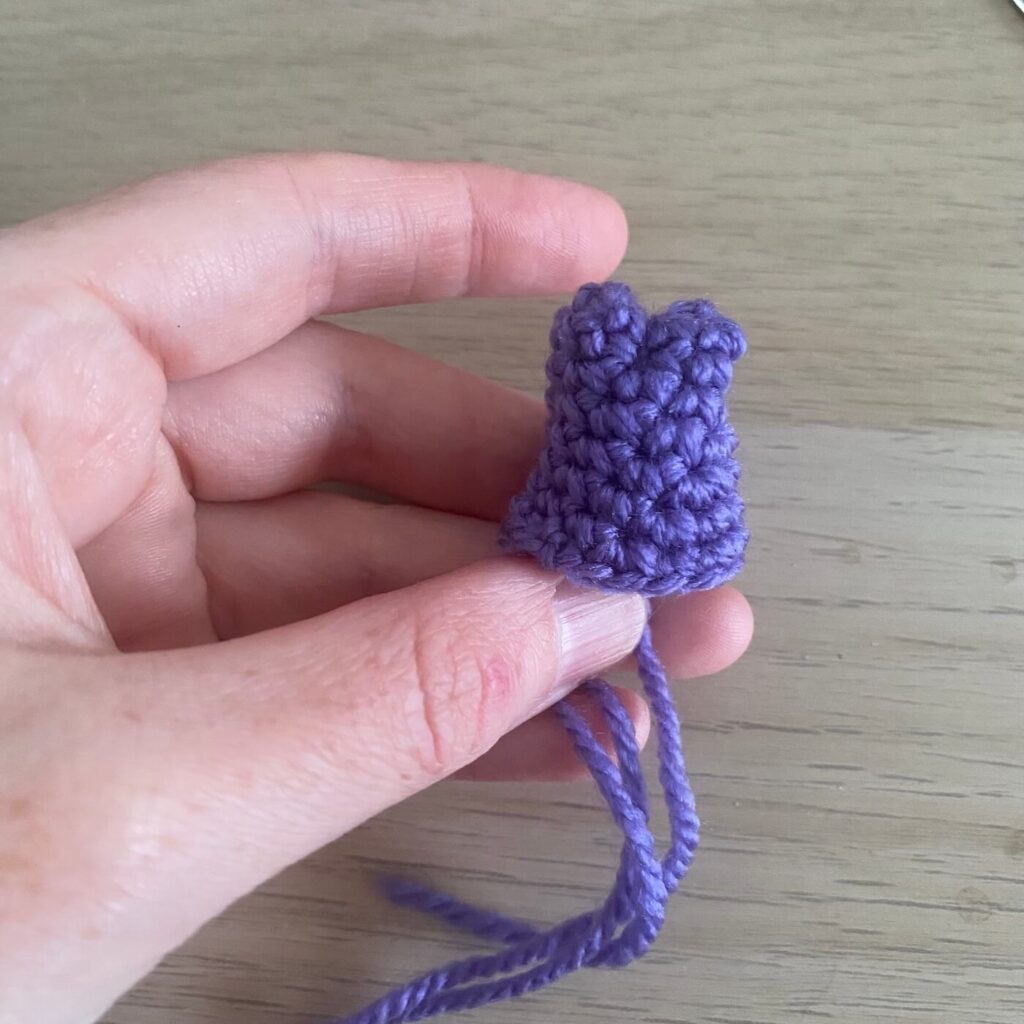
Arms (make 2)
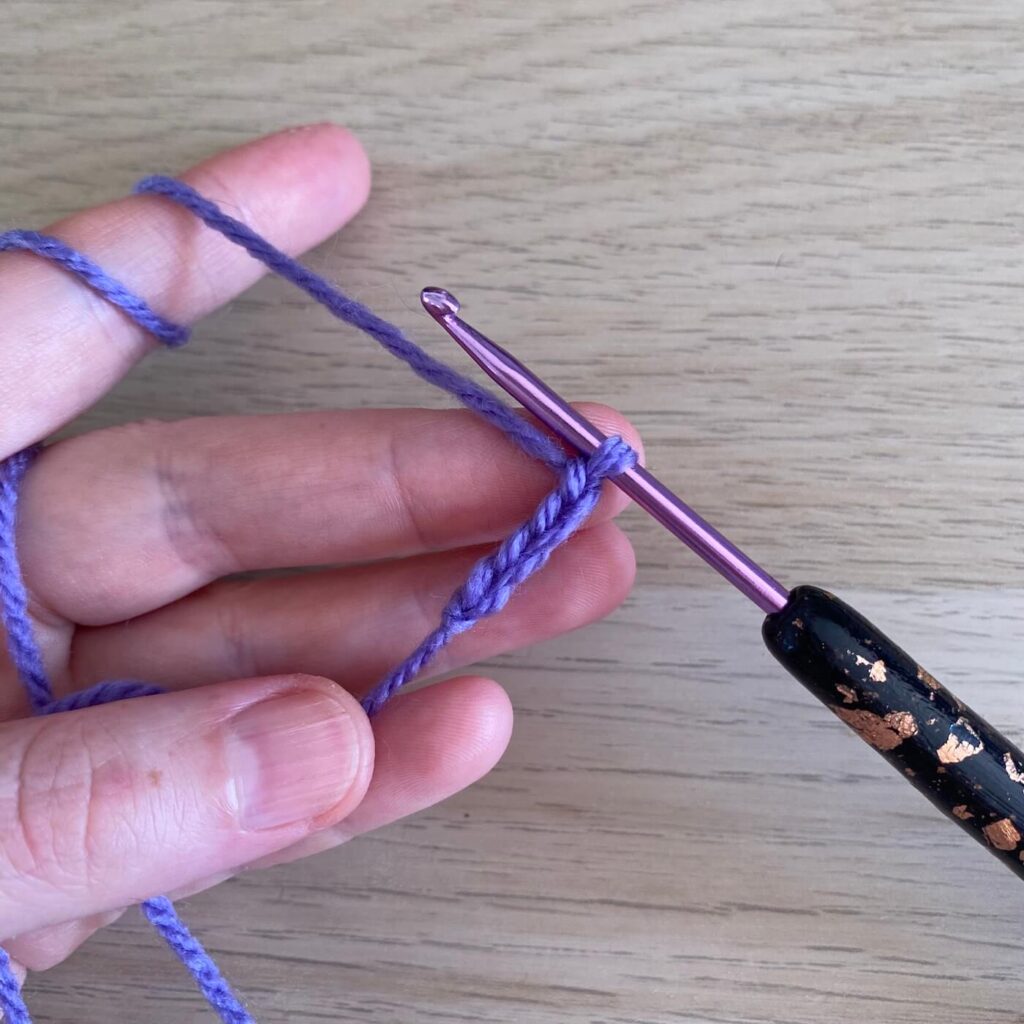
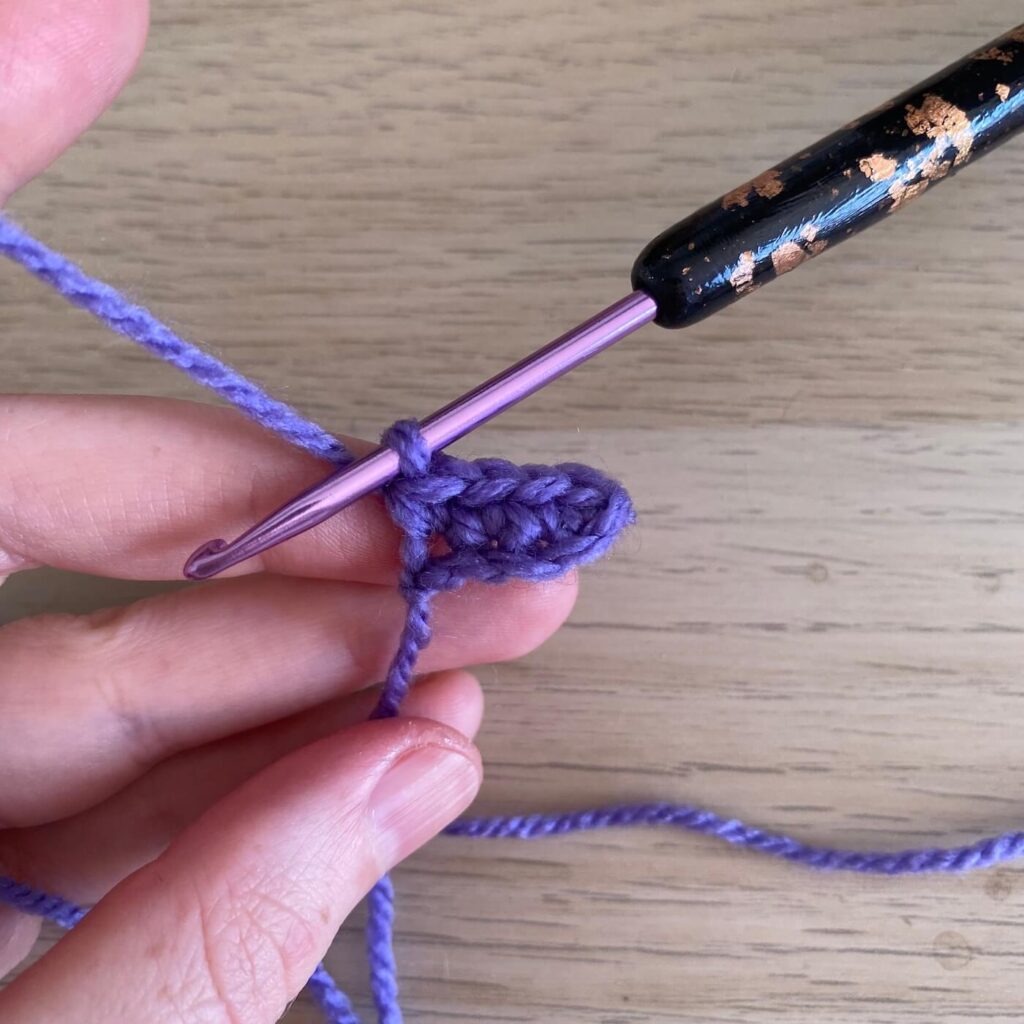
row 1: (in Purple) ch 4 (4)
row 2: ch 1, turn, starting in the 2nd chain from the hook sc in each stitch up and down either side of chain (8)
rows 3-4: sc 8 (8)
row 5: inc, sc 7 (9)
row 6: inc, sc 8 (10)
row 7: inc, sc 9 (11)
row 8: inc, sc 10 (12)
row 9: [ inc, sc 5 ]x 2 (14)
Finish off with a slip stitch and cut the yarn, leaving a tail approximately 12cm or 5 inches.
Legs (make 2)
row 1: (in Purple) MR 6sc (6)
row 2: inc 6 (12)
row 3: BLO sc 12 (12)
row 4: sc 3, popcorn 3, sc, popcorn 3, sc, popcorn 3, sc 4 (12)
row 5: sc 3, inc, sc 4, inc, sc 3 (14)
row 6: sc 14 (14)
First leg only
rows 7-8: sl st 7, sc 7 (14)
Second leg only
rows 7-8: sc 7, sl st 7 (14)
The last rows of the two legs are worked symmetrically to each other, to help create a curve which makes the legs sit nicer against the base curve of the body when we attach them later.
Finish off with a slip stitch and cut the yarn, leaving a tail approximately 12cm or 5 inches.
Top spike
row 1: (in Purple) MR 6sc (6)
row 2: sc 6 (6)
row 3: [ inc, sc ]x 3 (9)
row 4: sc 9 (9)
row 5: [ inc, sc 2 ]x 3 (12)
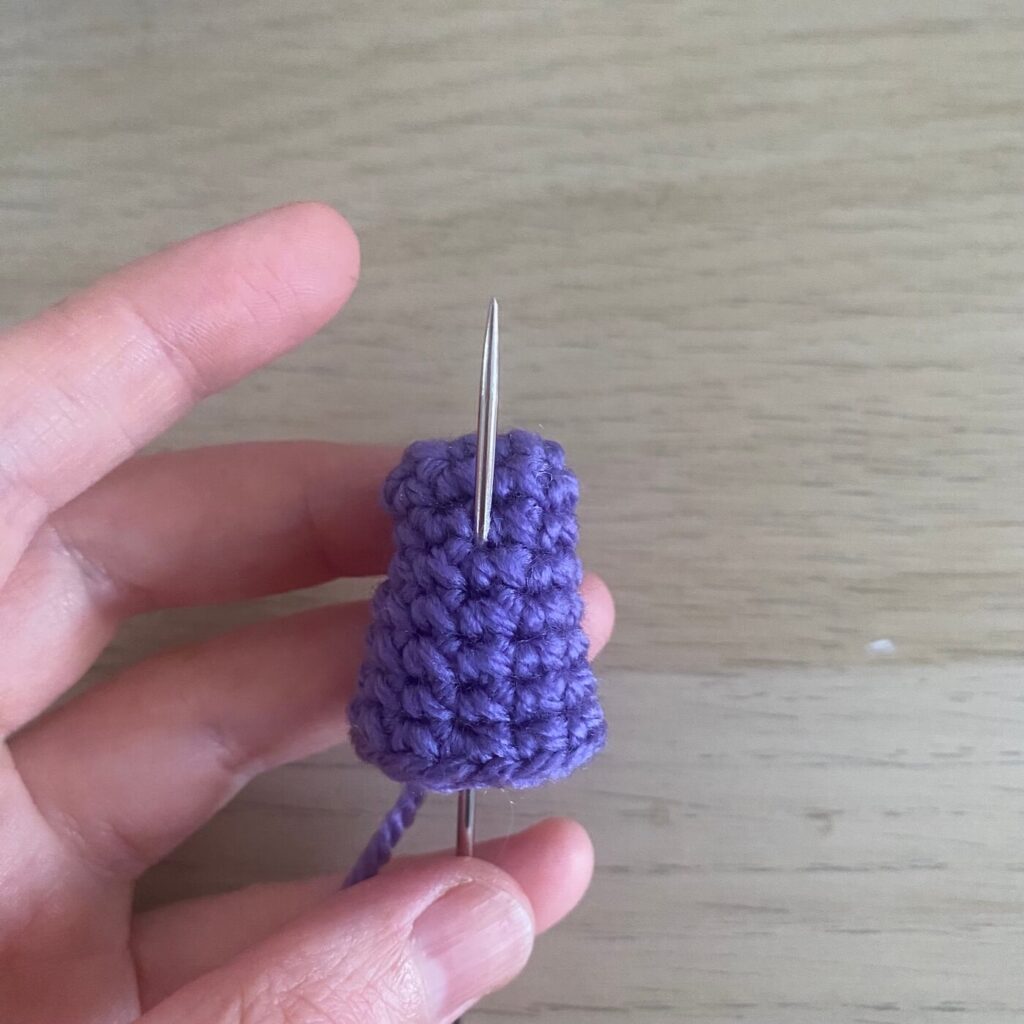
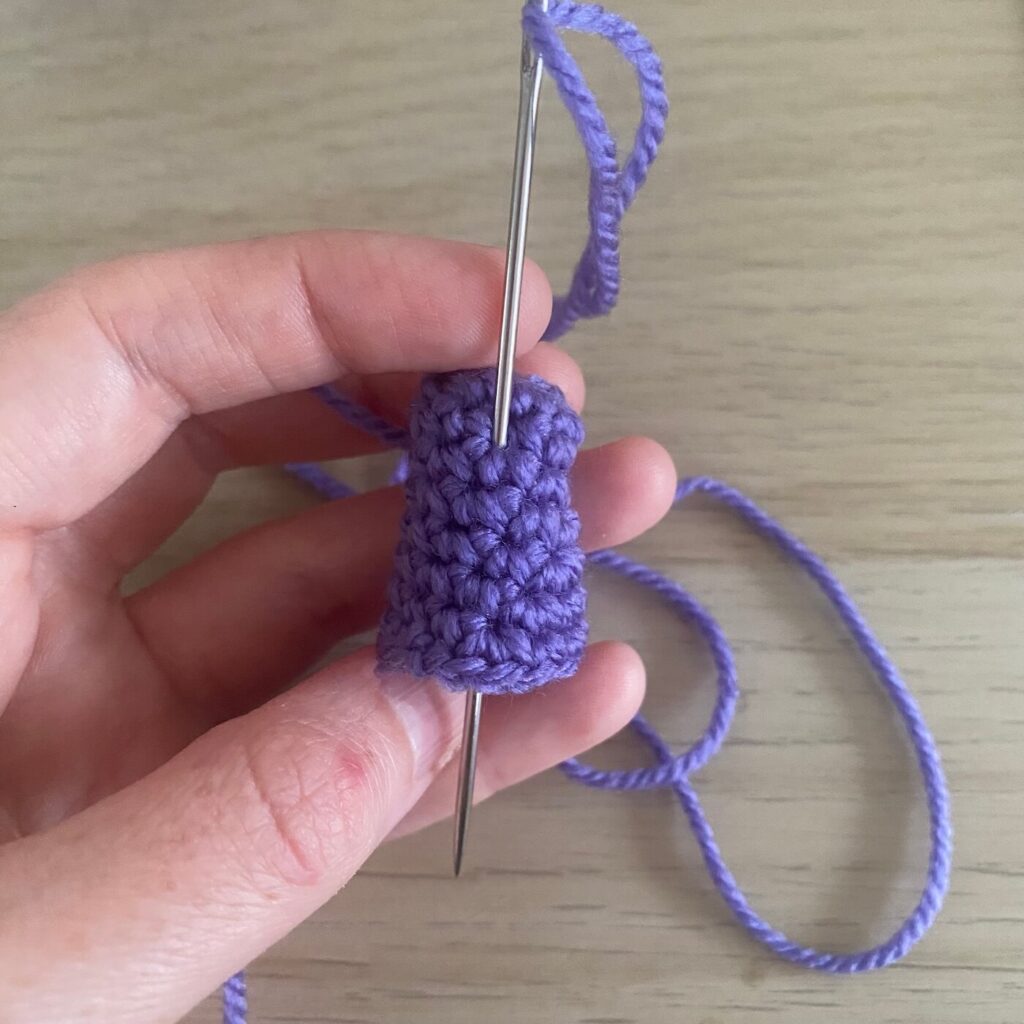
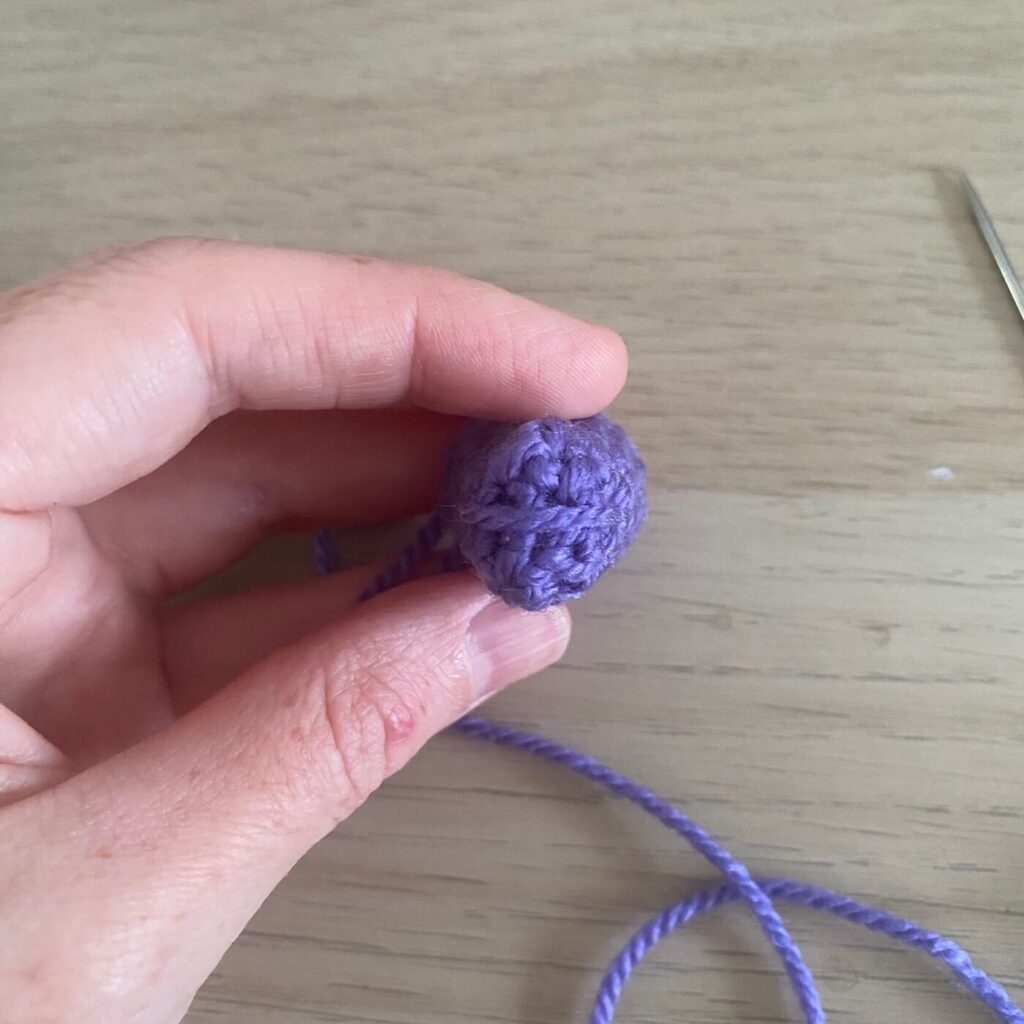
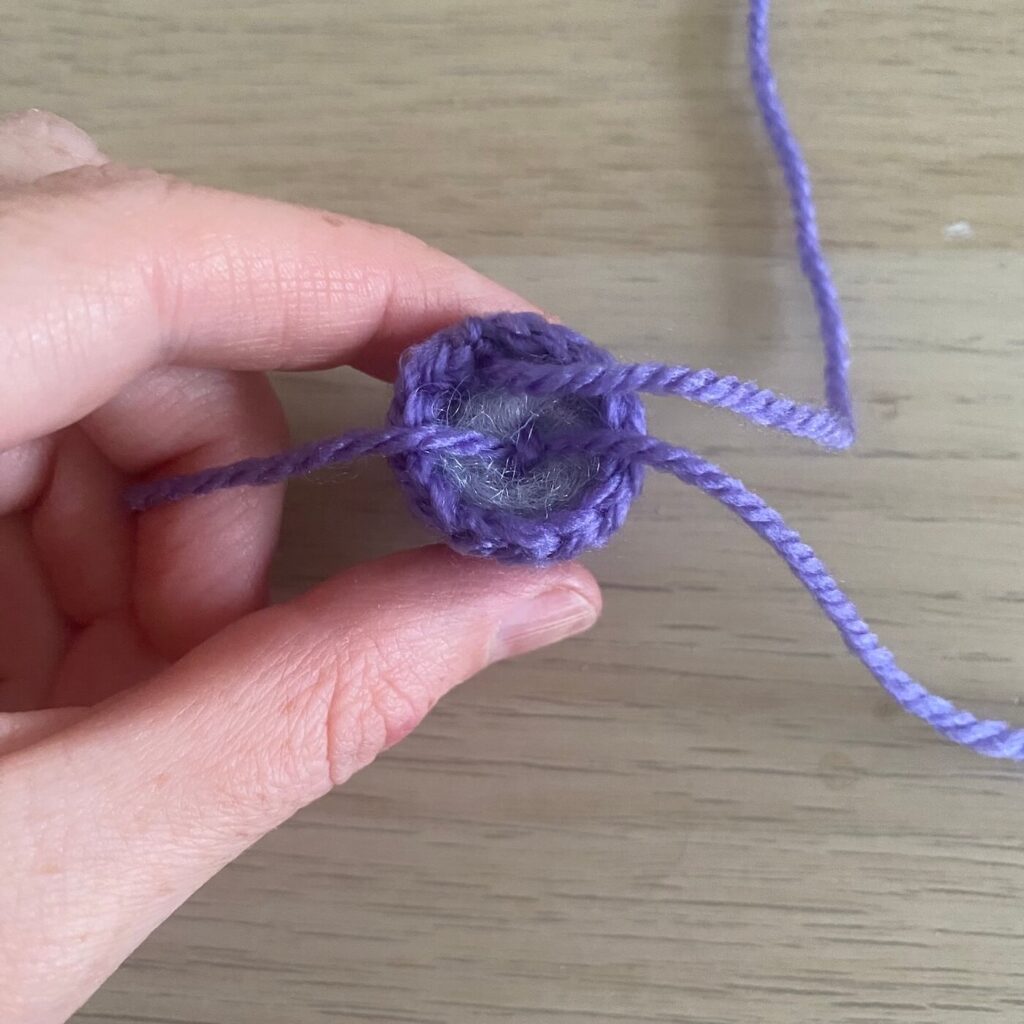
Finish off with a slip stitch and cut the yarn, leaving a tail approximately 12cm or 5 inches.
Little spikes (make 6)
row 1: (in Purple) MR 6sc (6)
row 2: sc 6 (6)
row 3: [ inc, sc ]x 3 (9)
Finish off with a slip stitch and cut the yarn, leaving a tail approximately 12cm or 5 inches.
Eyebrows (make 2)
row 1: (in Purple) ch 4 (4)
row 2: ch 1, turn, sc 4 (4)
To finish off, grab the tail from the starting chain and pull it through the stitch on the hook. Leave a tail for sewing on later.
Tail
row 1: (in Purple) MR 6sc (6)
row 2: sc 6 (6)
row 3: inc 3, sc 3 (9)
row 4: inc, sc 8 (10)
row 5: sc 10 (10)
row 6: inc, sc 9 (11)
row 7: inc, sc 10 (12)
row 8: inc, sc 11 (13)
Finish off with a slip stitch and cut the yarn, leaving a tail approximately 12cm or 5 inches.
Putting it all together
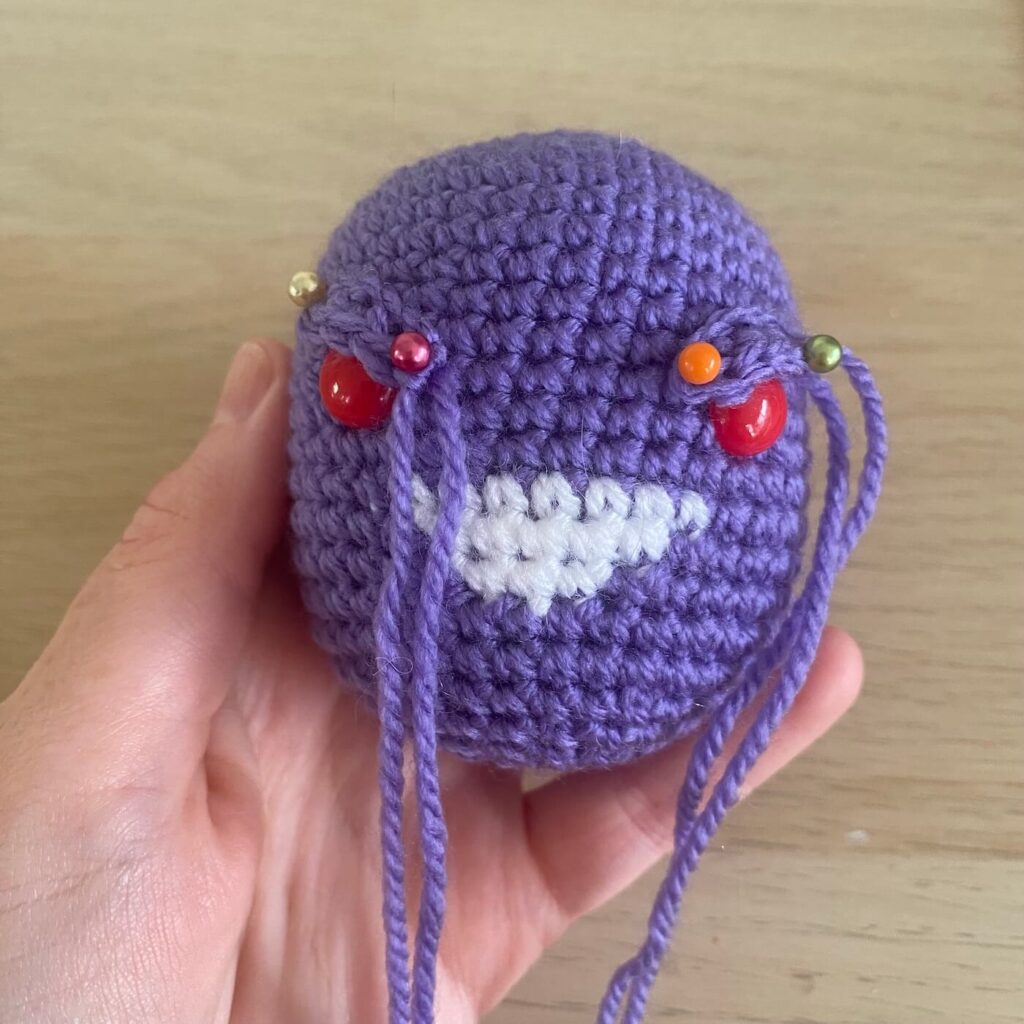
Now it’s time to start sewing all of this together! I like to start with the eyebrows. For attaching all of the pieces I follow the same method: pin them in place first until I’m comfortable with their position, and then thread the tails onto a yarn needle and sew through every stitch for a nice tidy finish. See this tutorial for more info on attaching pieces.
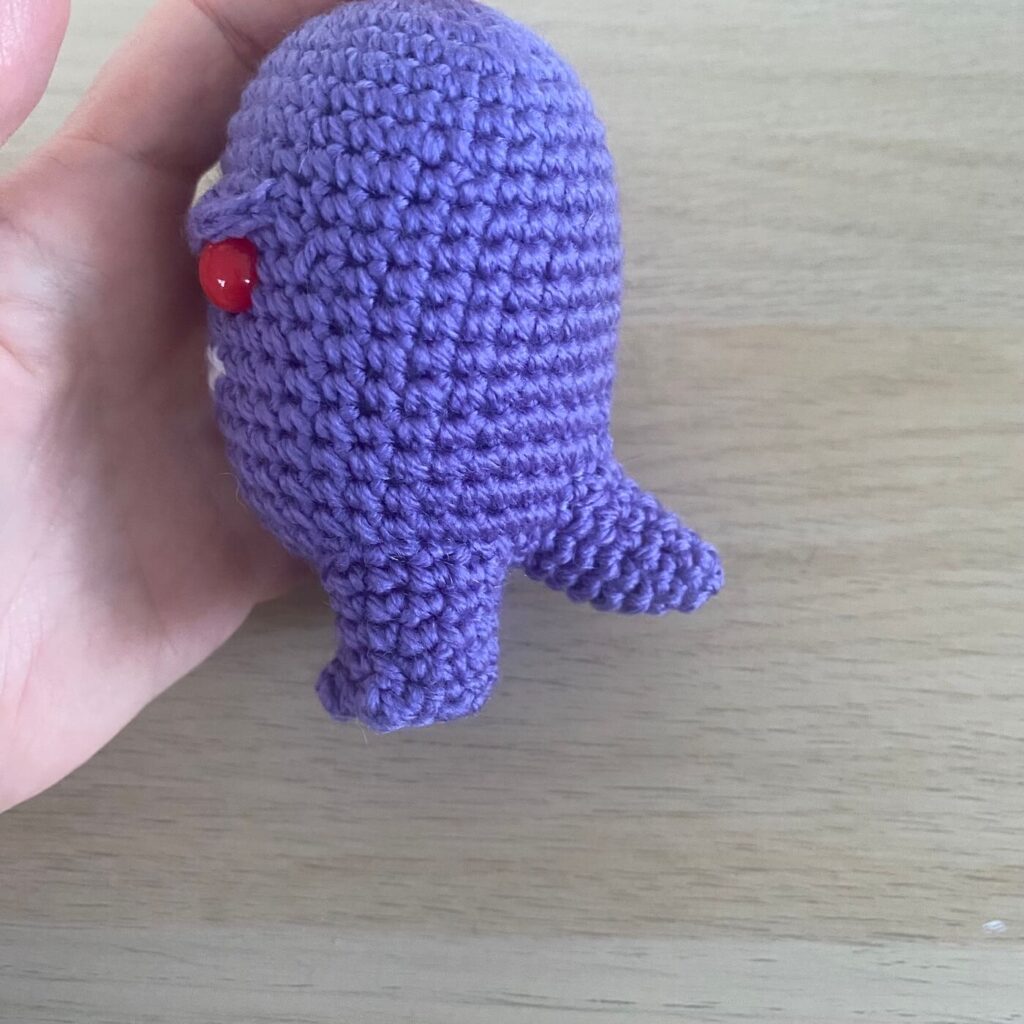
Next, stuff the legs and pin them in place. When stuffing the legs, make sure not to stuff so much that the bottom of the feet bulge outwards. Preferably they should stay flat to help Gengar balance. The shaping of the left and right legs should help with positioning. After the legs, attach the tail and then the doll should be able to stand on it’s own.

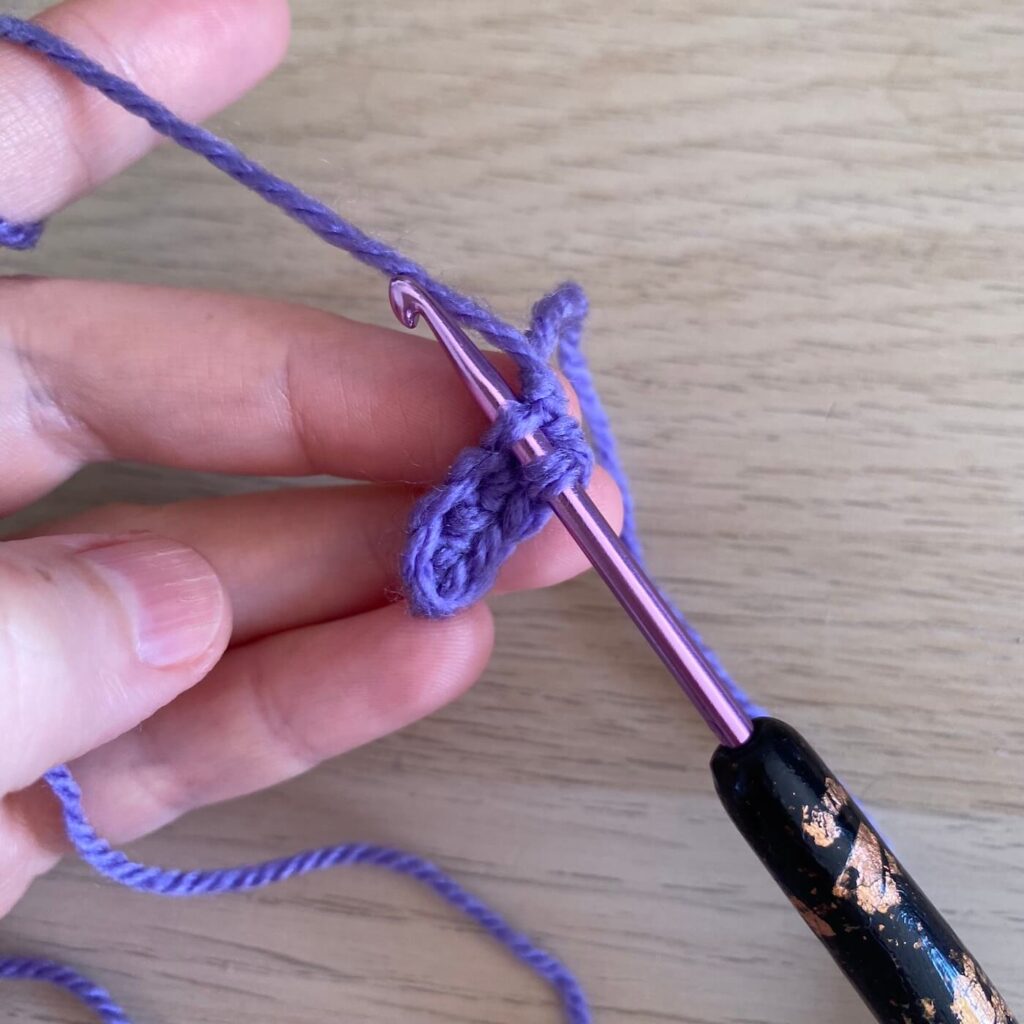
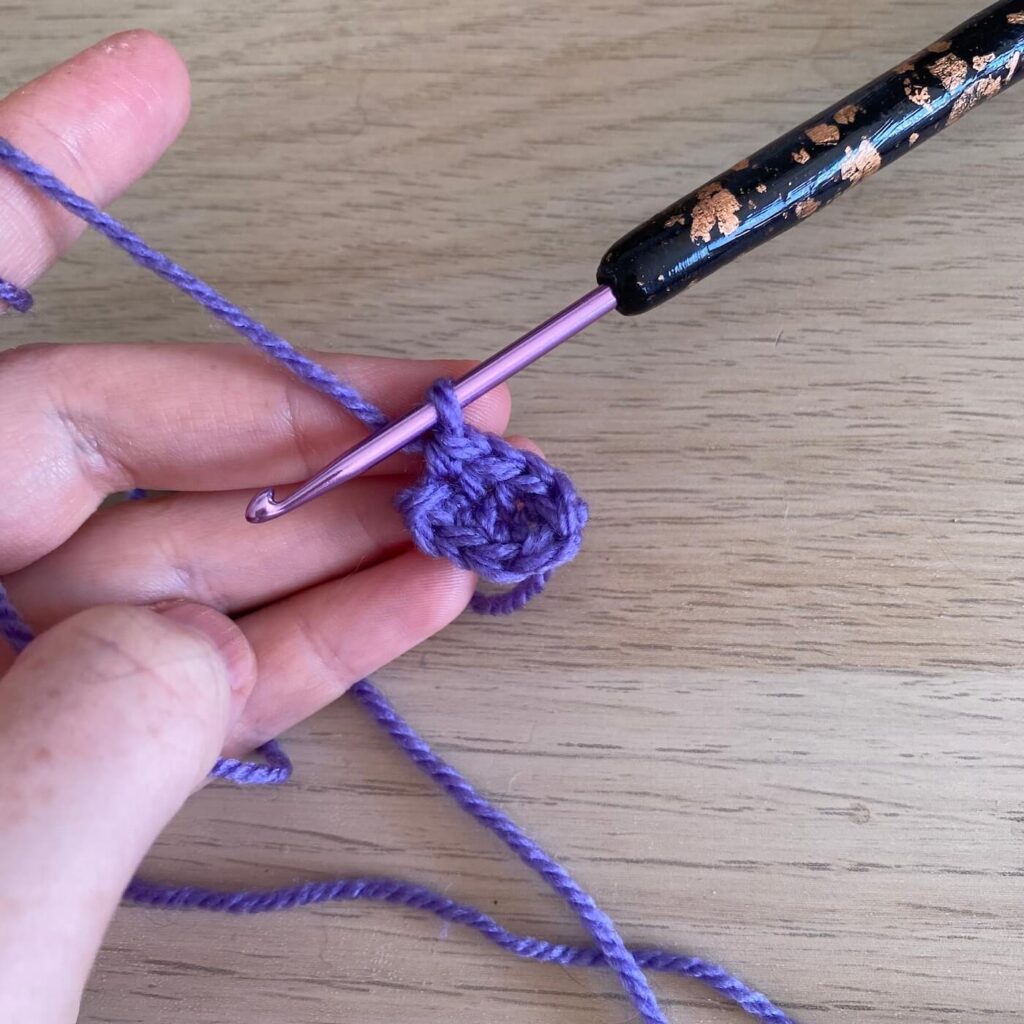
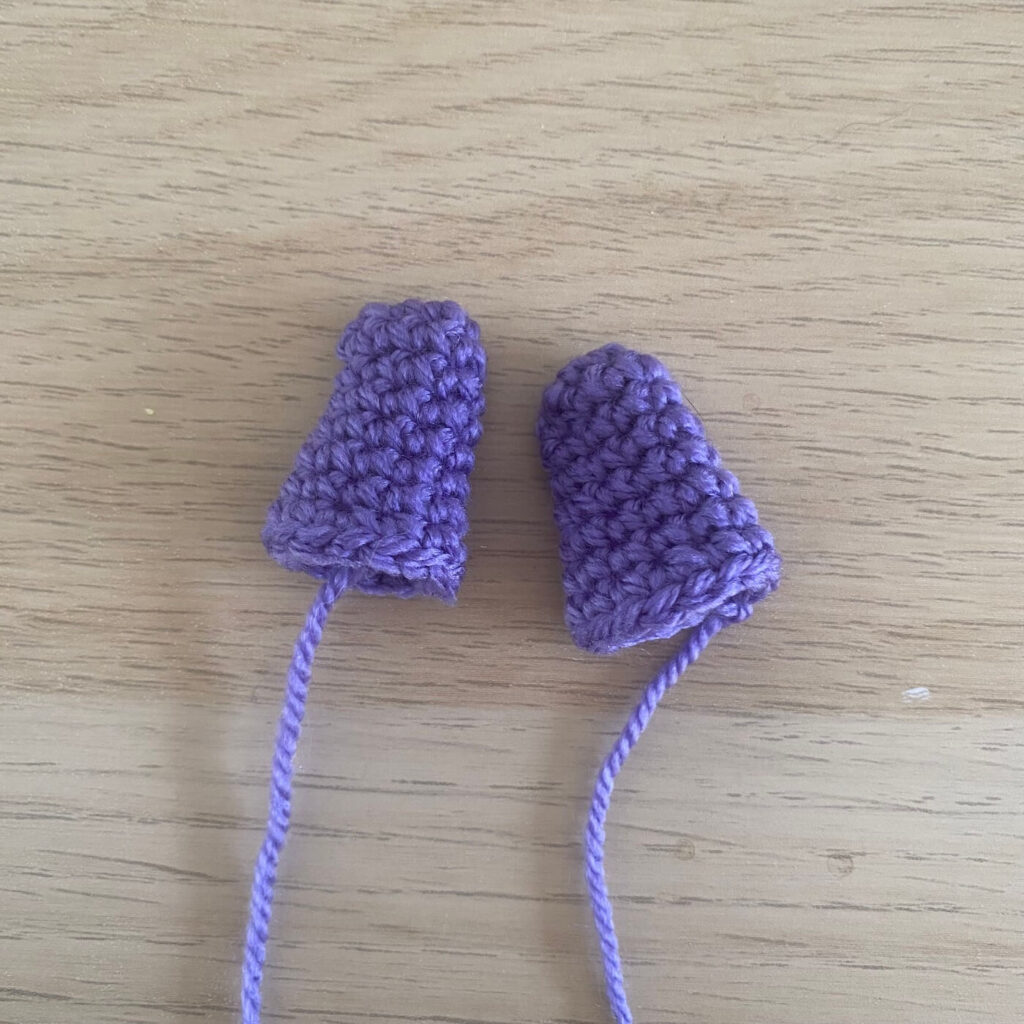
The arms are next. First stuff them to help them hold their shape. Next take a length of purple yarn onto a yarn needle. We’re using this length of yarn to create a fingertip shape.
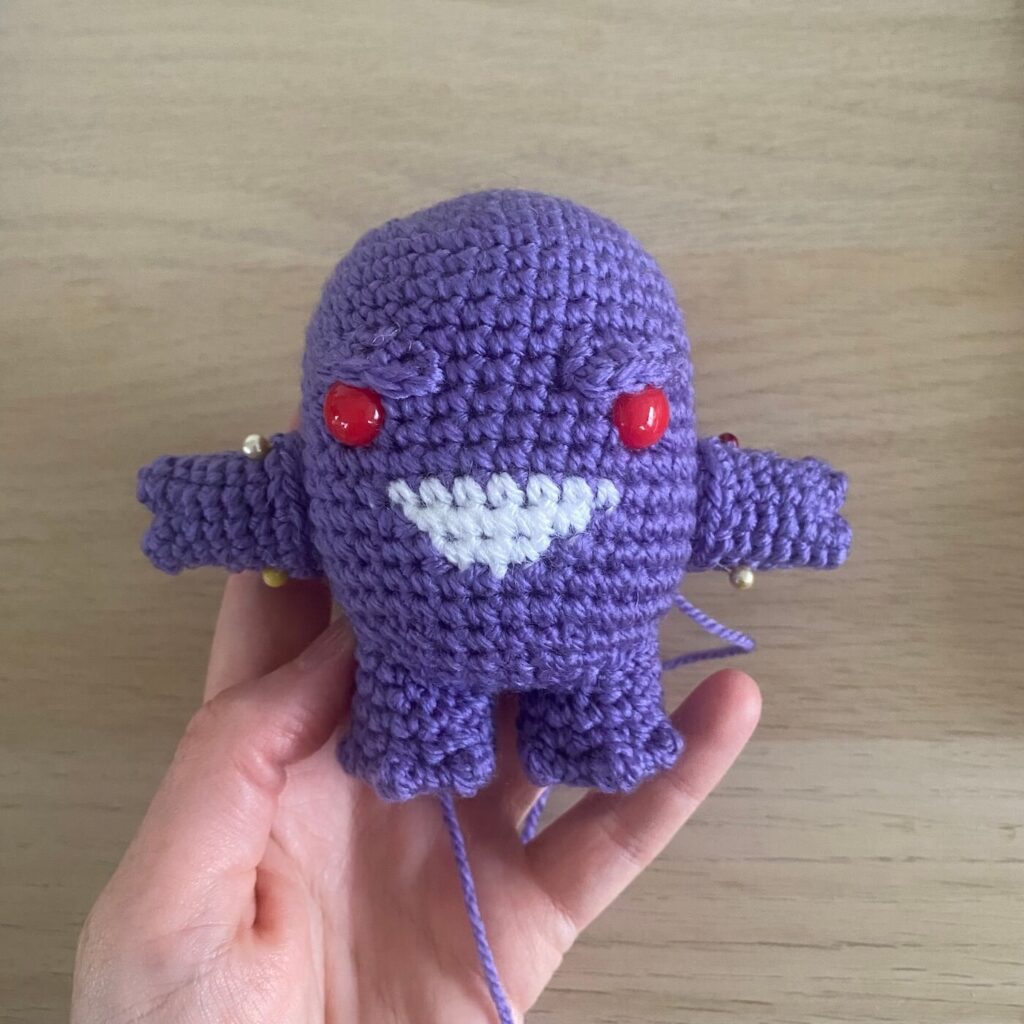
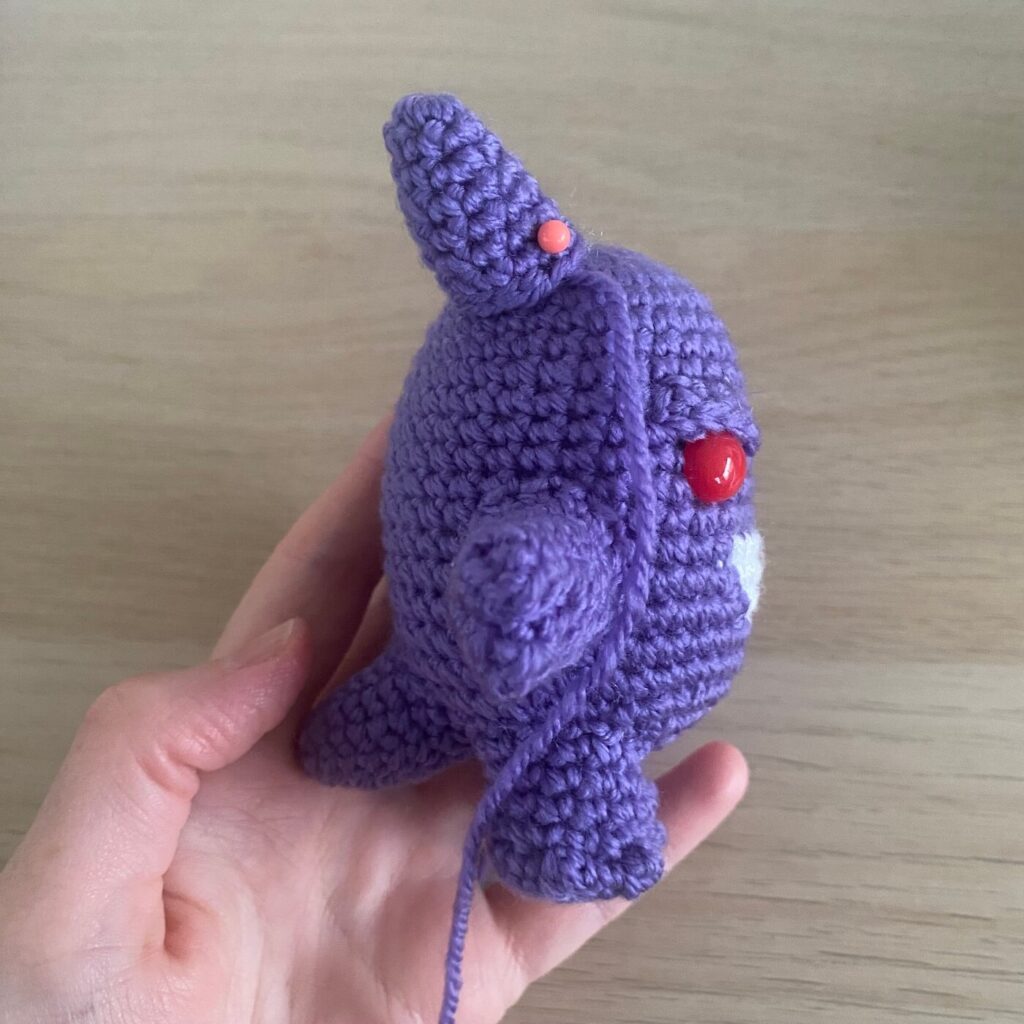
Next we’re going to attach the ears. Lightly stuff, and then position these so that they are more towards the back of the head, and if possible, so that they are pointing backwards.
The top spike is next. Stuff lightly and position at the back of the head, in between the ears but lower down.
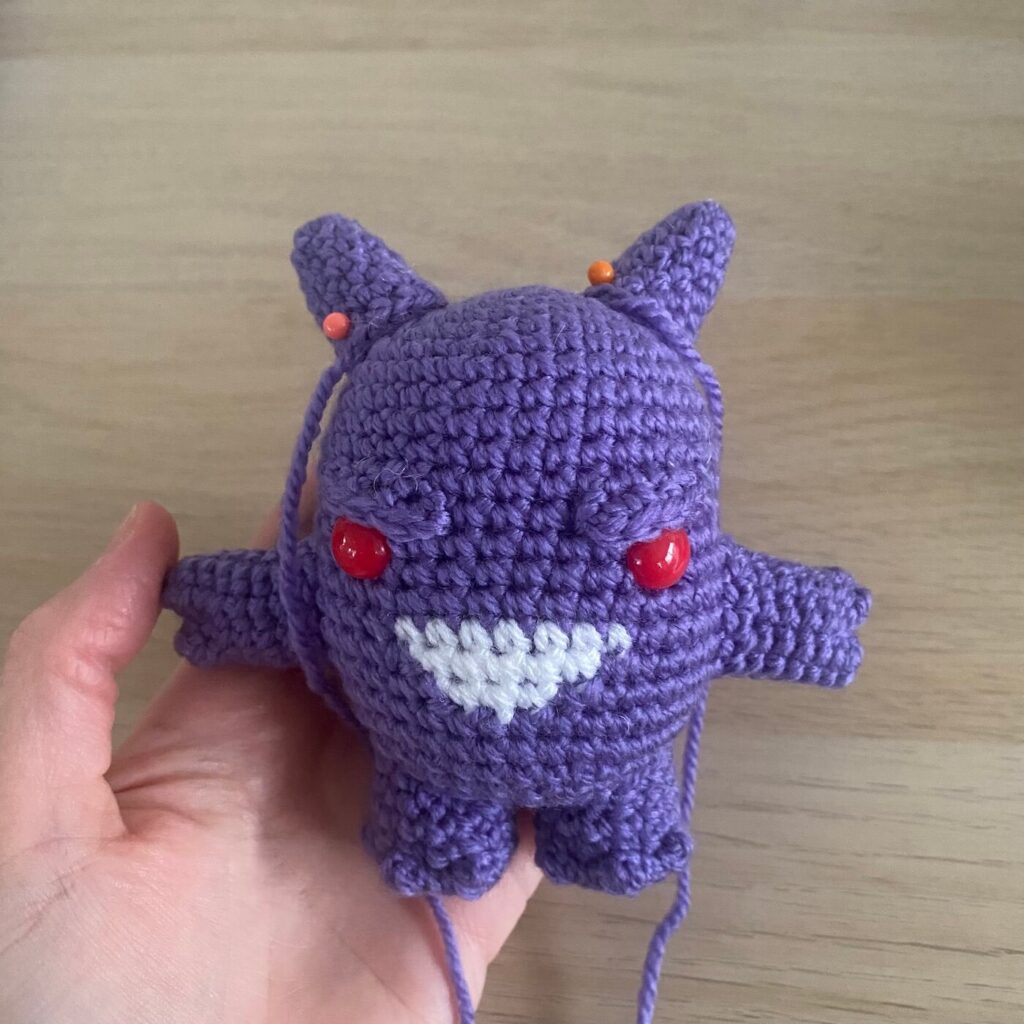

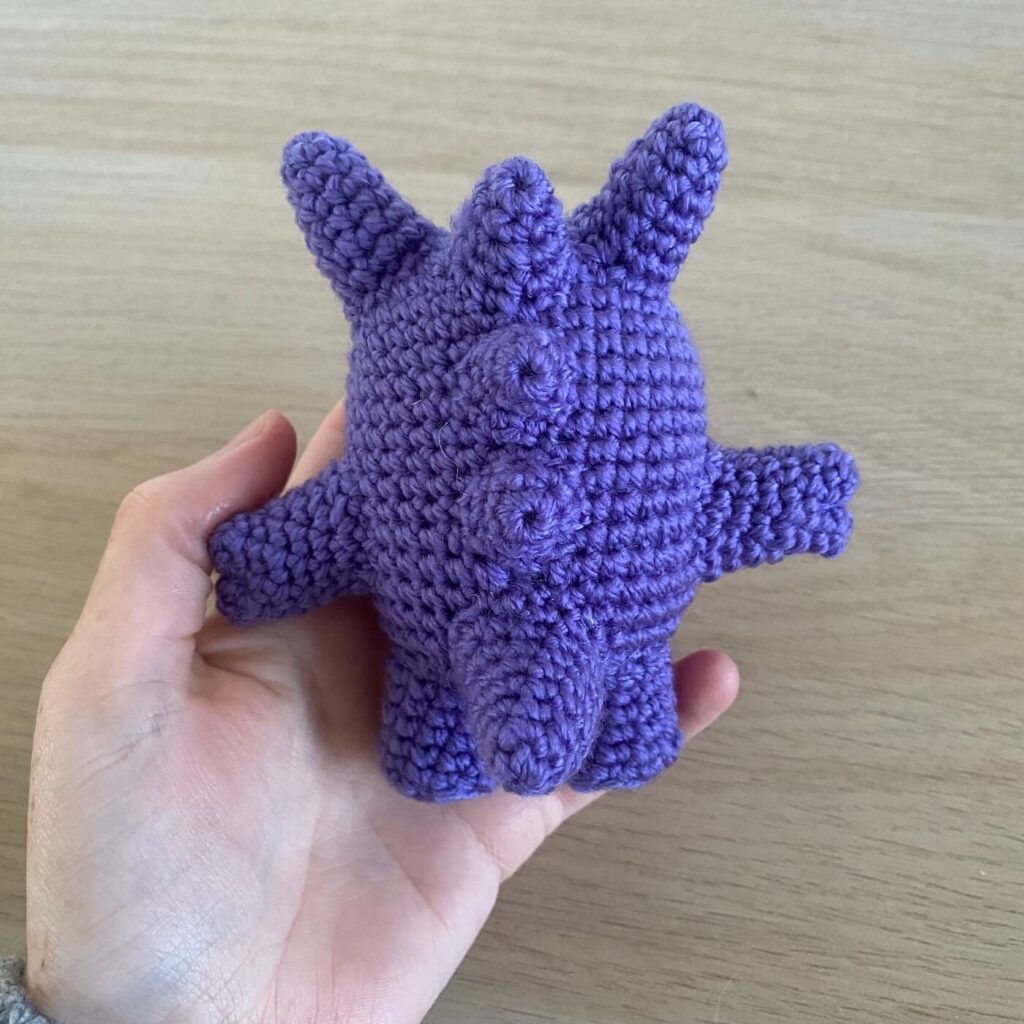
We’re almost done with the sewing! If you chose to sew the little spikes, it’s time to attach these. They’re so small that they don’t require stuffing, and I start with the two centre ones, which should fit in between the top spike and the tail.
The last 4 are positioned to the right and left of the centre spike, and I put them slightly higher as well.


Congratulations you’ve done it! The sewing is done, phew!
Alternative spikes
If you hate sewing pieces onto amigurumi, which can be a bit tedious at the end of a project when you’re excited to see the finished product, I’ve also created an alternative version of the body pattern that uses popcorn stitches instead of making the small spikes separately. You can see a picture below comparing the two versions – the popcorn stitches are a little smaller and more spaced out, but still work!
Although this version has less sewing, it’s a bit more finicky on positioning – it will be easy for things to get out of alignment, especially if your stitches twist differently to mine. I highly recommend checking the positioning of all of these elements as you go.
Popcorn Body
This is the alternative body pattern if you want to skip crocheting and sewing on the back spikes – we’ll make them with popcorn stitches instead!
row 1: (in Purple) MR 6sc (6)
row 2: inc 6 (12)
row 3: inc 3, sc 3, inc 3, sc 3 (18)
row 4: sc 2, inc 3, sc 6, inc 3, sc 4 (24)
row 5: sc 4, inc 3, sc 9, inc 3, sc 5 (30)
row 6: [ sc 2, inc, sc 2]x 6 (36)
rows 7-9: sc 36 (36)
At this point, make sure you have the correct side on the “outside” of the doll (check out this tutorial for more info). This starting shape should be an oval.
For the next rows, we’ve basically swapped the front and the back of the doll compared to the sewn on version, to try and make it easier to position/centre spikes and the mouth.
row 10: sc 13, popcorn 5sc, sc 7, popcorn 5sc, sc 14 (36)
row 11: sc 17, popcorn 6sc, sc 18 (36)
rows 12-14: sc 36 (36)
row 15: sc 14, popcorn 5sc, sc 7, popcorn 5sc, sc 13 (36)
row 16: sc 18, popcorn 6sc, sc 14, (change to White) sc 3 (36)
row 17: (continue in White) sc 4, (change to Purple) sc 30, (change to White) sc 2 (36)
row 18: (continue in White) sc 3, (change to Purple) sc 32, (change to White), sc 1 (36)
row 19: (continue in White) sc 2, (change to Purple) sc 34 (36)
row 20: sc 36 (36)
Before beginning row 21, insert your safety eyes two rows above the top of the mouth, between rows 13 and 14. The inside edge of the safety eye should line up with the edge of the mouth. After inserting the safety eyes, begin stuffing your amigurumi.
row 21: [ sc 2, dec, sc 2 ]x 6 (30)
row 22: [ dec, sc 3 ]x 6 (24)
row 23: [ sc, dec, sc ]x 6 (18)
row 24: [ dec, sc ] x 6 (12)
Continue stuffing your amigurumi, being careful not to overstuff. See this stuffing tutorial for more info on finding the right balance.
row 25: dec 6 (6)
Finish off the body by closing up the hole (see this tutorial here).
Once the body is finished, I like to take a length of purple yarn and embroider over the messy areas of the colour changes. This step is completely optional.
Congratulations, you’ve done it!
Although this pattern has a few more pieces than my usual Pokemon patterns, I hope the pictures and explanations still make it an easy crochet pattern for beginners to follow. I’m so happy with how the end result turned out, though I still can’t decide if I like him better without eyebrows or not – I left them in because even a Gengar amigurumi doll should still have a little mischievous expression, right?
Check out the other Pokemon patterns in the series, and if you make your own please tag it @53stitches on Instagram and Tumblr so I can check it out! I absolutely love seeing other people’s creations out in the wild.