
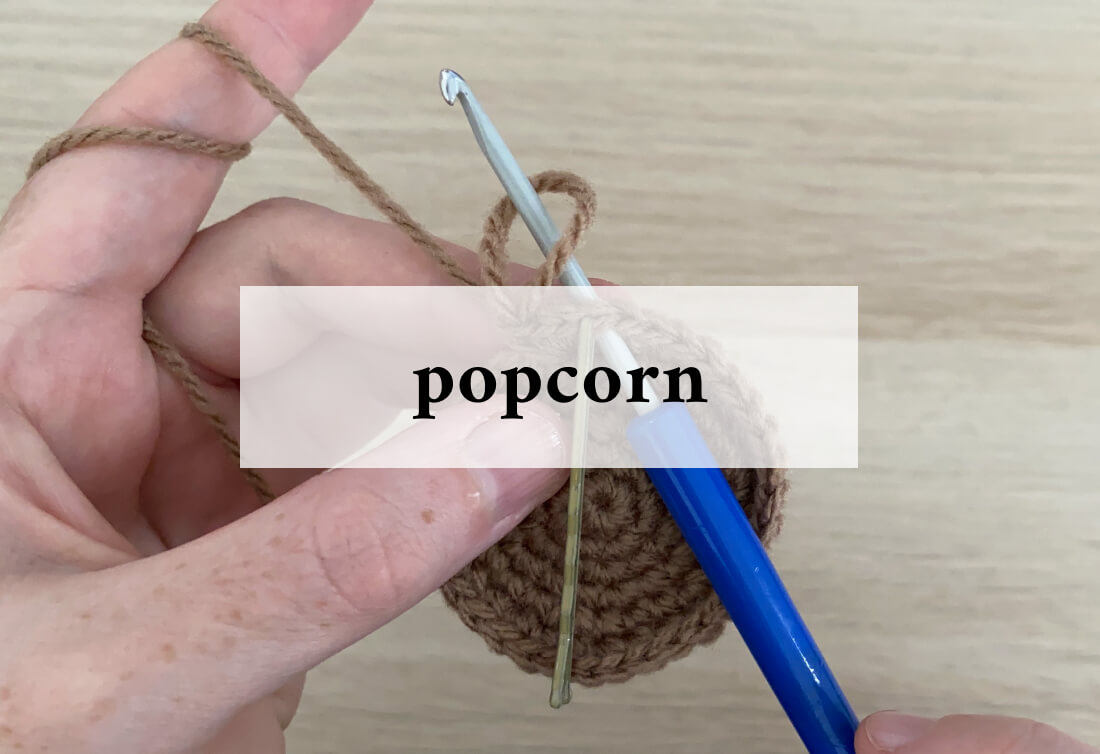
The popcorn stitch is the first of the crochet stitches outside the basics that I learnt. In amigurumi it’s a great stitch for creating little thumbs on hands, or noses and toes. It can be a bit tricky to start with, but once you get the hang of it you’ll realise it’s quite simple.
I like to use a stitch marker (such as a bobby pin) so that I can easily kep track of which stitch was the first, as we’ll need to find it again later.

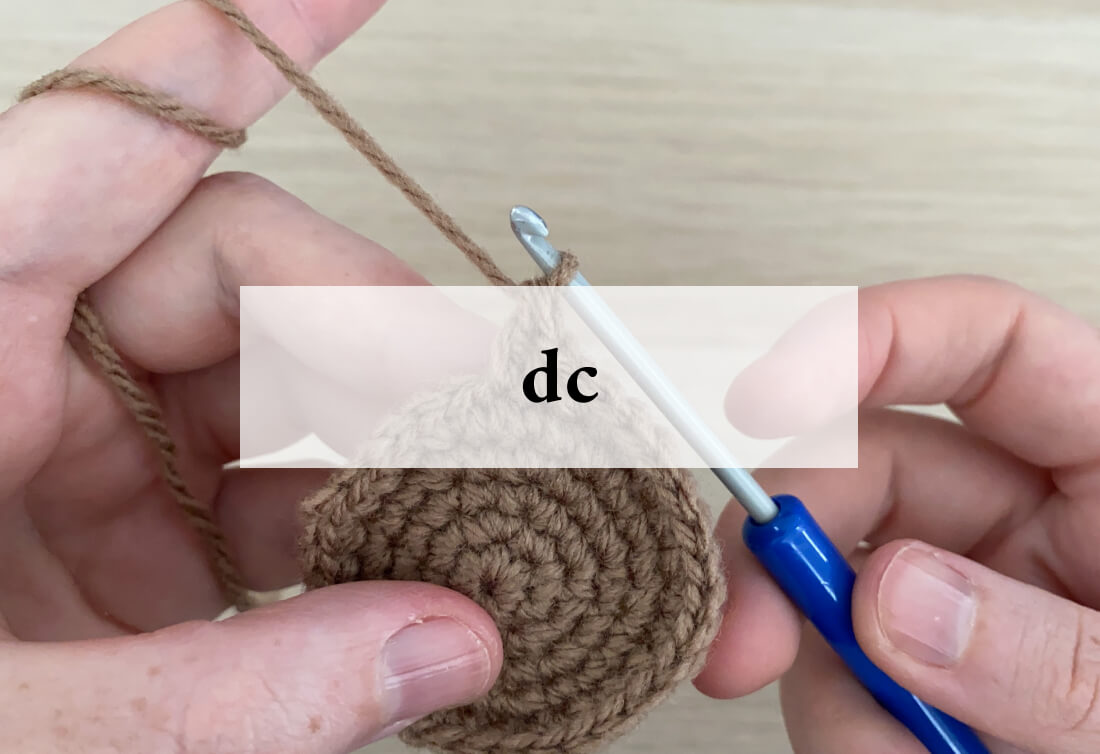
For a 4sc popcorn stitch, do 4 single crochets in the same stitch.
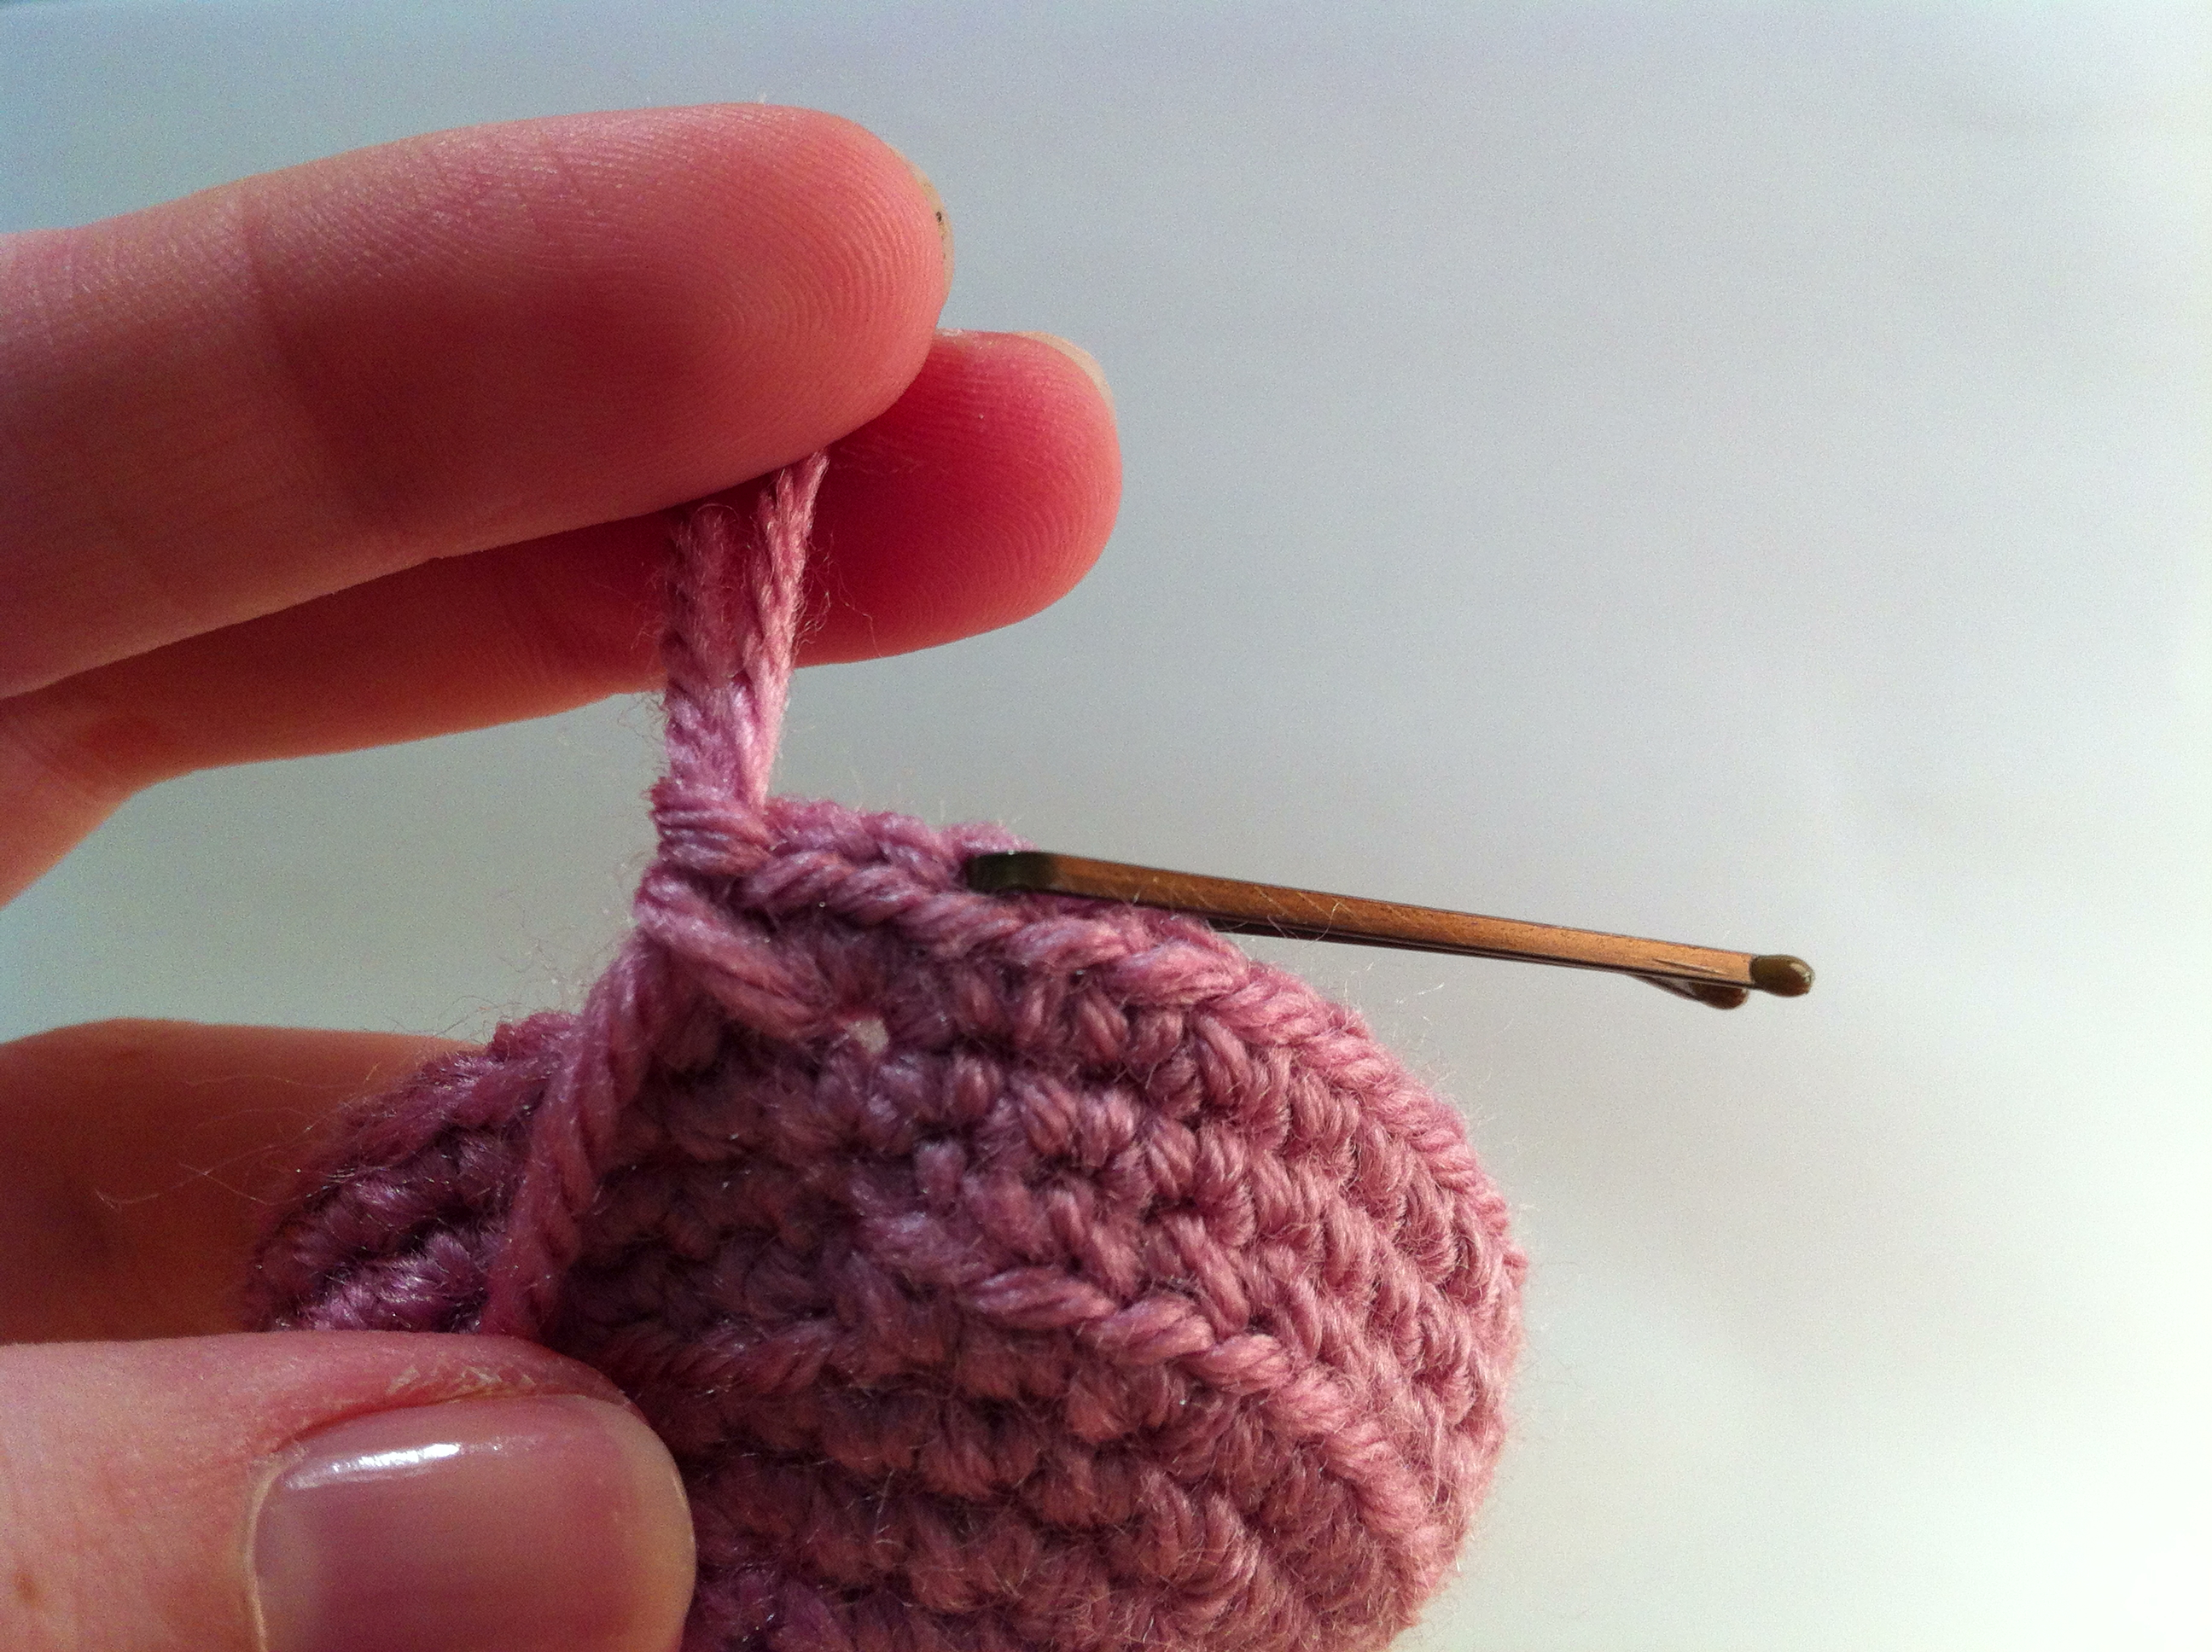
Then remove your hook, draw out the loop that was on your hook so you don’t lose it.
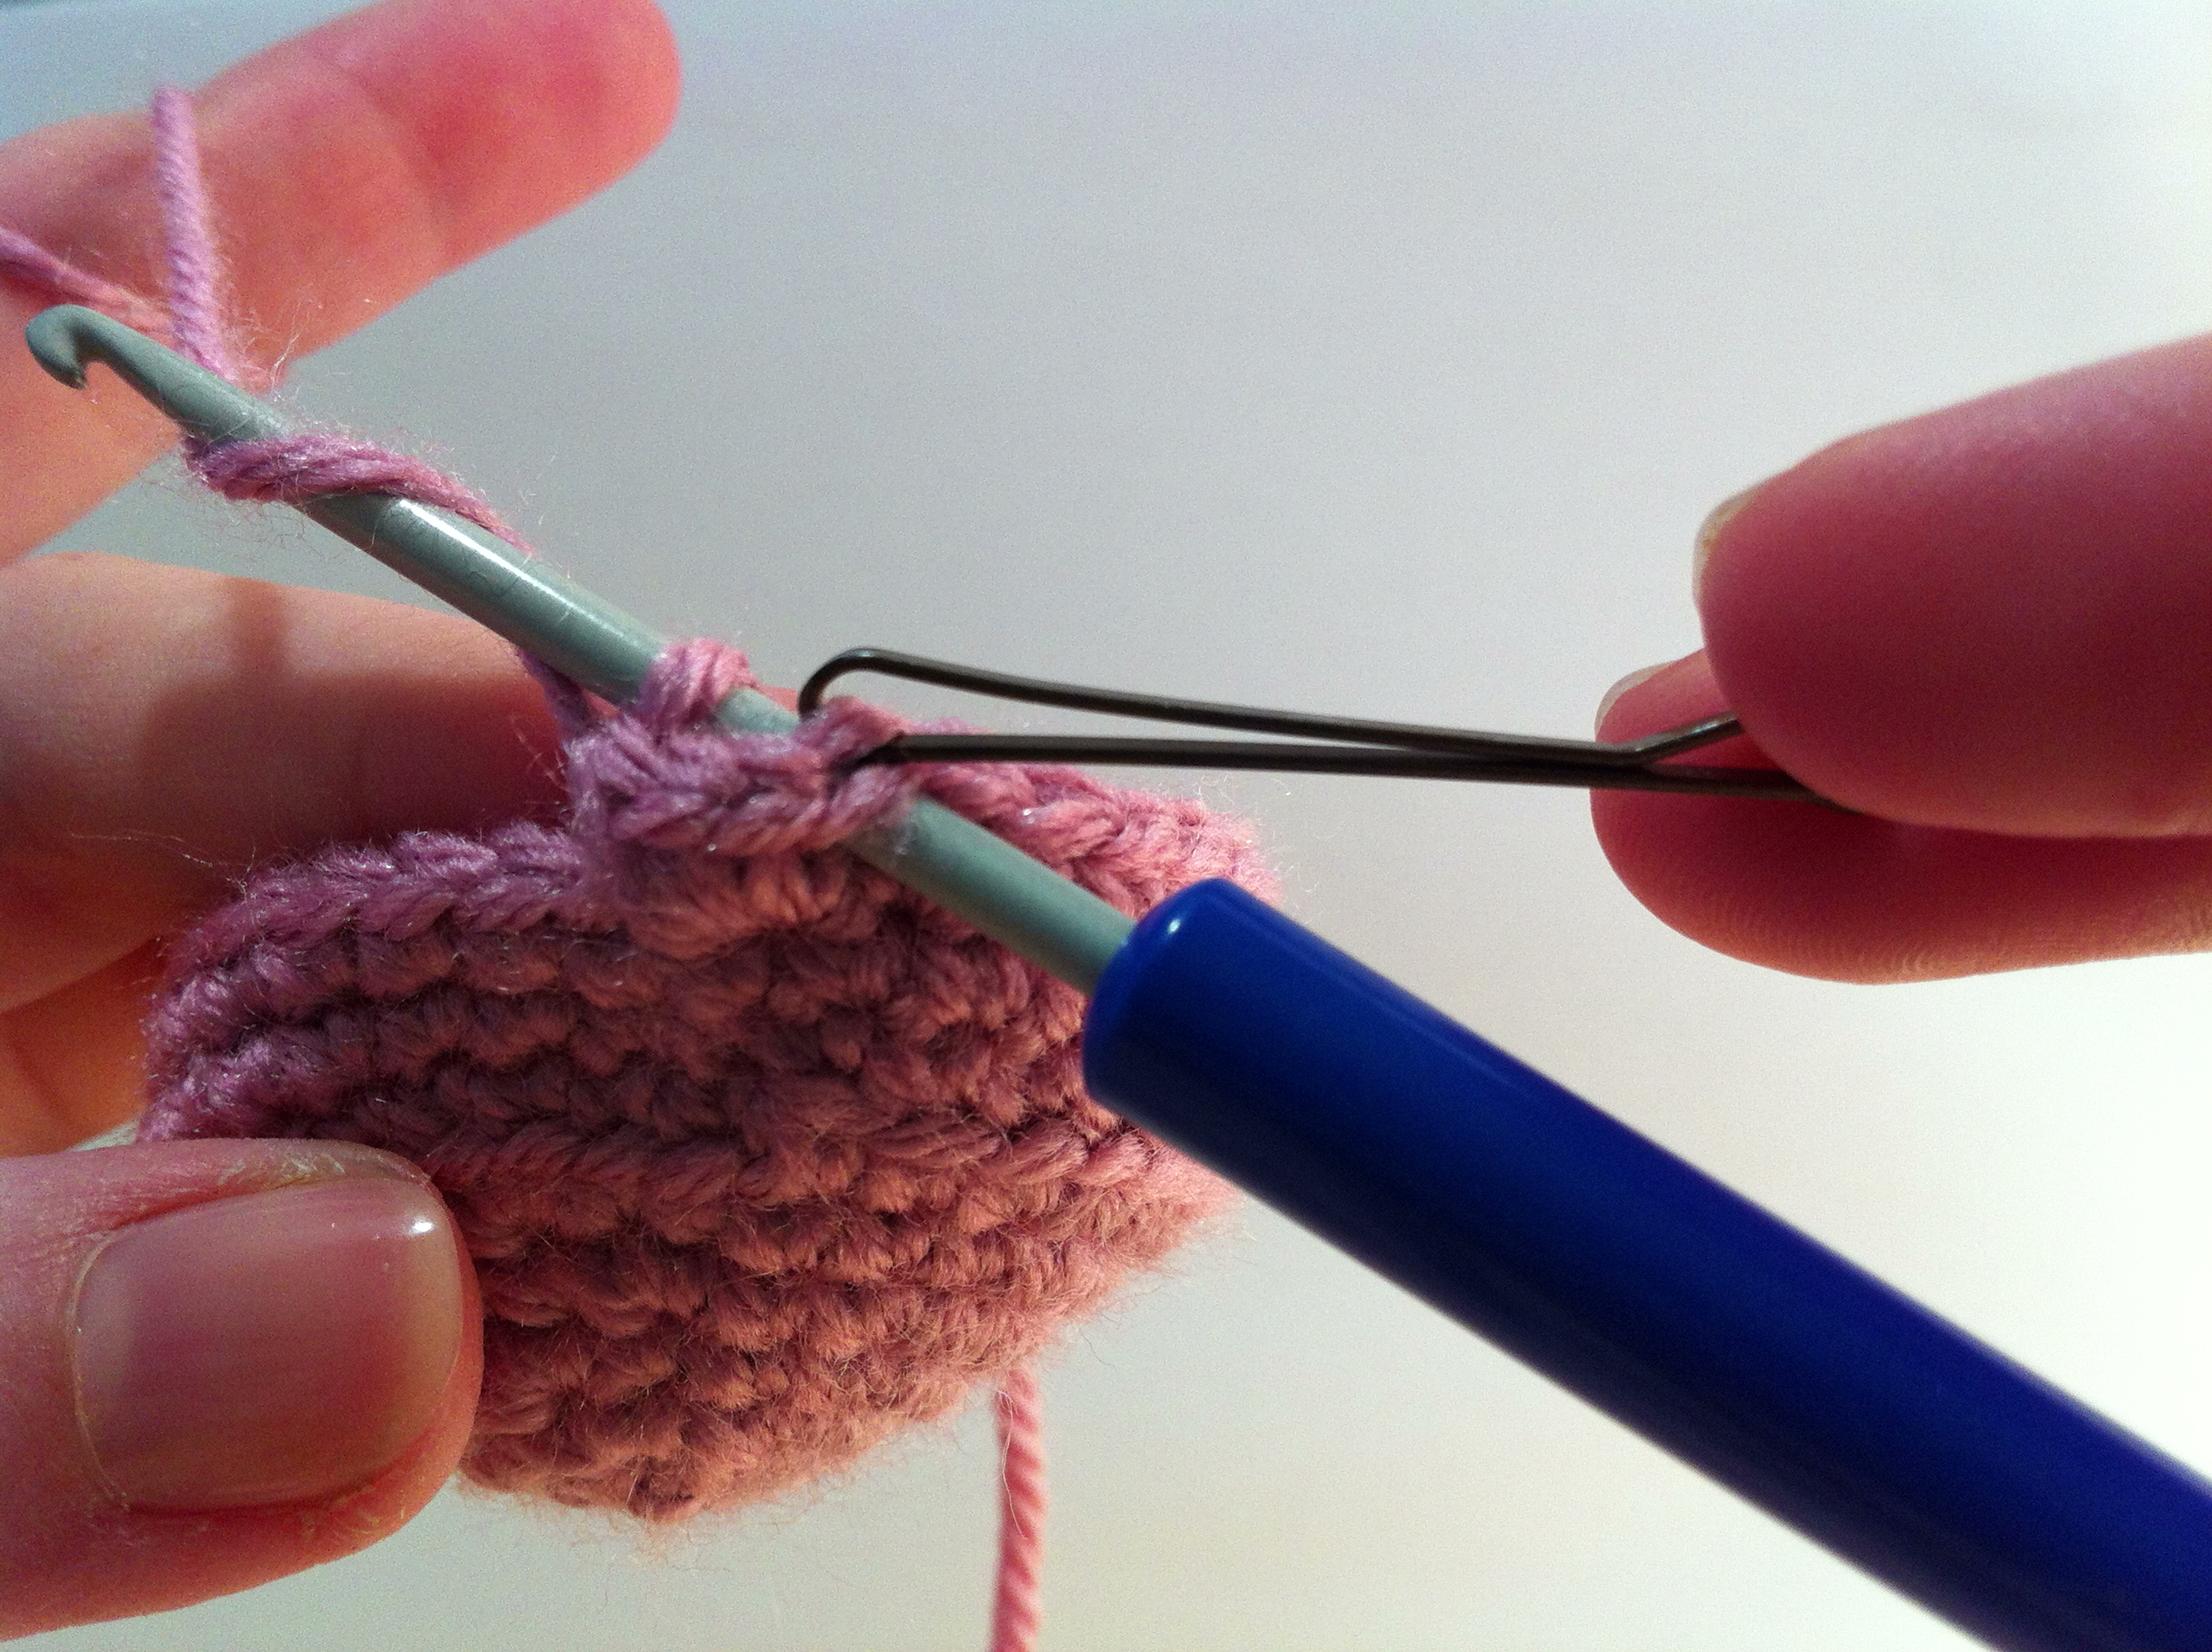
Insert your hook back into the first sc that was made in the stitch (the one marked by the bobby pin).
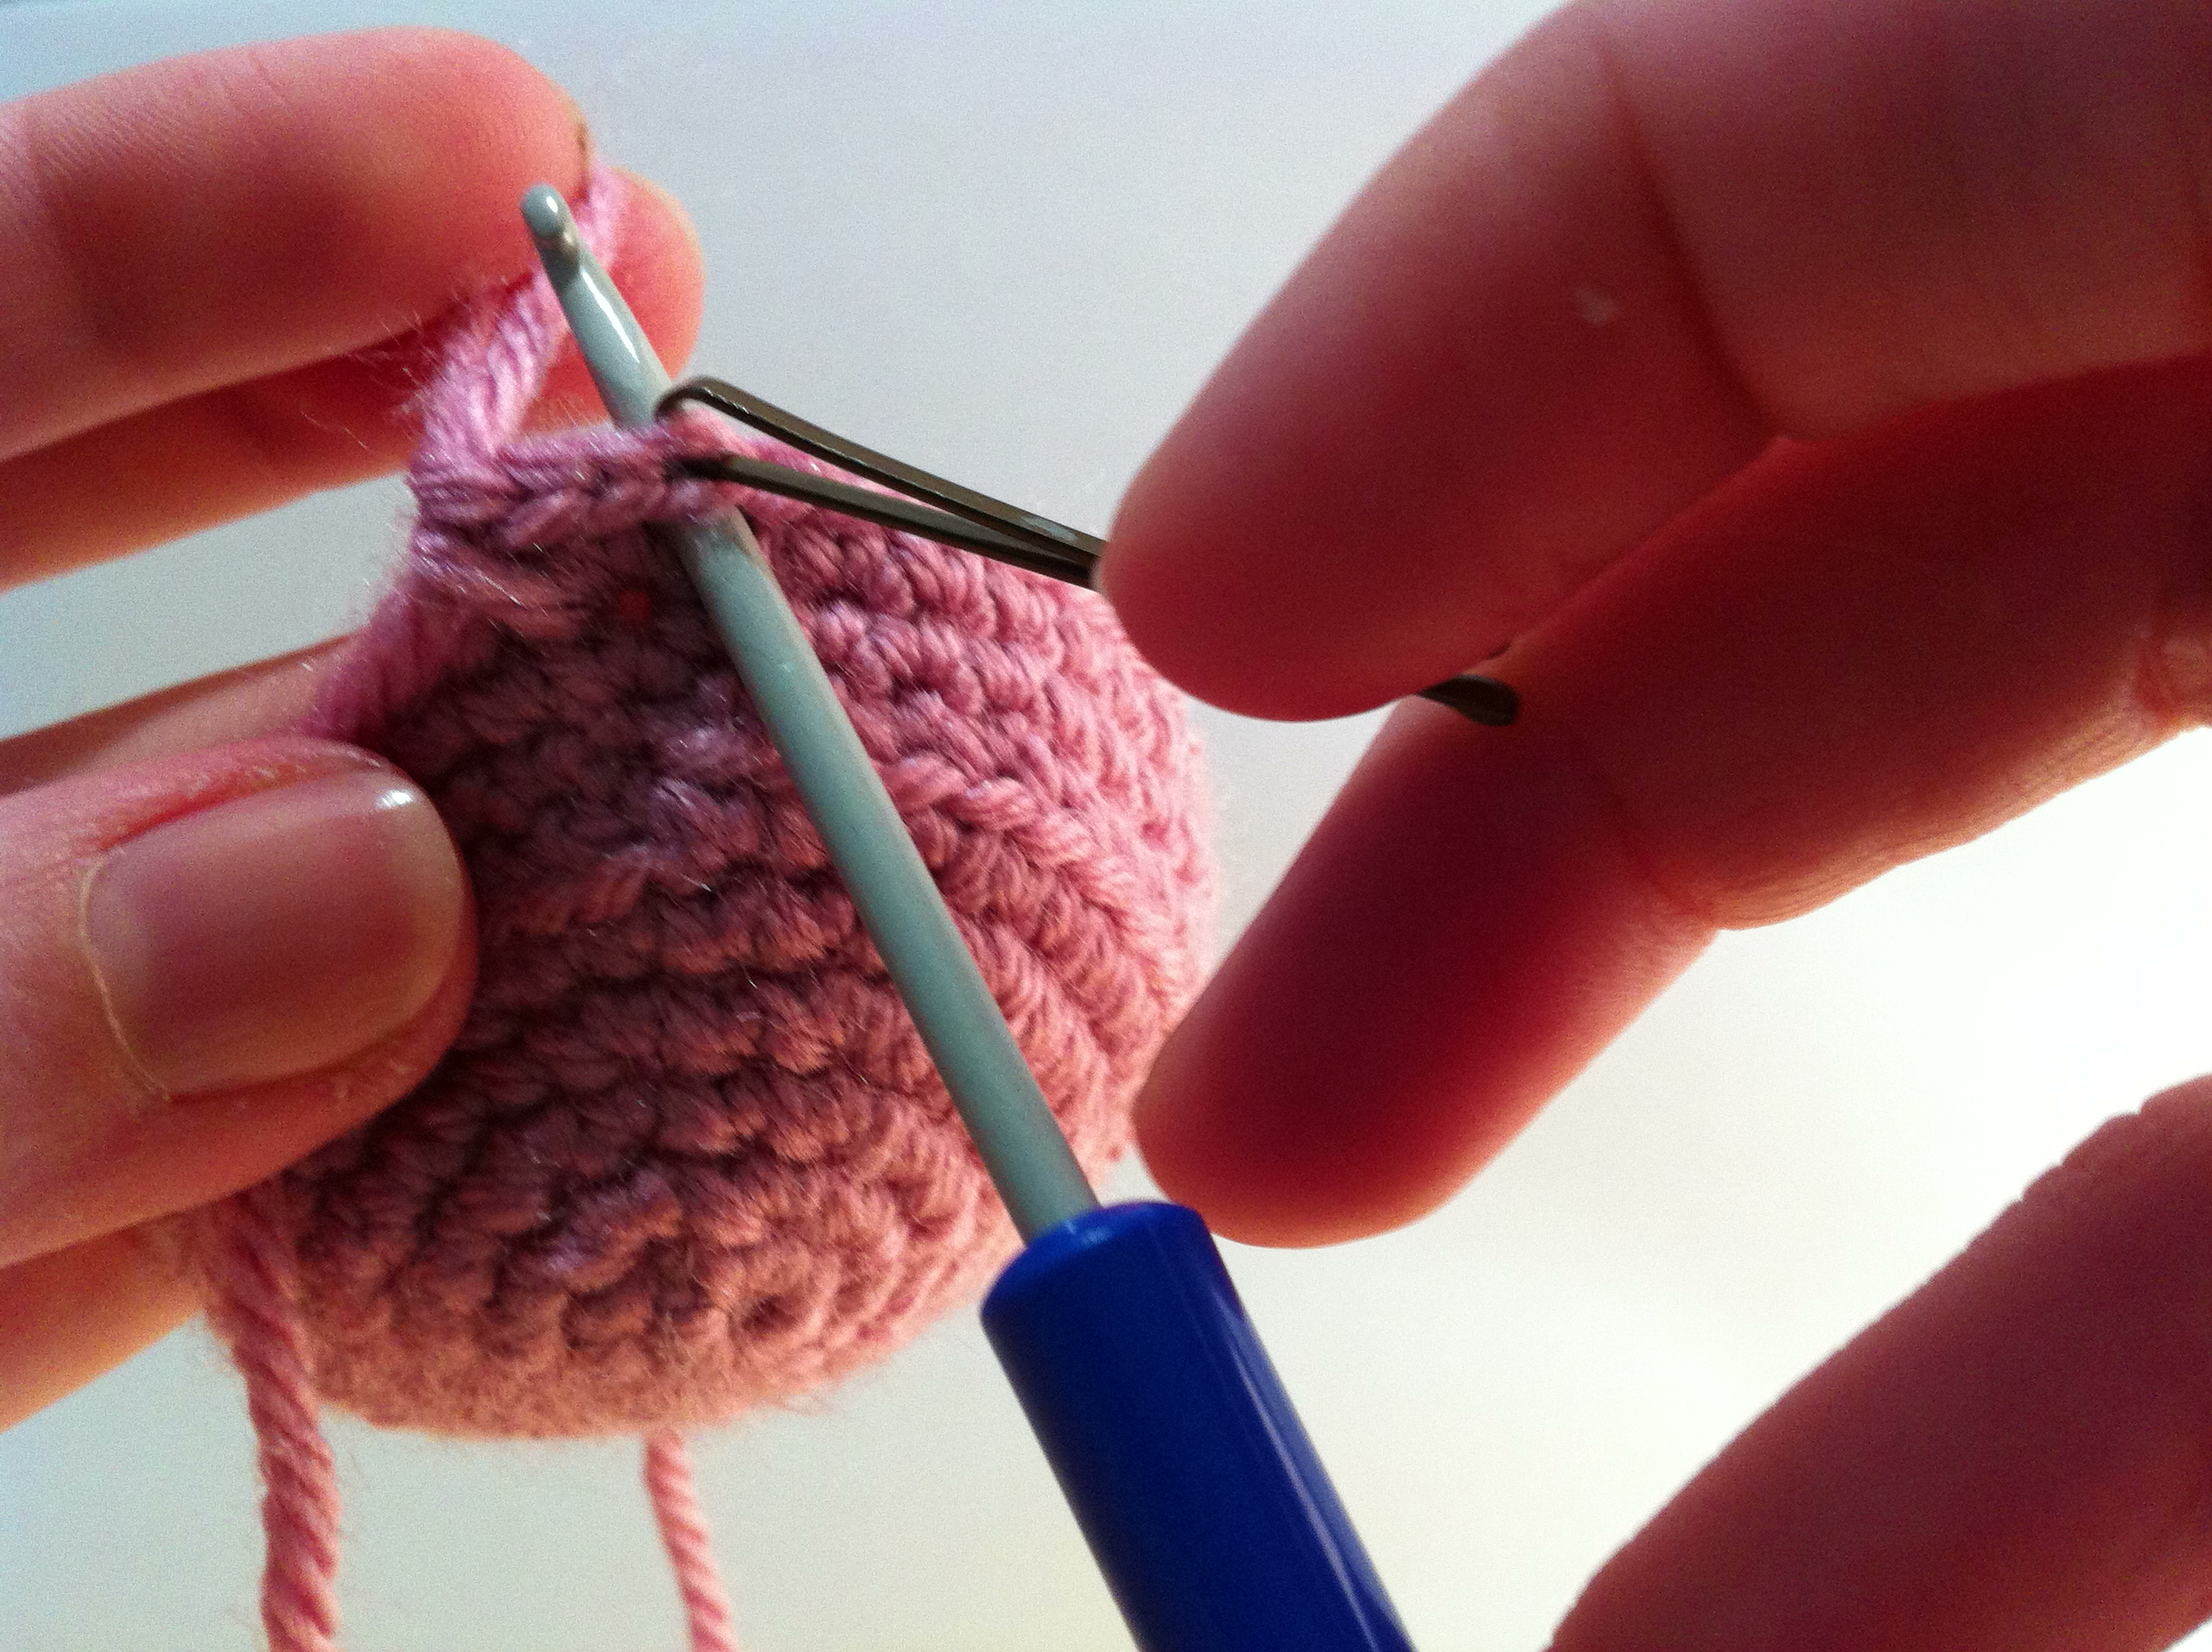
Put the loop from the last sc back onto the hook and tighten.
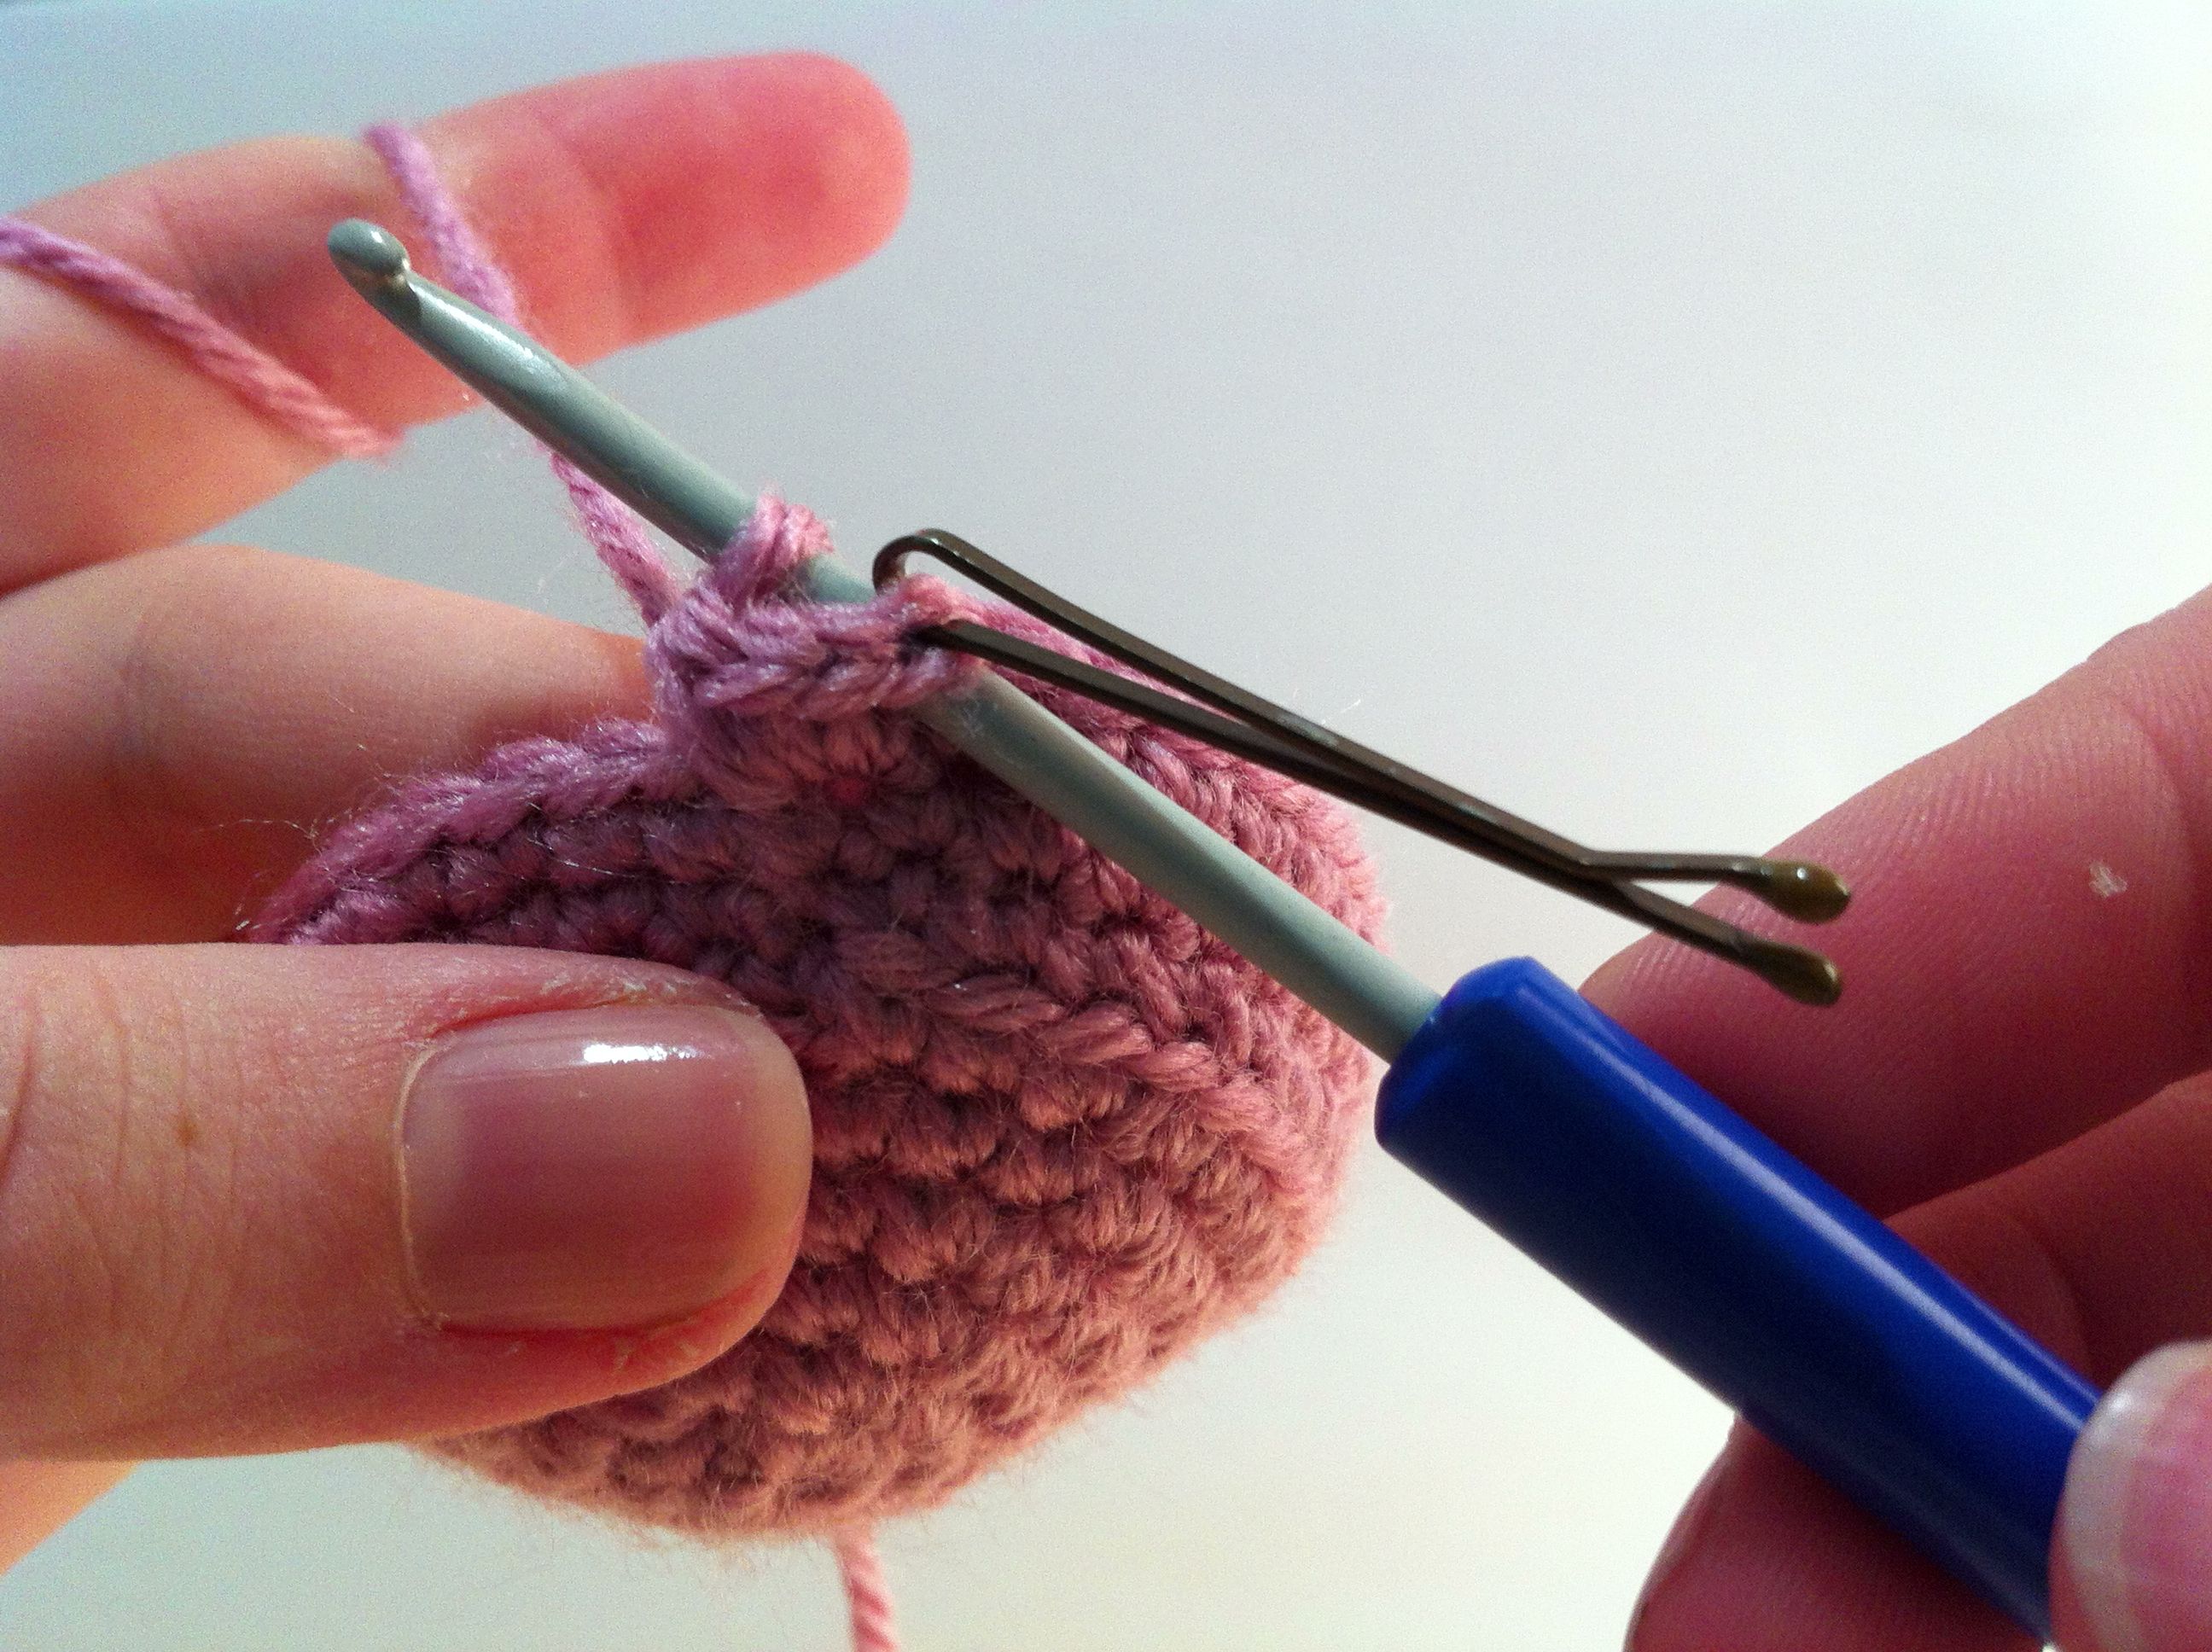
Yarn over and pull through the loop on the hook and through the first stitch (almost like completing a single crochet).
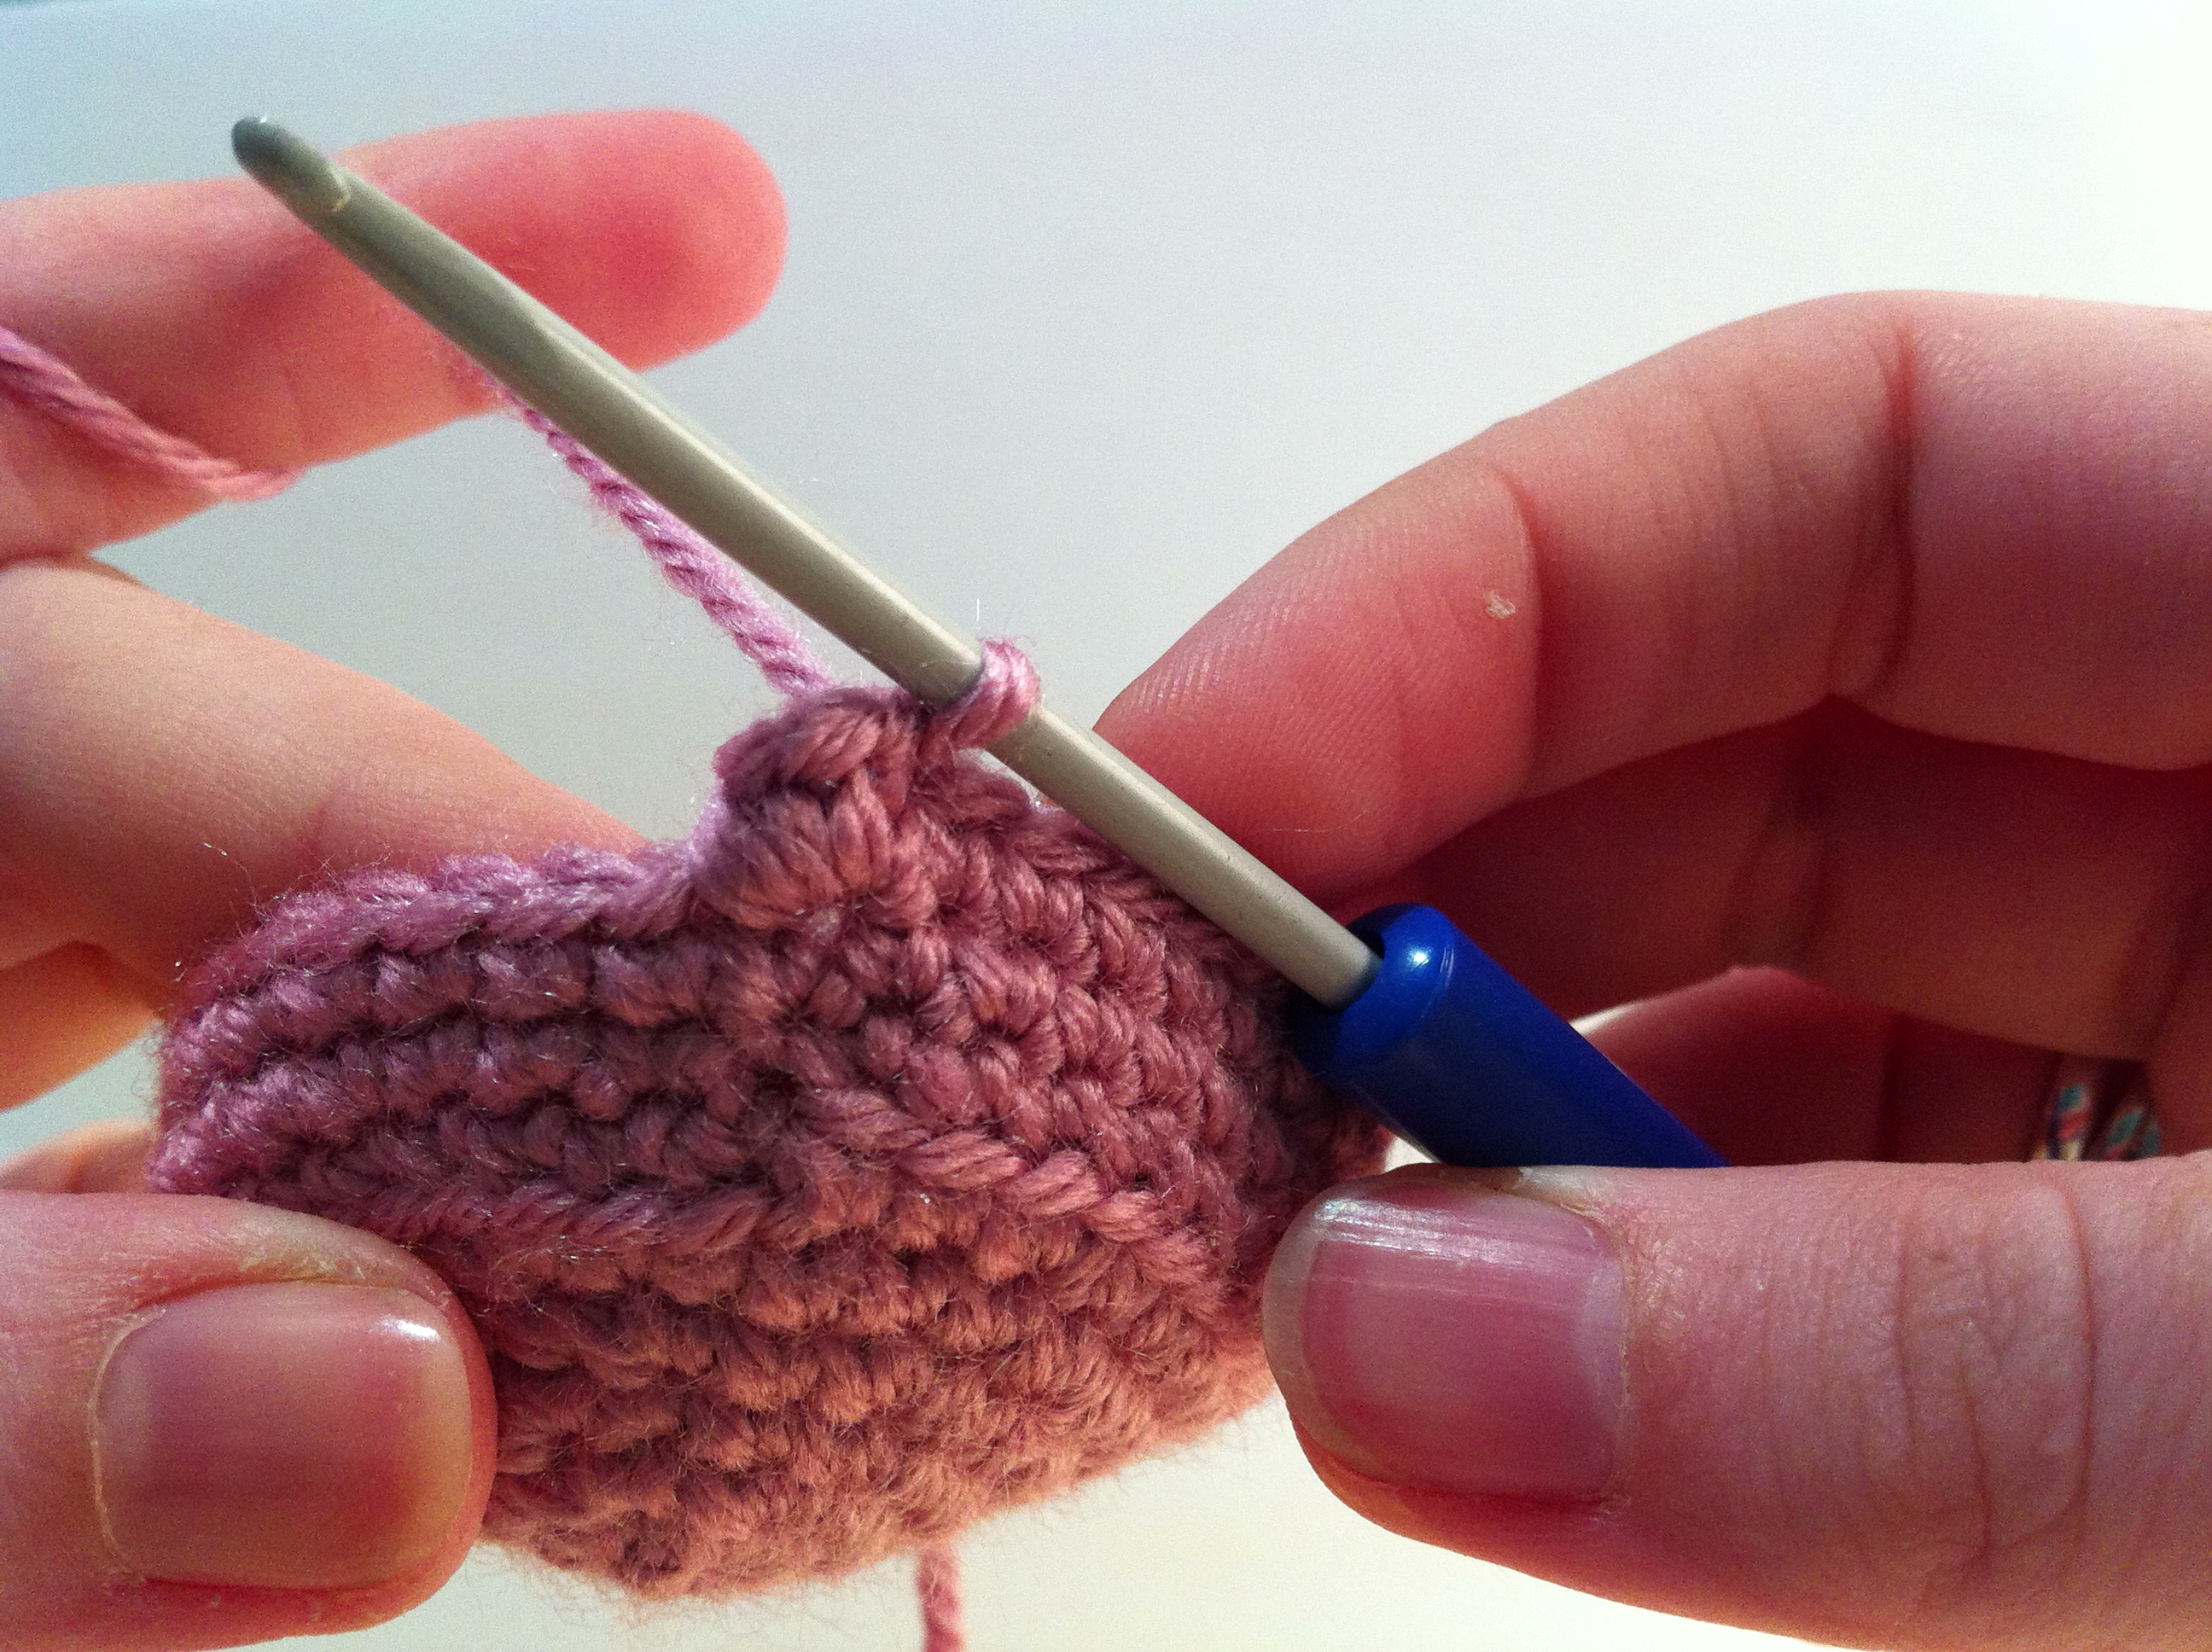
Done! The next stitch in the row can be a little tricky to find, since the popcorn stitch is bulky, so it may help to mark that one as well when you’re learning.
The other trick with learning how to crochet a popcorn stitch is when you finish a round and come back to it in the next round – one of the stitches can be tricky to see, so make sure you’re counting your stitches at the end of the row to make sure you haven’t missed it.
If you prefer learning through video, check out this tutorial over on Instagram.

No Comments