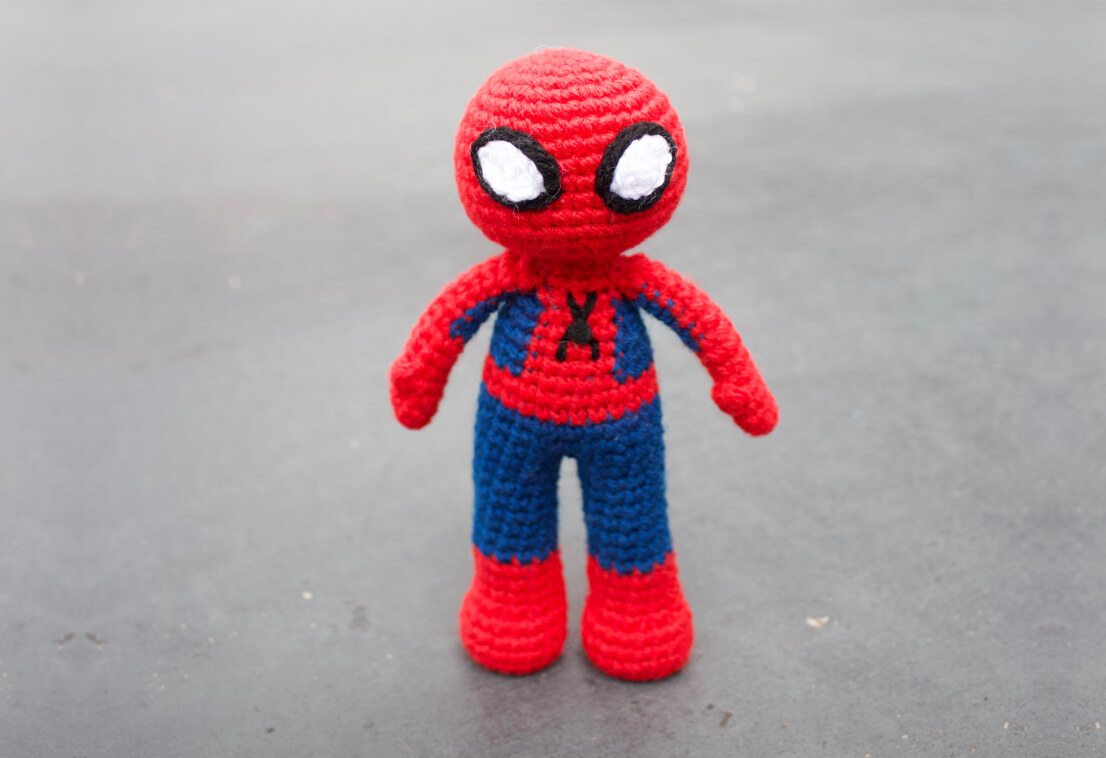
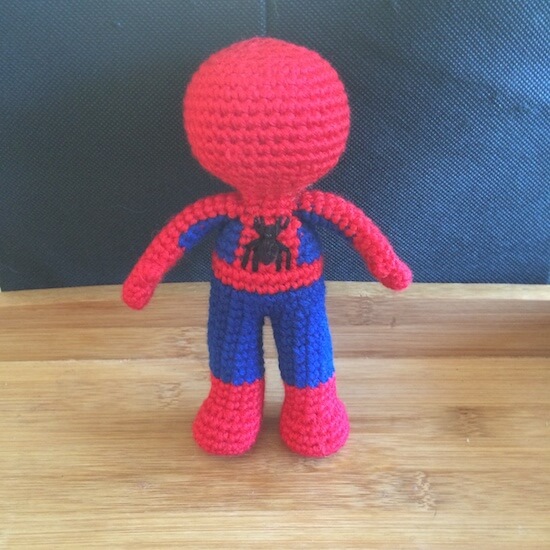
I thought I’d had enough of Spiderman by the time the 3rd movie iteration had come out in my memory, but I was wrong. It turns out Spiderman is timeless and excellent in many different iterations. I have a Miles Morales pattern in the works as well, because Into the Spider-verse is my favourite movie and I love Miles’ take on the costume. This free Spiderman crochet pattern has a couple of tricky colour changes, but simple enough stitches, so he should still be a great project for beginners! He’s my most popular character from the Marvel collection, but far from the last!
You can purchase and ad-free PDF of this pattern over on my Ravelry, and if you do a huge thank-you in advance for your wonderful support!
What materials will you need?
Note some of the links on this site are affiliate links. This means I get paid a small fee if you decide to purchase anything at no extra cost to you. I will only ever link products I happily use myself.
- 3.00 mm crochet hook
- Yarn needle
- Scissors
- Stitch markers
- Polyester fiberfill or some other stuffing material
- Blue yarn (Stylecraft Special DK – 1831 Lapis)
- Red yarn (Stylecraft Special DK – 1246 Lipstick. 1010 Matador would also work but is quite bright)
- Black yarn (Stylecraft Special DK – 1002 Black)
- White yarn (Stylecraft Special DK – 1001 White)
There are affiliate links in the brackets next to the colours for the exact yarn I used in this project, but any DK weight yarn will do!
Quick reference for beginners
Check out some of the below tutorials if you get stuck on any of the stitches or techniques
- How to read patterns
- Magic ring
- Single crochet
- Increase
- Decrease
- How to change colours
- Half double crochet
- Chain
- Back loop only
- Popcorn stitch
If you get stuck anywhere else, check out the FAQ or the tutorials page.
Spiderman free crochet pattern
Head
row 1. (in Red) MR 6 (6)
row 2. [ inc ]x 6 (12)
row 3. [ inc, sc ]x 6 (18)
row 4. sc, [ inc, sc 2 ]x 5, inc, sc (24)
row 5. [ inc, sc 3 ]x 6 (30)
row 6. sc 2, [ inc, sc 4 ]x 5, inc, sc 2 (36)
row 7-13. sc 36 (36)
row 14. sc 2, [ dec, sc 4 ]x 5, dec, sc 2 (30)
row 15. [ dec, sc 3 ]x 6 (24)
row 16. sc, [ dec, sc 2 ]x 5, dec, sc (18)
Finish off by doing a slip stitch in the next stitch. Cut the yarn, leaving a tail about 20cm or 7 inches long which we’ll use to attach to the body later. At this point, make sure that you have the correct side on the “outside” of the doll.
Arms (make 2)
row 1. (in Red) MR 6 (6)
row 2. [ inc, sc 2 ]x 2 (8)
row 3-4. sc 8 (8)
row 5. sc 3, 4sc popcorn, sc 4 (8)
row 6-8. sc 8 (8)
row 9-14. (continue in Red) sc 4 (change to Blue) sc 4 (8)**
row 15. (change to Red) sc 8 (8)
** This is for the first arm. For the second arm it should be
row 9-14. (change to Blue) sc 4 (change to Red) sc 4 (8)
This is so that when you’re finished the thumb is in the correct spot for each arm.
TIP The popcorn stitch in the arm is the thumb, if you prefer straight arms, simply replace the popcorn stitch with a sc.
The arms are so small there’s no need for stuffing. Finish off by doing a slip stitch in the next stitch. Cut the yarn, leaving enough of a tail to attach to the body later – approximately 10cm or 4 inches.
Legs (make 2)
row 1. (in Red) MR 6 (6)
row 2. [ inc ]x 6 (12)
row 3. [ inc, sc ]x 6 (18)
row 4. BLO sc 18 (18)
row 5-7. sc 18 (18)
row 8. sc 3, dec 6, sc 3 (12)
row 9-11. sc 12 (12)
row 12-19. (change to Blue) sc 12 (12)
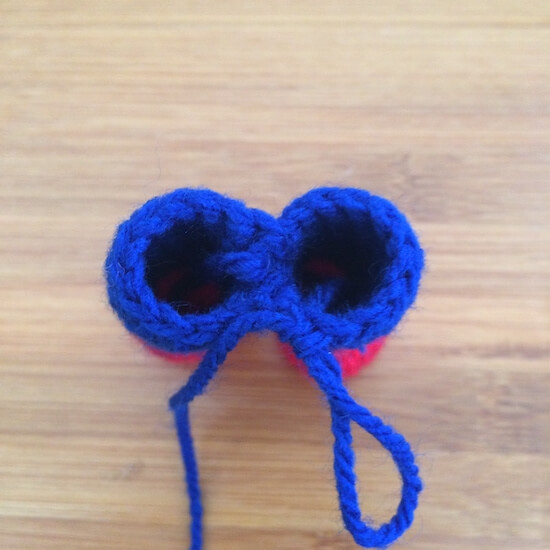
Finish off the first leg. Leave the second leg on your crochet hook. This will make it easier to join.
Joining the legs
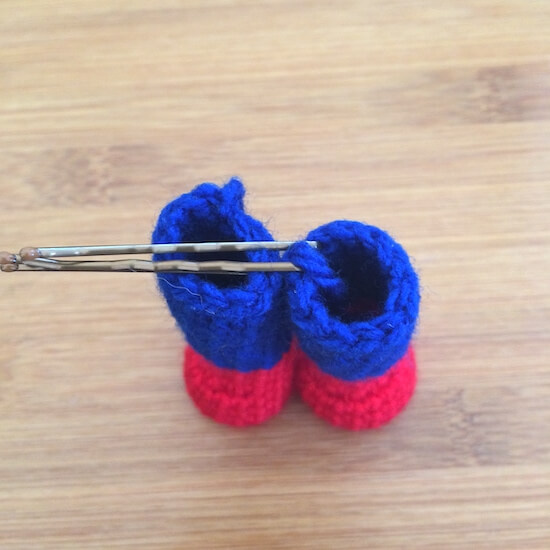
Take the two legs and position them so that both feet are pointing correctly. I like to place two bobby pins across the stitches where the legs will join to make it a little easier to keep track of. I’ve demonstrated below in a light, visible colour.
Position both legs. Make sure the feet are pointing forwards, and the start of the round is at the back to avoid visible colour changes.
Body
row 1-3. (in Blue) sc 24 (24)
row 4-5. (in Red) sc 24 (24)
(at this point stuff the legs)
Important! See the note below before continuing.
row 6-7. (in Blue) sc 24 (24) *(check note below)
row 8. sc 3, dec, [ sc 6, dec ]x 2, sc 3 (21) *
row 9. [ dec, sc 5 ]x 3 (18) *
row 10. sc 2, dec [ sc 4, dec ]x 2, sc 2 (15) **(check note below)
row 11. (in Red) [ dec, sc 3 ]x 3 (12)
row 12. sc 12 (12)
row 13. [ sc, inc ]x 6 (18)
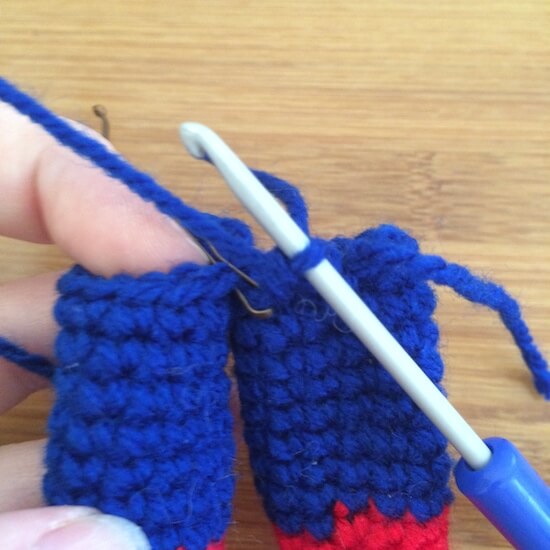
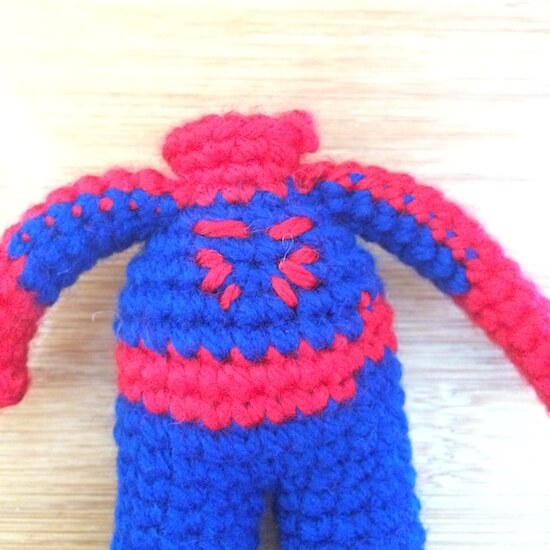
* For the rows marked with a star (rows 6-11) we’re going to add 5 stitches in red. Before starting the row take two bobby pins or stitch markers of some kind, and find the stitch the runs up the middle of the body. This will be the middle red stitch. Count two to either side and mark both of these stitches. This will be where the red stitches begin and end. See pictures below.
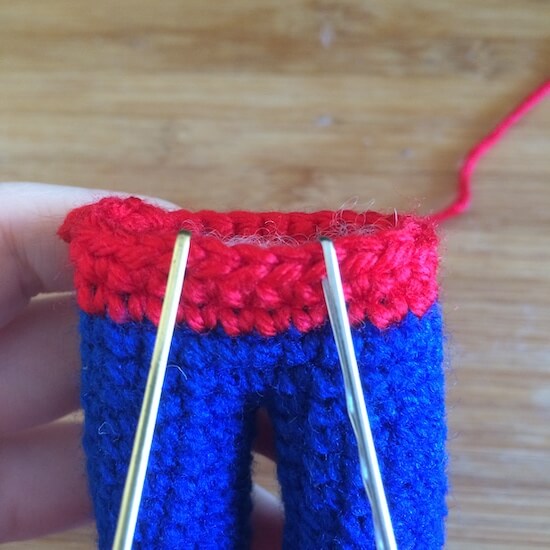
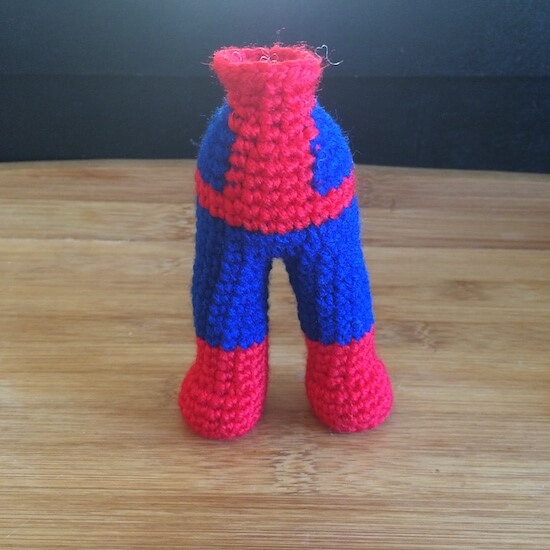
In the first picture, you can see there are three stitches between the marked stitches. In the second picture you can see the end result of 5 stitches in each row.
If a decrease is supposed to go where the colour change happens, just move it a stitch earlier or later and replace it with a single crochet to make it easier to change colours. Unfortunately the placement changes depending on where you joined the legs, so it makes it difficult to make an exact stitch count!
** For the row marked with a double star (row 10) add an additional red stitch either side of your existing stitches. This makes it usually 5 or 6 stitches depending on where your decreases fell in the previous rows.
Finish off and stuff the rest of the body.
TIP Stuff the legs before beginning the decreases. Make sure it’s not stuffed too much. You should be able to press the bottom of the feet in and have the doll stand.
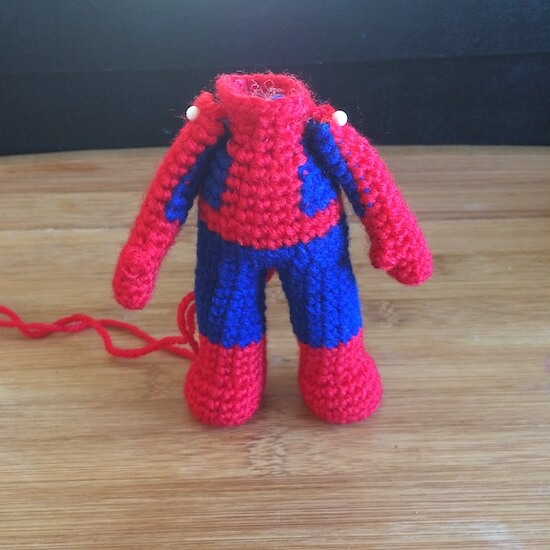
Putting it all together
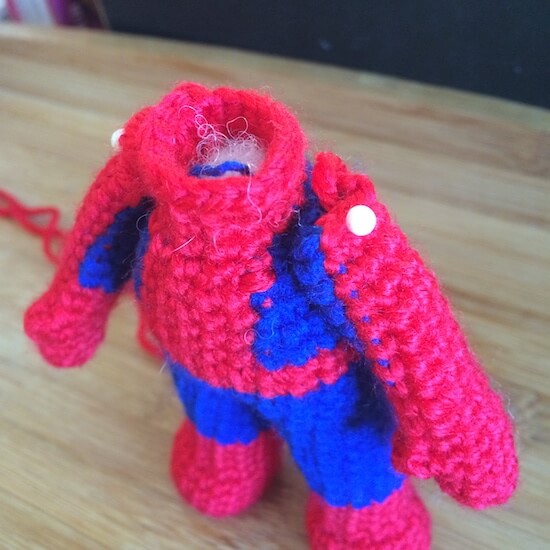
Attach the arms next. I like to pin them in place first so that I can get an idea of positioning, and then attach them as a flattened piece.
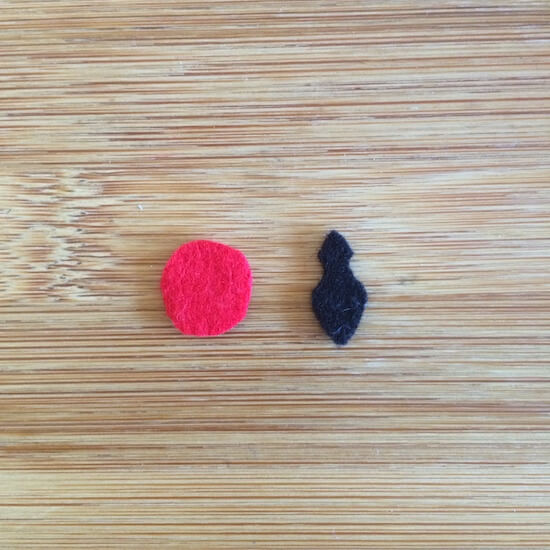
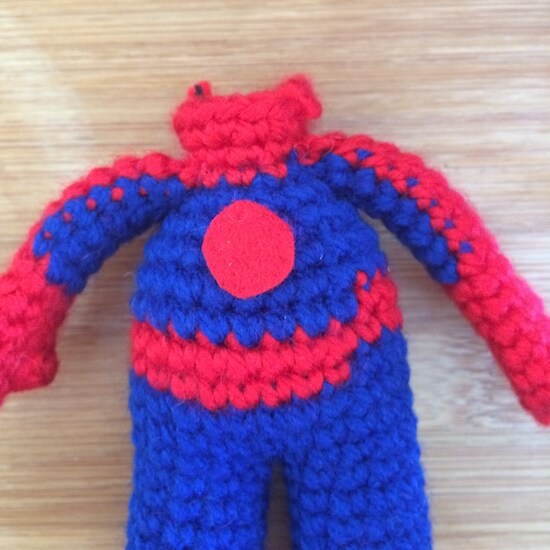
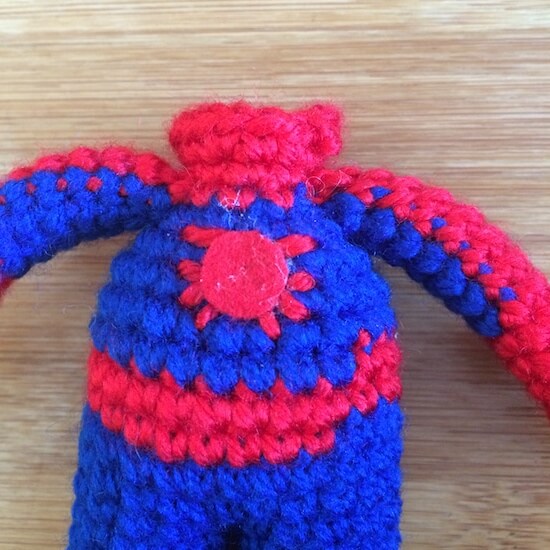
Next we’re going to create the black spider spider emblem on his chest and the red one on his back. Cut two shapes out of felt: a red circle and a black shape resembling a figure 8.
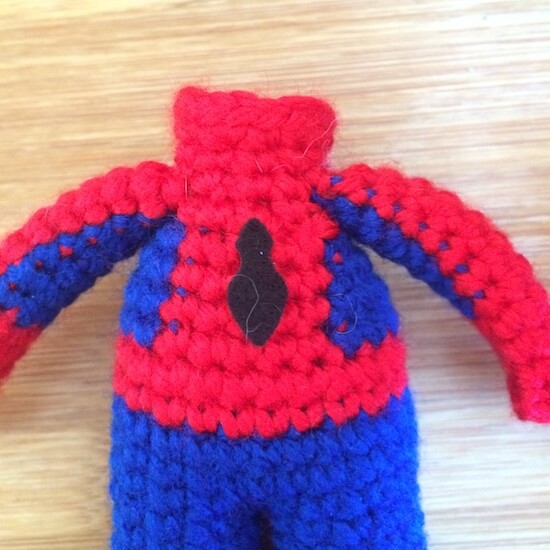
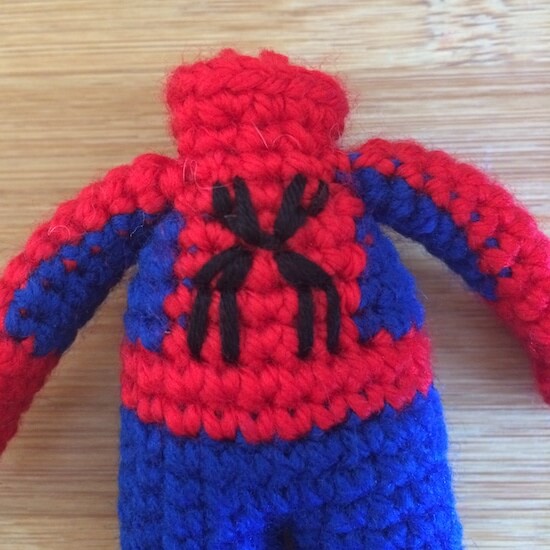
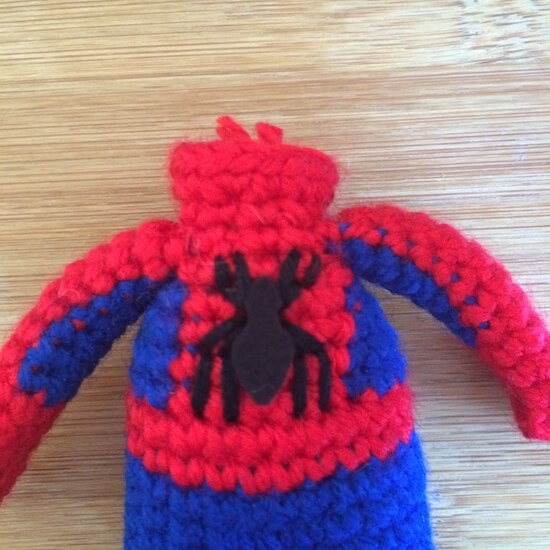
These shapes will be the bodies of the spider emblems, and we’ll use yarn or thread to embroider the legs on. I like to use a black that’s slightly thinner than regular yarn, since the area we’re working on is so small. I also like to bring up a reference Spiderman picture to get an accurate logo.
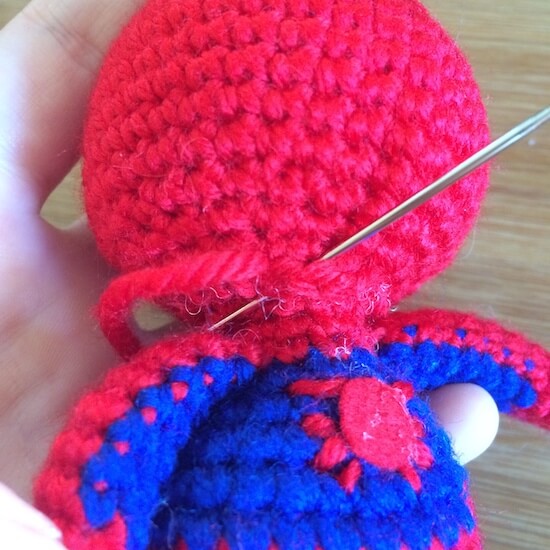
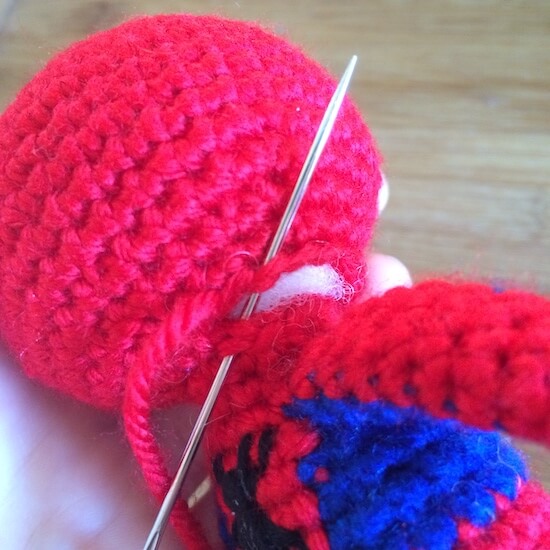
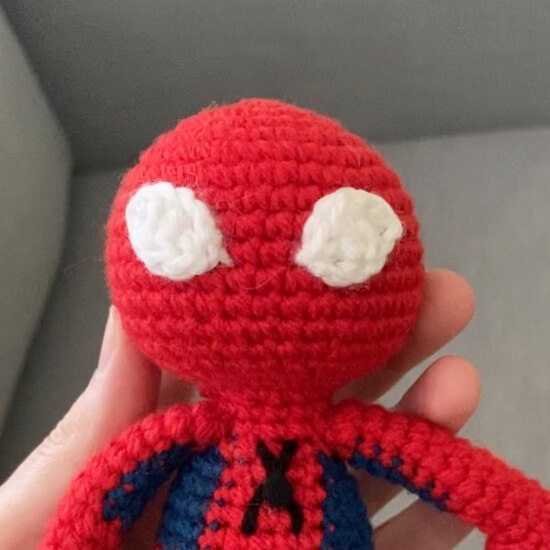
Attach the head. There should have been 18 stitches in the last round of the head and the body, so they match up evenly. Simple align the head properly, and whipstitch closed!
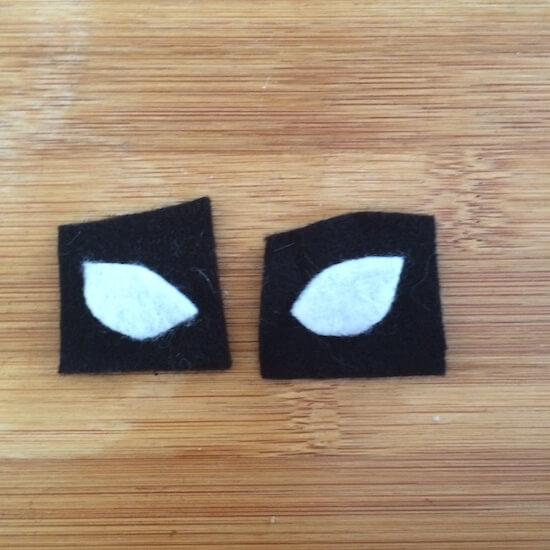
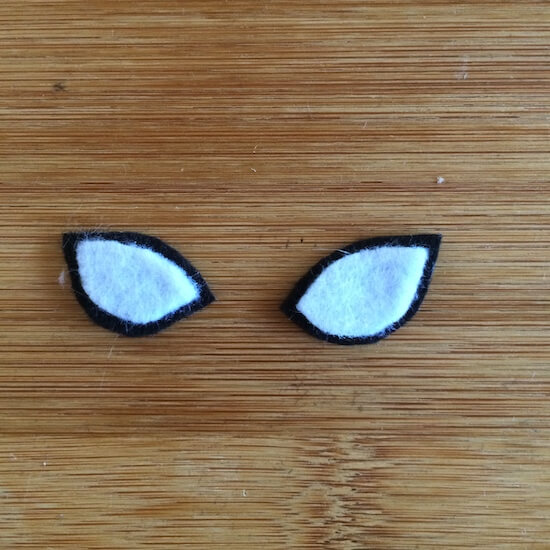
For the eyes you have two options. I used to cut them out of white felt, so if you prefer this method follow these instructions:
Cut two eyes out of white felt. To make it easier to match the black felt outline to it, I will usually glue the white eyes onto a black square when I’m happy with the shape, then trim the outline when the white is already firmly attached.
Then, to attach it to the head it’s nice and easy – simply glue them in place!

Otherwise, if you prefer a crocheted look, you can make the eyes as below:
Eyes (make 2)
row 1. (in White) ch 5 (5)
row 2. (starting in second chain from hook) sc, dc, dc, hdc (4)
Grab the tail with your crochet hook and pull it through the loop on your hook to finish off the eye. Leave a long tail which we’ll use to sew the eyes onto the head.
Eye Outline (make 2)
row 1. (in Black) ch 12 (12)
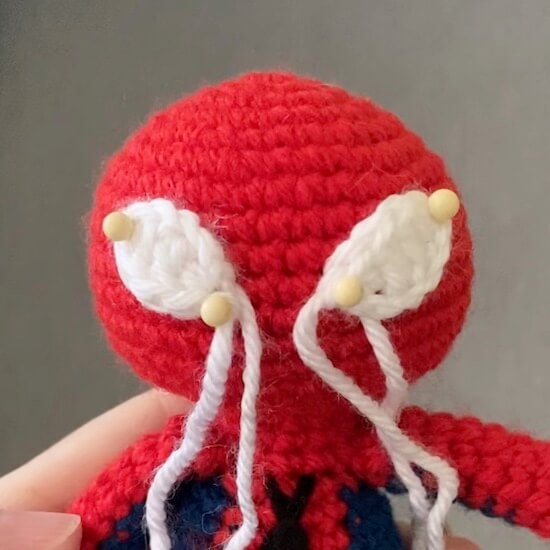
Pin the eyes onto the head to help centre them and use the tails to sew them into place. This can be a bit tricky, but patience and a good sturdy needle are key. You don’t need to go overboard sewing on every corner, just enough to hold it in place. Be careful not to pull too tightly as well, or you’ll accidentally warp the shape of the eye. Just pull it tight enough so that it’s hidden and holds in place.
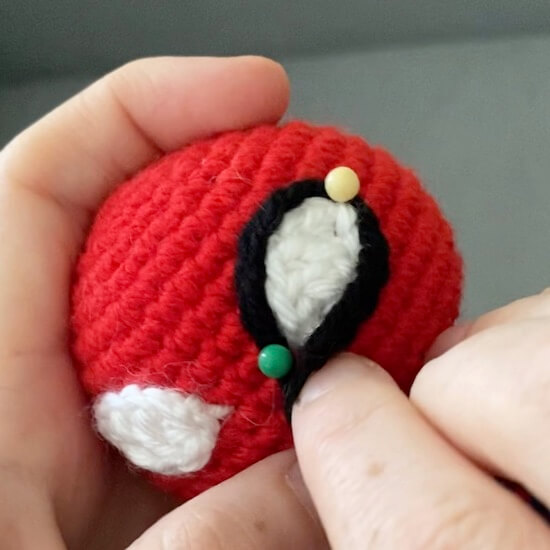
After the whites of the eyes are attached, take the black chains we made. I like to pin it in place in the inner corner of the eye, pull it across the eye and then place a second pin at the outer corner before bring it down to meet the start and close the circle. Then use the tail again to sew it in place.
And that’s it, you’re done!

Other patterns in this series
I have heaps of characters in the Marvel series! At the moment I’m still in the process of converting them into free patterns on the blog (so stay tuned 😉), but if you can’t wait, you can grab them over on my Etsy in a discounted bulk pack!