
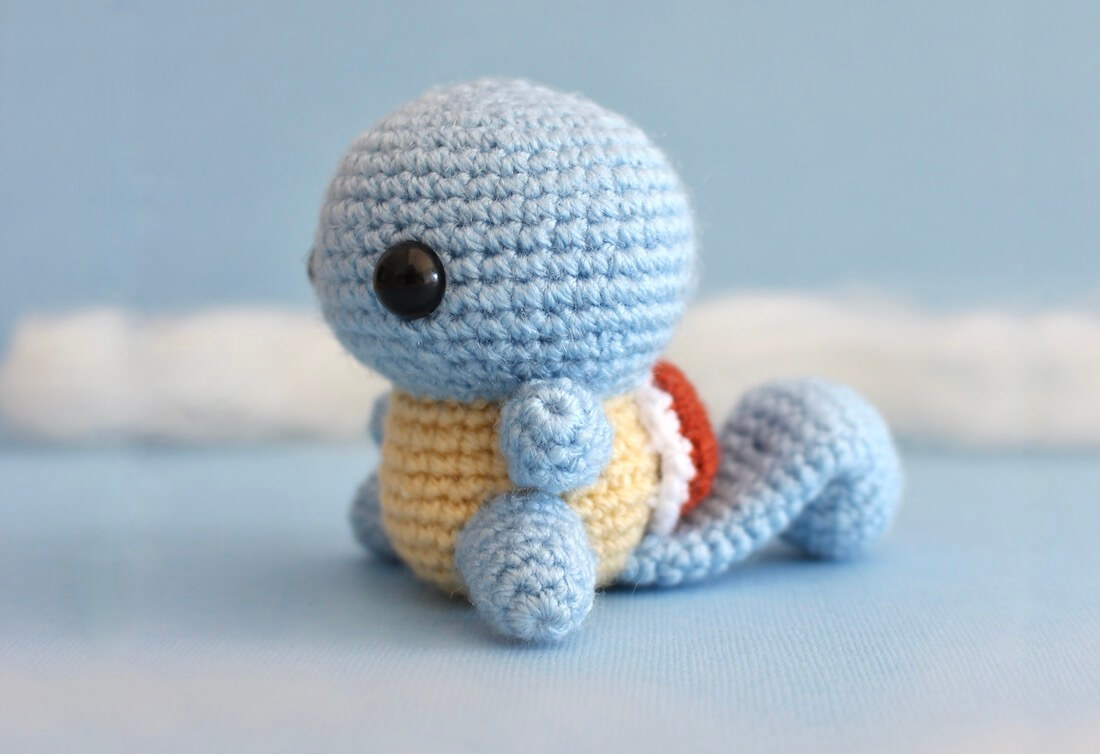
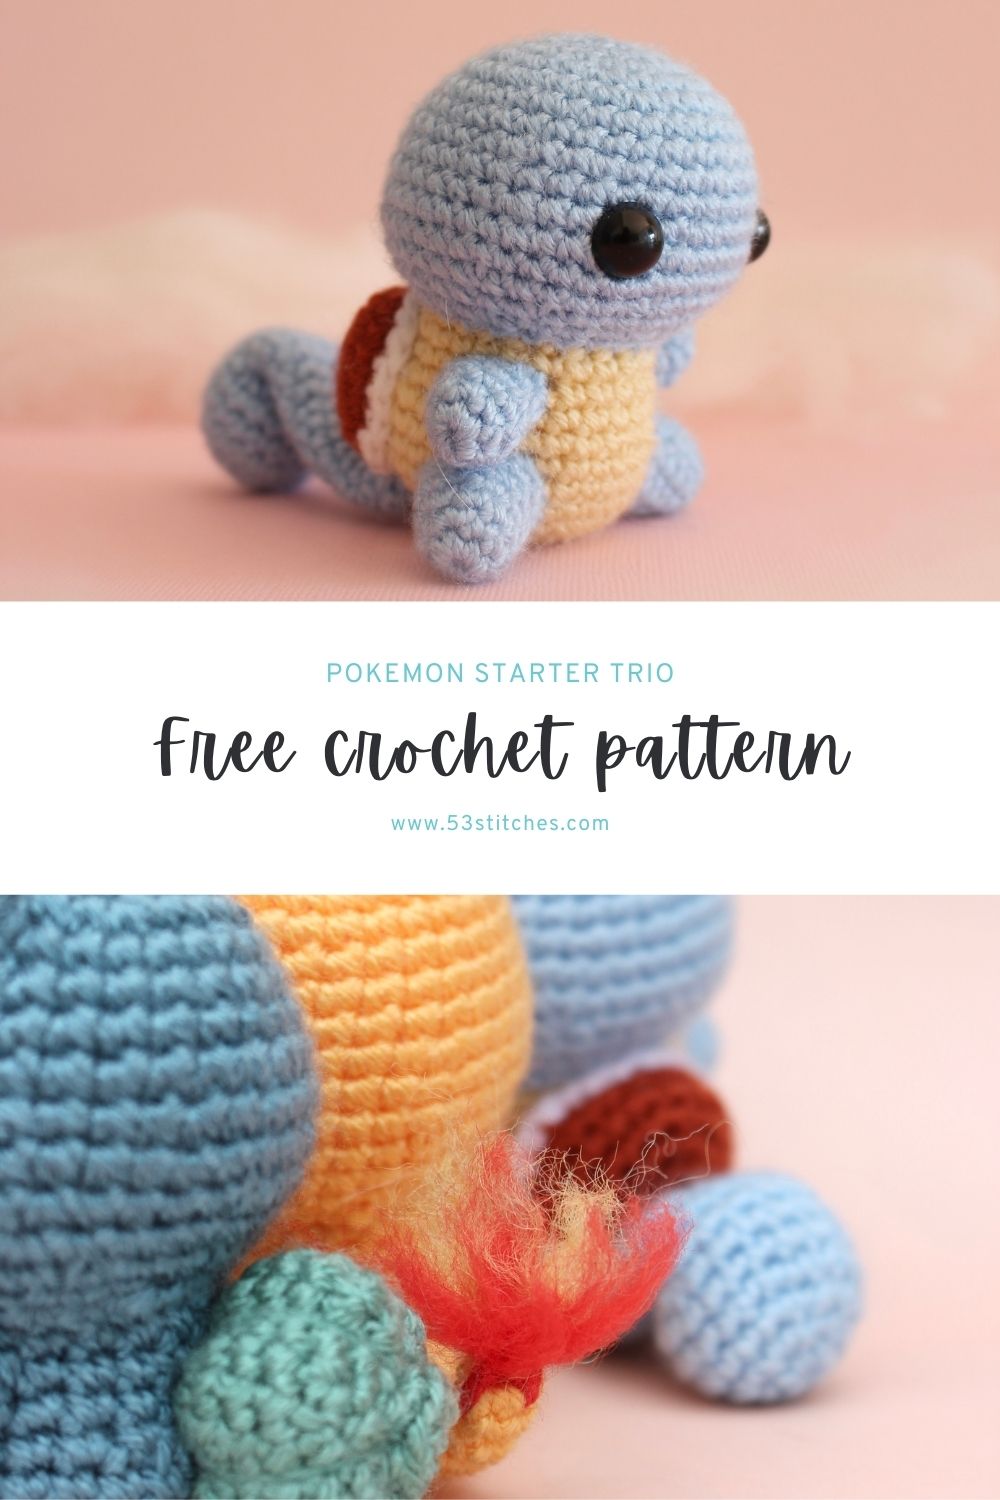
When I play Pokemon games, I always end up choosing the fire-type starters – they’re just so cute! That means the first games I played, Squirtle was my enemy. Despite this, it’s impossible not to love the little guy, he’s just so adorable and spunky! This crochet Squirtle is a perfect project for beginners, since he’s made of nice simply shapes.
You can purchase and ad-free PDF of this pattern over on my Ravelry or Etsy, and if you do a huge thank-you in advance for your wonderful support! You can also find a diy crochet kit on my Etsy which has all the materials you need to make your own!
The materials you’ll need
I’ve added links to a Paintbox DK Cotton colours that match what I usually use to crochet Squirtle.
Note some of the links on this site are affiliate links. This means I get paid a small fee if you decide to purchase anything at no extra cost to you. I will only ever link products I happily use myself.
- 3.0mm crochet hook
- 2x 10mm safety eyes
- Baby blue yarn (Paintbox DK Cotton: 436 Duck Egg Blue)
- Cream/Butter yarn (Paintbox DK Cotton: 408 Vanilla Cream, you could also use 421 if you prefer a more yellow colour)
- Brown yarn (Paintbox DK Cotton: 411 Coffee Bean)
- White yarn (Paintbox DK Cotton: 401 Paper White)
- Polyester filling
Quick reference for beginners
Check out some of the below tutorials if you get stuck on any of the stitches or techniques
- How to read patterns
- Magic ring
- Single crochet
- Increase
- Decrease
- Front loop only single crochet
- Attaching amigurumi limbs
If you get stuck anywhere else, check out the FAQ.
Squirtle crochet pattern
HEAD
1. (in Blue) MR 6 (6)
2. [ inc ]x 6 (12)
3. [ inc, sc ]x 6 (18)
4. sc, [ inc, sc 2 ]x 5, inc, sc (24)
5. [ inc, sc 3 ]x 6 (30)
6. sc 2, [ inc, sc 4 ]x 5, inc, sc 2 (36)
7-10. sc 36 (36)
11. [ inc, sc 5 ]x 6 (42)
12-13. sc 42 (42)
14. [ dec, sc 5 ]x 6 (36)
15. sc 2, [ dec, sc 4 ]x 5, dec, sc 2 (30)
16. [ dec, sc 3 ]x 6 (24)
Finish off, leaving a tail for sewing. Insert safety eyes between rows 11 and 12, with about 7 stitches between them.
BODY
1. ( in Yellow/Butter) MR 6 (6)
2. [ inc ]x 6 (12)
3. [ inc, sc ]x 6 (18)
4. sc, [ inc, sc 2 ]x 5, inc, sc (24)
5. [ inc, sc 3 ]x 6 (30)
6-8. sc 30 (30)
9. [ dec, sc 3 ]x 6 (24)
10-12. sc 24 (24)
Finish off.
LEG (make 2)
1. (in Blue) MR 6 (6)
2. [ inc, sc ]x 3 (9)
3-6. sc 9 (9)
Finish off, leaving a tail for sewing.
ARM (make 2)
1. (in Blue) MR 6 (6)
2. [ inc, sc 2 ]x 2 (8)
3-4. sc 8 (8)
5. dec, sc 6, (7)
6. sc 7 (7)
Finish off, leaving a tail for sewing.
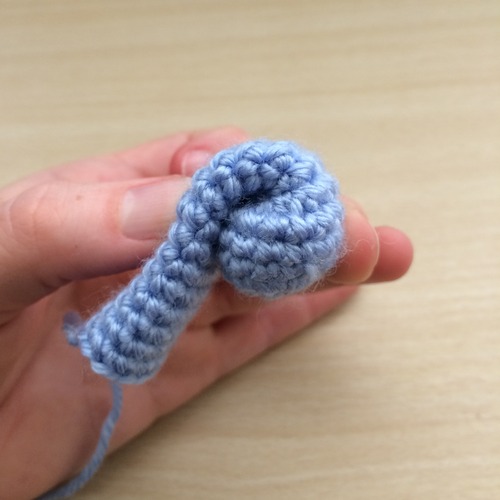
TAIL
1. (in Blue) MR 6 (6)
2. [ inc ]x 6 (12)
3. [ inc, sc ]x 6 (18)
4-6. sc 18 (18)
7. dec 6, sc 6 (12)
8-20. sc 12 (12)
Finish off, leaving a tail for sewing. Stuff the end of the tail so that it maintains it’s round sphere shape, but make sure that the rest of the tail (row 8 onwards) can be flattened. This is so we can create the swirl at the end of the tail.
SHELL
1. (in Brown) MR 6 (6)
2. [ inc ]x 6 (12)
3. [ inc, sc ]x 6 (18)
4. sc, [ inc, sc 2 ]x 5, inc, sc (24)
5. sc 24 (24)
6. (in White) FLO sc 24 (24)
Finish off, leaving a tail for sewing.
That’s all the crocheting done! Now for the fiddly stuff.
Putting it all together
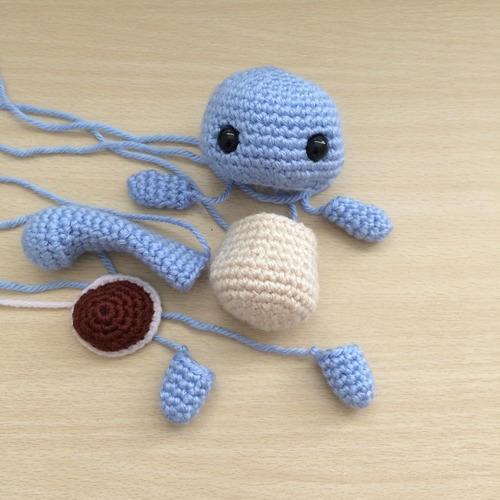
Stuff the head, body and legs. The tail doesn’t need anymore stuffing than it has at the end, and the arms are too small for it. When attaching the shell later, you can choose to stuff it, but I usually don’t because it holds its shape well without it.
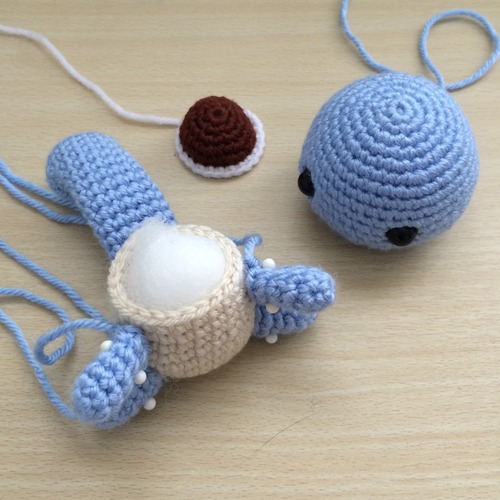
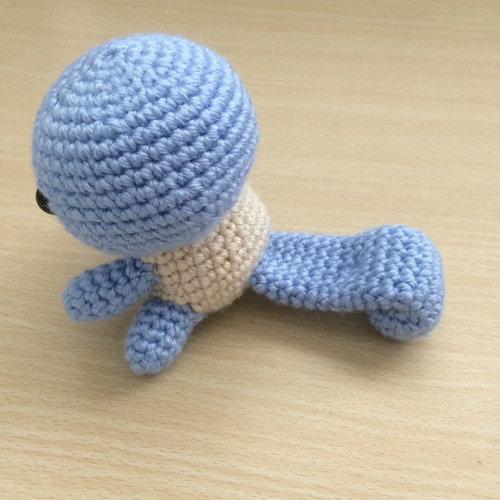
Next, I like to pin all of the items in place to make sure they look right before sewing them on. I usually attach everything in this order: legs, arms, tail, head, shell.

When attaching the tail, first attach it at the base of the body. Then, before you cut the length of yarn you’re using to attach it, thread the needle back through the inside of the tail (to hide the yarn) and pull it out about halfway through the tail. Curl the tail so it has the shape that you want it to, and go into the stitch next to the one you’ve just come out of, poking the needle through the entire tail end (picture below).
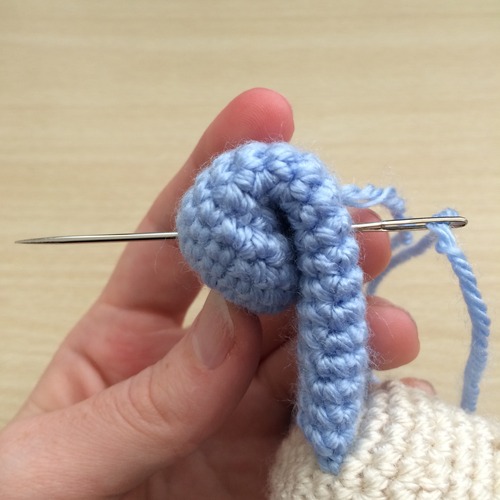
Pull the yarn tight and do the same thing going back, so that the tail is now stuck in this shape. If you pull the yarn too tightly it will make a dent in the curl, so loosen it a little. You should be able to reach a medium where it will maintain its’ curl without denting.
Pull the yarn back through the tail and body to hide it again.
Last thing left to do is attach the head and then the shell.
This is the point where you can stuff the shell if you want, but I find it unnecessary. I attach the shell last because it only just fits between the head and the tail, and if you do the head first the shell will get in the way.
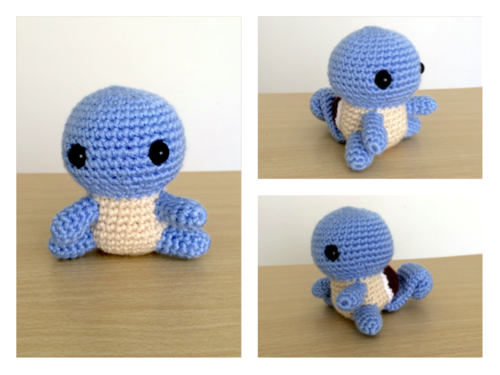
Congratulations, you’re done with your cute crochet Squirtle! I hope you loved it and I’d love to see what you create. Tag @53stitches on Instagram and Tumblr.
Other Pokemon crochet patterns
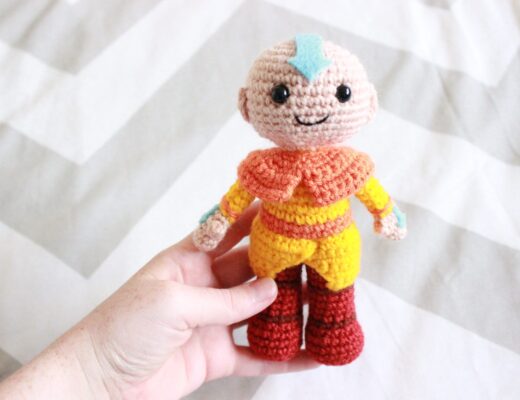
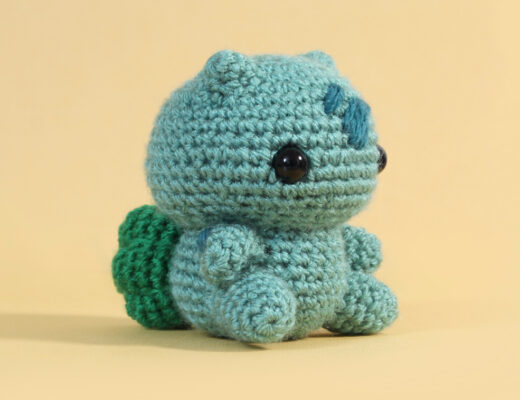
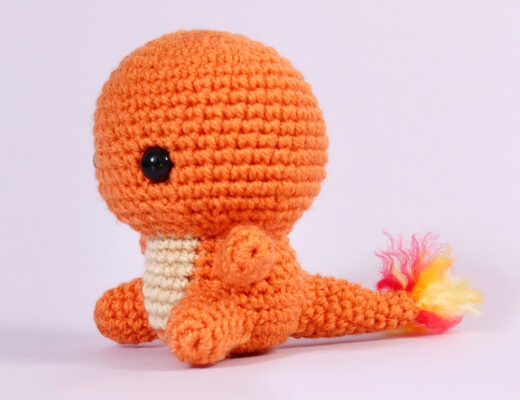
Haven’t had enough? Check out some of the other Pokemon crochet patterns in the collection. You could make a Charmander or Bulbasaur to complete to starter trio, or check out some of the Eeveelutions.

Alex Robinson
November 7, 2021 at 8:21 amHi, love this pattern! I was just wondering, what yarn weight did you use? Thanks 🙂
53stitches
November 17, 2021 at 8:51 amHi Alex! I use an 8 ply yarn for most of my patterns unless stated otherwise, which is the equivalent of DK. For some tricky colours I’ll specify the particular yarn I used, but otherwise it’s a brand I can grab at my local store. Hope that helps!
Ann
February 15, 2022 at 7:00 pmHi there,
I’m making this for my bf (as a surprise)
I’ve just made all the pieces, what is the best way to attach them? I.e how do I stitch them in seamlessly? Do you have a video tutorial?
53stitches
February 25, 2022 at 11:48 amHello! I have a section in the recently updated techniques guide: https://53stitches.com/wp-content/uploads/2018/05/Techniques-Guide-A5-Compressed.pdf
I don’t have a specific video yet, but I am working on creating video tutorials for each of the techniques used to create my amigurumi patterns, so you can follow along with those as I make them on my Instagram: https://instagram.com/53stitches. In the meantime I talk about it during my Pikachu tutorial as well: https://www.youtube.com/watch?v=S9sk5AEva-o at about the 24:23 mark!
Tasha
January 10, 2023 at 5:29 amis that U.S. size 3(light) or size 4 (medium?)
53stitches
January 11, 2023 at 9:52 amHi! I’m not 100% sure as we don’t use the same system in Australia – it’s a DK weight yarn. Some googling suggests that’s equivalent to a 3 in the US system 🙂
Britrany
November 4, 2023 at 6:00 pmHave you made any of these with a plush yarn would they work? I think I might try just wanted to see if you or anyone has first 🙂 patterns are amazing thanks
53stitches
December 18, 2023 at 1:29 pmYes! I’ve made them with Premier Parfait Chunky Yarn before and a 6mm crochet hook. I’ve found the Honey Bunny and Baby Snuggle yarns from Hobbii to be basically the same as the Parfait Chunky so they’re a great option as well. I don’t use the magic circle when using plush yarns because it’s very annoying and the hole using the ch 2 method (ch 2 and then do your first 6 sc into the first chain) works great.