
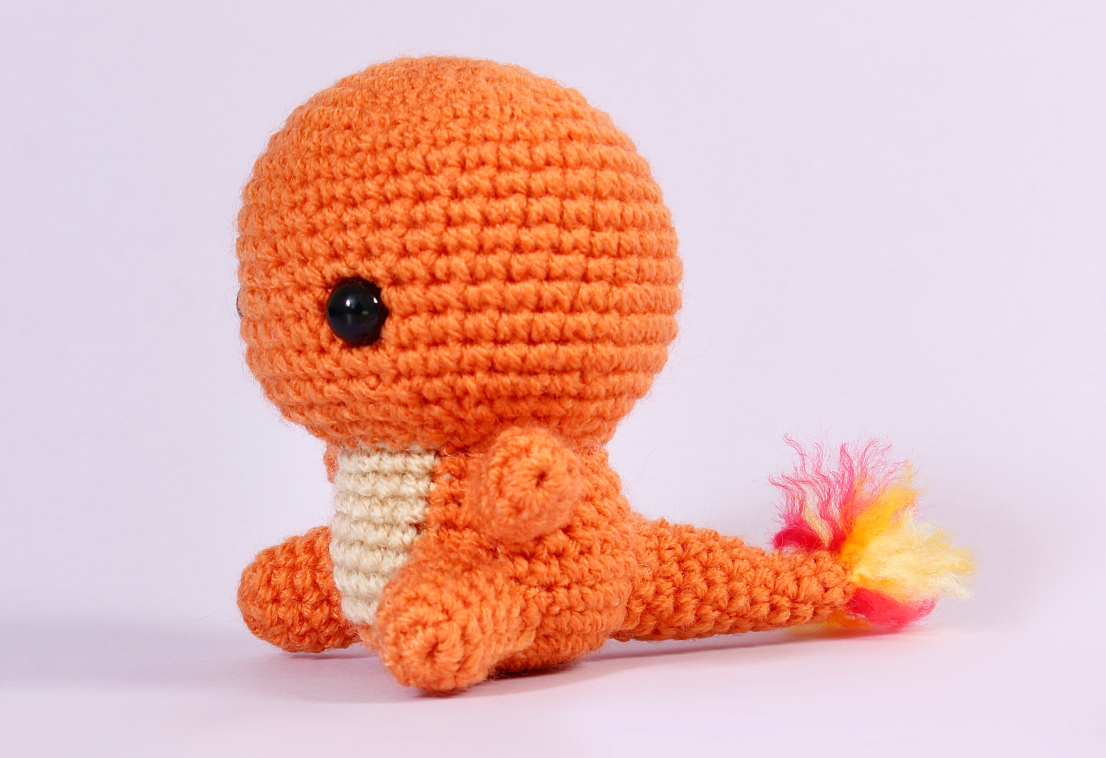
Charmander is my favourite starter pattern going on more years than I’d like to admit now. I’ve loved the fire starters since the 1st gen, and I loved how grouchy he was in the anime (he reminded me of a cat 😂). This is a perfect crochet project for beginners as this Charmander crochet pattern is made up of nice simple shapes!
You can purchase and ad-free PDF of this pattern over on my Ravelry or Etsy, and if you do a huge thank-you in advance for your wonderful support! You can also find a diy crochet kit on my Etsy which has all the materials you need to make your own!
You will need
I’ve added links to a Paintbox DK Cotton colours that match what I usually use to crochet Charmander – I find a good non-neon Orange particularly difficult to find when shopping for yarn online! For the red and yellow of his tail, you’re better off using a wool or acrylic as cotton won’t get as fluffy after brushing.
Note some of the links on this site are affiliate links. This means I get paid a small fee if you decide to purchase anything at no extra cost to you. I will only ever link products I happily use myself.
- 3.00mm crochet hook
- 2 x 10mm safety eyes
- orange yarn (Paintbox Cotton DK 456 Vintage Pink – but I promise it’s orange haha)
- red yarn
- yellow yarn
- pale yellow felt
- fabric glue
- pet hair brush, for brushing out yarn
Quick reference for beginners
Check out some of the below tutorials if you get stuck on any of the stitches or techniques
- How to read patterns
- Magic ring
- Single crochet
- Increase
- Decrease
- Front loop only single crochet
- Attaching amigurumi limbs
If you get stuck anywhere else, check out the FAQ.
Let’s start crocheting Charmander!
HEAD
1. MR 6 (6)
2. [ inc ]x 6 (12)
3. [ inc, sc ]x 6 (18)
4. sc, [ inc, sc 2 ]x 5, inc, sc (24)
5. [ inc, sc 3 ]x 6 (30)
6. sc 2, [ inc, sc 4 ]x 5, inc, sc 2 (36)
7-12. sc 36 (36)
13. [ inc, sc 5 ]x 6 (42)
14-15. sc 42 (42)
16. [ dec, sc 5 ]x 6 (36)
17. sc 2, [ dec, sc 4 ]x 5, dec, sc 2 (30)
18. [ dec, sc 3 ]x 6 (24)
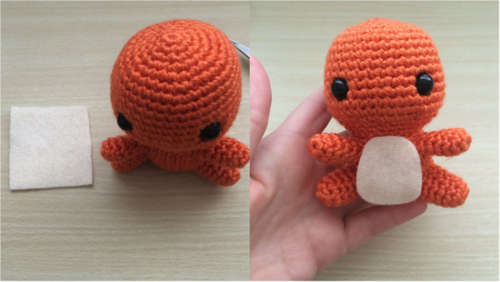
Finish off, leaving a tail for sewing. Insert safety eyes between rows 12 and 13, with about 7 stitches between them.
BODY
1. MR 6 (6)
2. [ inc ]x 6 (12)
3. [ inc, sc ]x 6 (18)
4. sc, [ inc, sc 2 ]x 5, inc, sc (24)
5. [ inc, sc 3 ]x 6 (30)
6-8. sc 30 (30)
9. [ dec, sc 3 ]x 6 (24)
10-12. sc 24 (24)
Finish off.
The instructions above are for making the entire body in the same colour, and then gluing on a felt belly later on. If you prefer to crochet the belly, you can follow these instructions:
1. (in Orange) MR 6 (6)
2. [ inc ]x 6 (12)
3. [ inc, sc ]x 6 (18)
4. sc, [ inc, sc 2 ]x 5, inc, sc (24)
5. [ inc, sc 3 ]x 6 (30)
6-8. (continue in Orange) sc 12, (change to Cream) sc 6, (change to Orange) sc 12 (30)
9. (continue in Orange) [ dec, sc 2 ]x 3, (change to Cream) sc 6, (change to Orange) [ dec, sc 2 ]x 3 (24)
10-12. (continue in Orange) sc 9, (change to Cream) sc 6, (change to Orange) sc 9 (24)
LEG (make 2)
1. MR 6 (6)
2. [ inc, sc ]x 3 (9)
3-6. sc 9 (9)
Finish off, leaving a tail for sewing.
ARM (make 2)
1. MR 6 (6)
2. [ inc, sc 2 ]x 2 (8)
3-4. sc 8 (8)
5. dec, sc 6, (7)
6. sc 7 (7)
Finish off, leaving a tail for sewing.
TAIL
1. MR 6 (6)
2-4. sc 6 (6)
5. inc, sc 5 (7)
6. inc, sc 6 (8)
7. inc, sc 7 (9)
8. sc 9 (9)
9. inc, sc 8 (10)
10. inc, sc 9 (11)
11. sc 11 (11)
Finish off, leaving a tail for sewing.
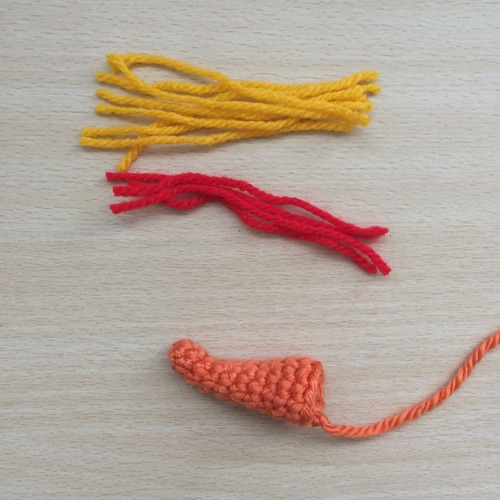
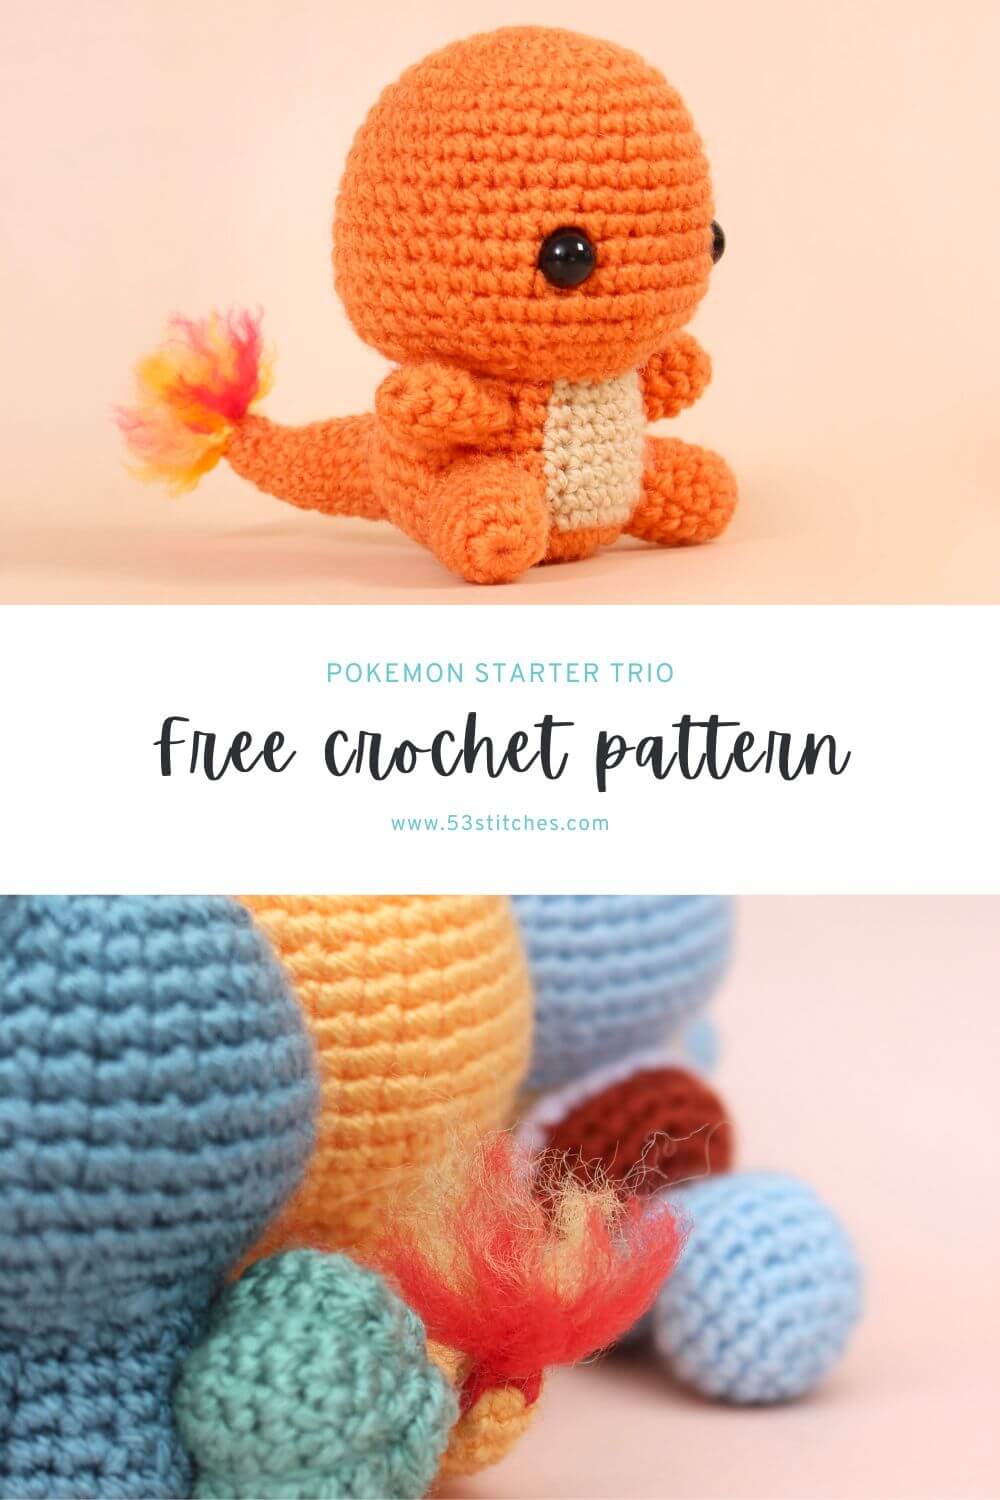
To create the fire effect for the tail, we’re going to take some scrap pieces of yellow and red yarn.
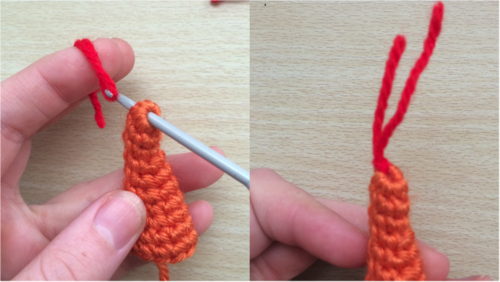
Insert your crochet hook into the hole at the end of the tail and poke it back out through a stitch in the first round. Fold one of the pieces of scrap yarn in half, put it on the hook, and pull it out the end of the tail. Then grab the tails with your hook and pull these through the loop, pulling the yarn tightly to make sure it’s attached firmly.
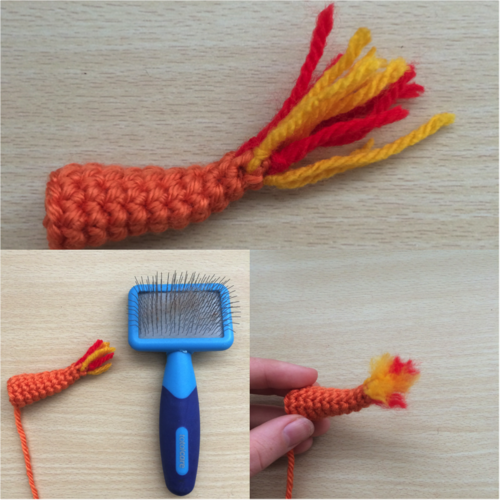
Do this around the entire tail, alternating between yellow and red scraps. I like to trim the scraps before brushing them out. Take the pet brush and start brushing the red and yellow scraps so that they become fuzzy. You may end up with a bunch of yarn in the brush, but don’t panic, that’s normal.
Putting it all together
Tada! A fuzzy, fiery tail.
Now you have all of the pieces ready for assembly. Stuff the head, body, tail and legs. The tail and legs don’t need much stuffing to maintain their shape.

Next I like to pin all of the body pieces into place so that I can make sure they’re positioned properly before using the tails to attach them. I usually find them easiest to attach in this order: legs, tail, arms, head.

The last thing left to do is his belly. Take a small piece of pale yellow felt and cut it into a wide oval, or curved rectangle shape. The size of this piece will depend on your doll, so adjust as necessary, and glue in place!
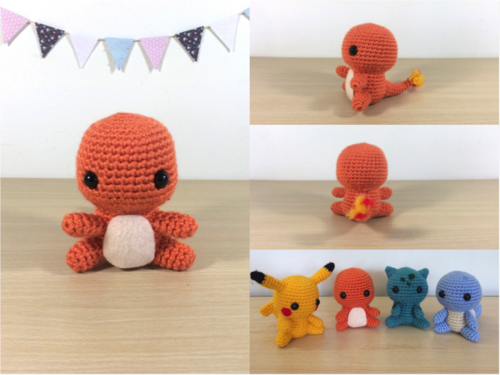
Congratulations, your crochet Charmander amigurumi is finished! I hope you’ve had a great time making him, and if you share on Instagram or Tumblr, don’t forget to tag @53stitches so I can check it out.
Other Pokemon crochet patterns
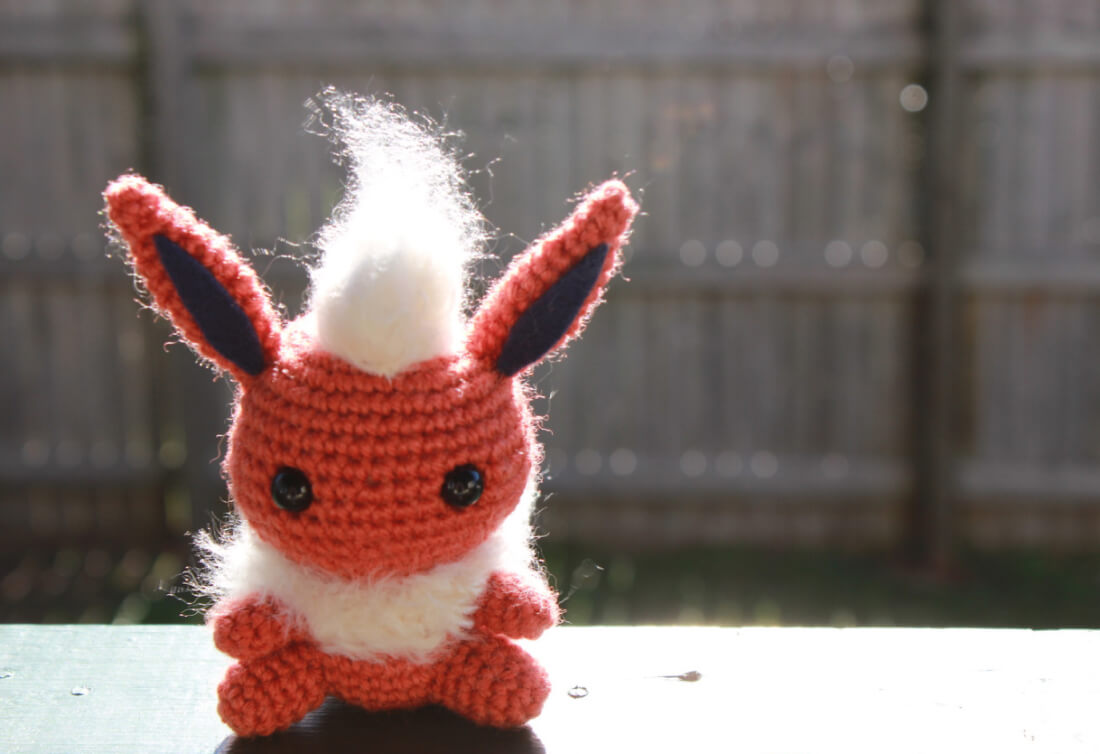
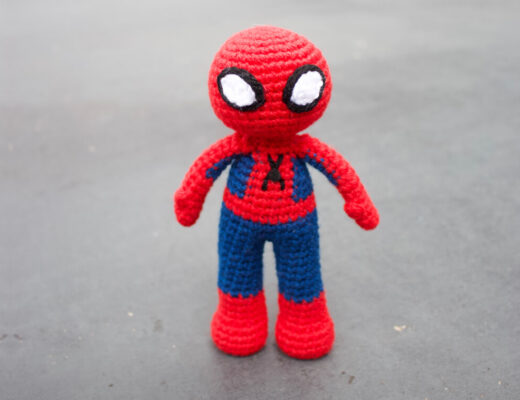
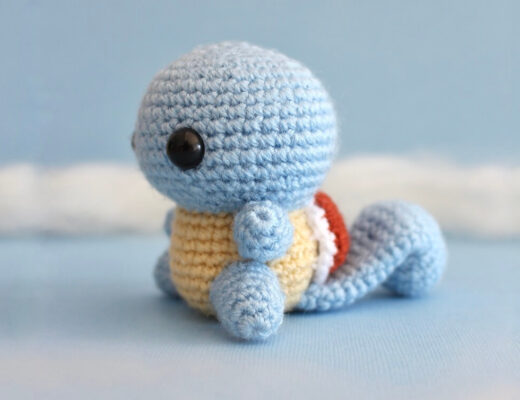
Haven’t had enough? Check out some of the other Pokemon crochet patterns in the collection. You could make a Squirtle or Bulbasaur to complete to starter trio, or check out some of the Eeveelutions.


Ariel
December 1, 2020 at 5:55 pmDo you know how to decrease this pattern to make a smaller figure? I’m trying to do it myself, and I’m having a hard time knowing what lines or stitches are essential.
I’m wondering if I need to decrease the number of stitches on the MR? Or lower the amount of lines that are increases.
I need to make the item half the size. I’ve tried decreasing the original amount of stitches on the MR and it becomes a cone head.
Thank you for your time!
overlord
December 5, 2020 at 10:41 amHi Ariel! I haven’t tried shrinking a pattern before, but there are probably 2 different approaches I would take.
Method #1: I have used this method in reverse to enlarge a pattern before – and it’s simply changing the yarn and crochet hook you’re using but following the pattern the same way. So instead of a 3mm crochet hook you could try and find one even smaller; and instead of 8ply yarn you could try using something thinner – like a 4ply or baby weight yarn. Then you would just follow the pattern the way it’s written but you would end up with a smaller doll.
Method #2: This would involve a little bit more work and pattern adjustment. I’ve always worked in 6 increases per round to get circular shapes – I’m not sure what the magic math behind that number is, but it tends to be what I’ve seen around. So you’ll still want to keep 6 increases per round to keep the circular shape – if you halve them, you’ll end up with a narrower shape like you mentioned. Instead, you could reduce the number of rows you increase on before straightening out. So, for example, instead of doing 6 increases per round for round 1 – 6, you would do 6 increases per round for rounds 1- 3. Then on the fourth round you would start crocheting in each stitch (e.g. what happens in row 7-12, but there will be fewer stitches in the round because we didn’t add as many). Then you would half the number of rows that you do that for until you start decreasing again – so instead of doing that for 6 rows, you might only do it for 3 rows.
I haven’t actually tried the above, that’s just the approach I would take if I was trying to shrink the pattern. It might get a little bit tricker to apply to things like the arms, legs and tail but I hope that helps give you a starting point!
Hexdancer
January 11, 2021 at 12:38 pmI’m currently doing the first method Overload suggested. I’m actually using size 5 embroidery floss and a tiny hook. So far I’d say he is about 2ish inches tall.
Sanju
July 28, 2021 at 1:43 amI loved this pattern I made it for my friend and he loved it thank you so much for this pattern
Sanju
July 28, 2021 at 1:44 amAnd I love everything you have made for us to do in our free time😀
jin
February 11, 2022 at 1:09 ami love your patterns. this is my second character to crochet! I’m planning to make more of your patterns. thank you for sharing this!
paige vanvleet
May 11, 2022 at 3:22 pmis there a pattern for the tummy as an alternative to the felt???
53stitches
May 11, 2022 at 3:51 pmHi Paige 👋🏻 Yes, I’ve been making him with a crochet belly more recently – starting on row 6 of the body, replace 6 of the stitches with a cream coloured yarn instead of using the felt, and then for each row afterwards until the body is finished. If a decrease falls in the middle of the colour split, I just move the decrease one stitch over. I hope that helps! I plan to get around to updating the pattern eventually, once I grab some new photos of that method 😊
paige vanvleet
May 16, 2022 at 12:07 pmThank ypu!!!!