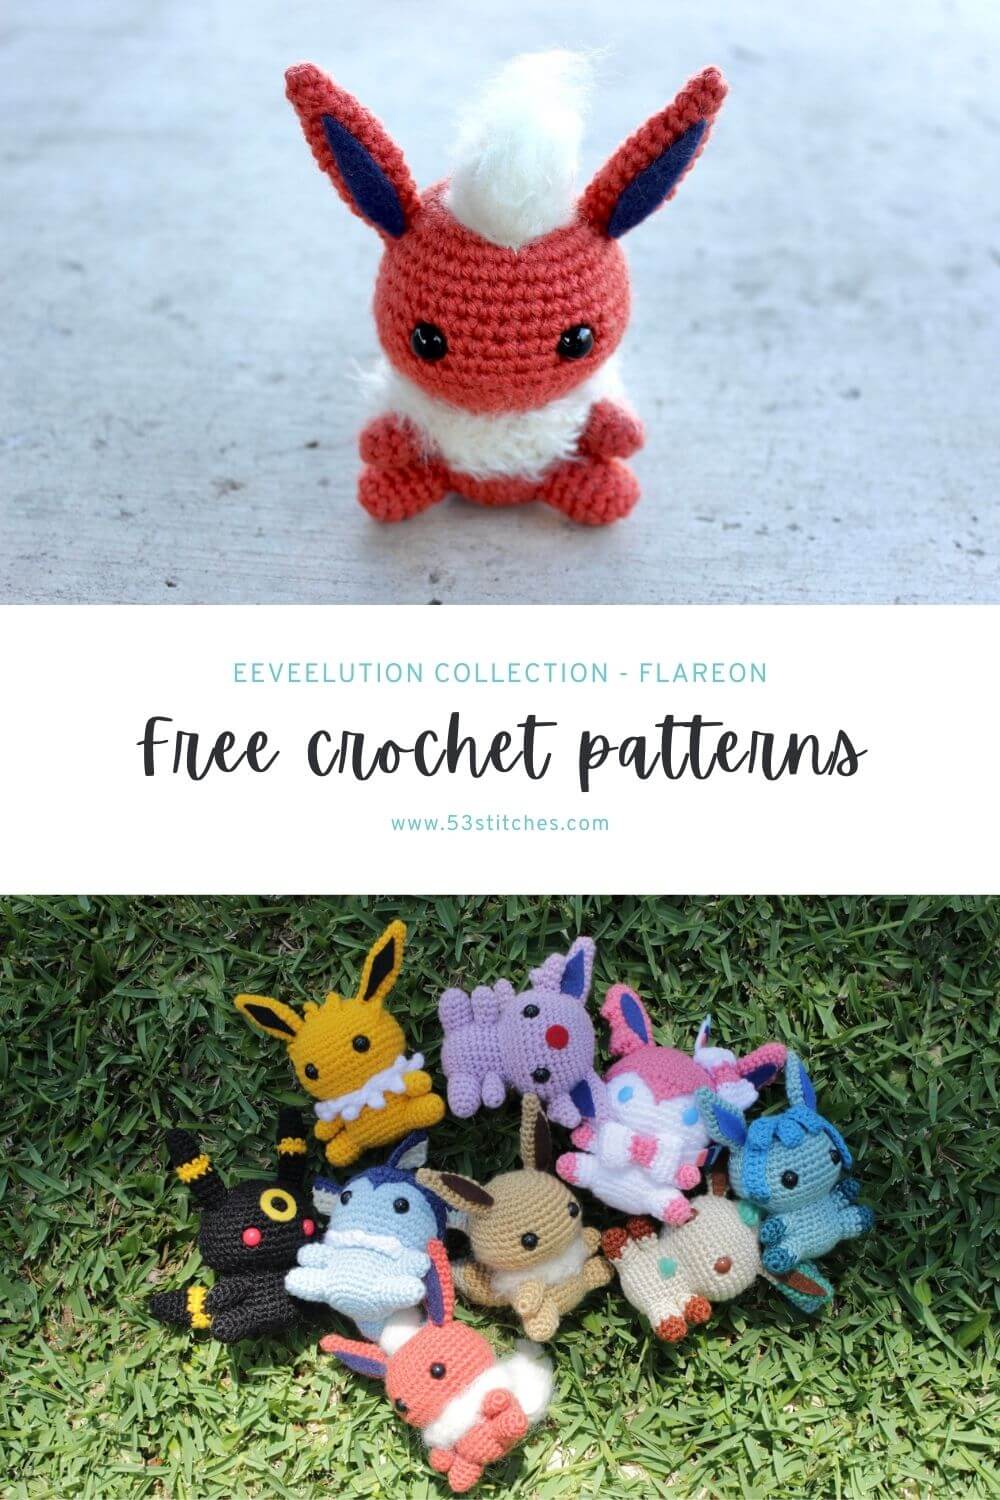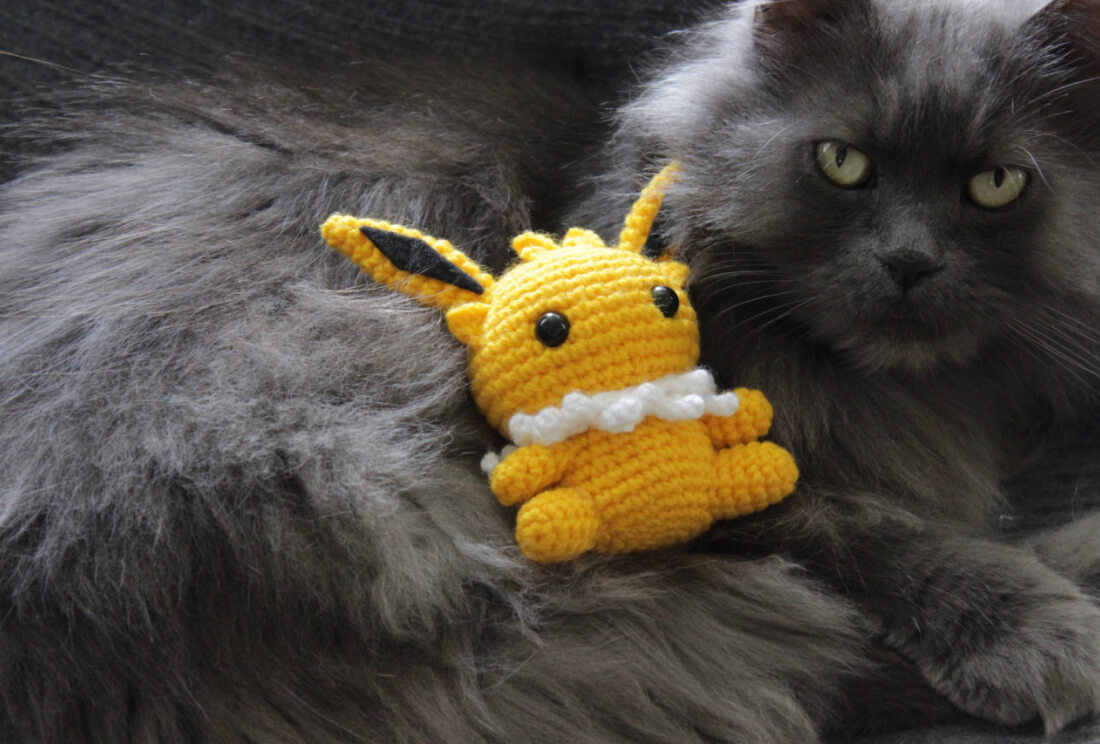
Flareon has been one of the most request Eeveelutions, and I don’t blame them. She’s got everything you could want (or I could want) – the perfect amount of fluffiness, plus fire-type! This free Flareon crochet pattern is quick and easy, the perfect project for beginners!
You can purchase and ad-free PDF of this pattern over on my Ravelry or Etsy, and if you do a huge thank-you in advance for your wonderful support! You can also find a diy crochet kit on my Etsy which has all the materials you need to make your own!
What materials will you need?
Note some of the links on this site are affiliate links. This means I get paid a small fee if you decide to purchase anything at no extra cost to you. I will only ever link products I happily use myself.
- 3.00 mm crochet hook
- Orange/red yarn
- cream/yellow coloured yarn
- dark blue or black felt
- 2 x 10.00mm safety eyes
- metal brush / pet brush
- yarn needle
- polyester filling
- glue
It was really tricky to find the right shade of red/orange for this one – it looks like it changes so much depending on the picture of Flareon you’re looking at. Eventually I went with an auburn colour. The colour of the fluffy parts can also look quite yellow in a lot of the pictures, but I just couldn’t find a colour that wasn’t too yellow. I went with an ivory colour. I like it a bit paler anyway.
Quick reference for beginners
Check out some of the below tutorials if you get stuck on any of the stitches or techniques
- How to read patterns
- Magic ring
- Single crochet
- Increase
- Decrease
- How to change colours
- Attaching amigurumi limbs
If you get stuck anywhere else, check out the FAQ.
Getting into the Flareon crochet pattern pieces!
HEAD
1. (in Orange/Red) MR 6 (6)
2. [ inc ]x 6 (12)
3. [ inc, sc ]x 6 (18)
4. sc, [ inc, sc 2 ]x 5, inc, sc (24)
5. [ inc, sc 3 ]x 6 (30)
6. sc 2, [ inc, sc 4 ]x 5, inc, sc 2 (36)
7-10. sc 36 (36)
11. [ inc, sc 5 ]x 6 (42)
12-13. sc 42 (42)
14. [ dec, sc 5 ]x 6 (36)
15. sc 2, [ dec, sc 4 ]x 5, dec, sc 2 (30)
16. [ dec, sc 3 ]x 6 (24)
Finish off, leaving a tail long enough to attach to the body later. Insert the safety eyes between rows 11 and 12, with approximately 7 stitches between them.
BODY
1. (in Orange/Red) MR 6 (6)
2. [ inc ]x 6 (12)
3. [ inc, sc ]x 6 (18)
4. sc, [ inc, sc 2 ]x 5, inc, sc (24)
5. [ inc, sc 3 ]x 6 (30)
6-8. sc 30 (30)
9. [ dec, sc 3 ]x 6 (24)
10. sc 24 (24)
11-12. (in Cream/Yellow) sc 24 (24)
Finish off, no tail necessary.
LEG (make 2)
1. (in Orange/Red) MR 6 (6)
2. [ inc, sc ]x 3 (9)
3-6. sc 9 (9)
Finish off, leaving a tail long enough to attach to the bodylater.
ARM (make 2)
1. (in Orange/Red) MR 6 (6)
2. [ inc, sc 2 ]x 2 (8)
3-4. sc 8 (8)
5. dec, sc 6, (7)
Finish off, leaving a tail long enough to attach to the body later.
EARS (make 2)
1. (in Orange/Red) MR 4 (4)
2. sc 4 (4)
3. [ inc, sc ]x 2 (6)
4. sc 6 (6)
5. [ inc, sc 2 ]x 2 (8)
6-8. sc 8 (8)
9. [ inc, sc 3 ]x 2 (10)
10. [ dec, sc 3 ]x 2 (8)
11. sc 8 (8)
12. [ dec, sc 2 ]x 2 (6)
Finish off, leaving a tail long enough to attach to the head later. Press flat.
Next, we’re going to cut out the darker insides of Eevee’s ear from dark blue or black felt – the choice is up to you, I’ve seen pictures where either colour looks correct. I’ve done mine in dark blue because I like the contrast. Simply glue it in place!

TAIL
1. (in Cream/Yellow) MR 6 (6)
2. sc 6 (6)
3. [ inc, sc ]x 3 (9)
4. [ inc, sc 2 ]x 3 (12)
5. sc 12 (12)
6. [ inc, sc 3 ]x 3 (15)
7. sc 15 (15)
8. [ inc, sc 4 ]x 3 (18)
9-10. sc 18 (18)
11. [ dec, sc ]x 6 (12)
(stuff tail at this point)
12. [ dec ] x 6 (6)
Finish off, leaving a tail long enough to attach to the body later
And the crocheting part is done! Don’t rest too easy though, there’s still a bit of work to go.
Putting it all together
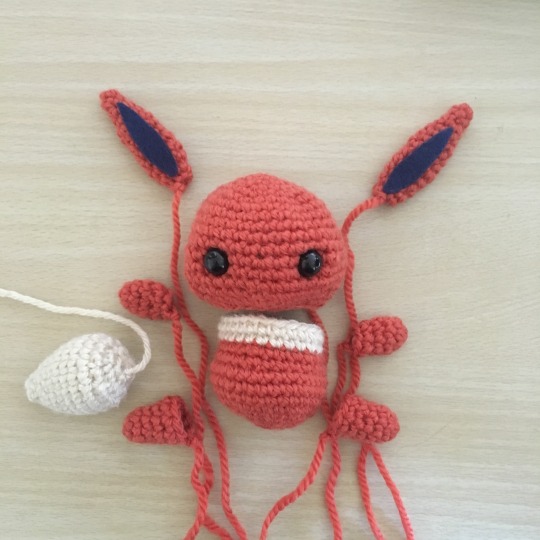
Next, stuff the head, body and legs. The tail should already be stuffed, and the arms are usually so small that they don’t need it. The ears don’t either – plus we already pressed them flat.
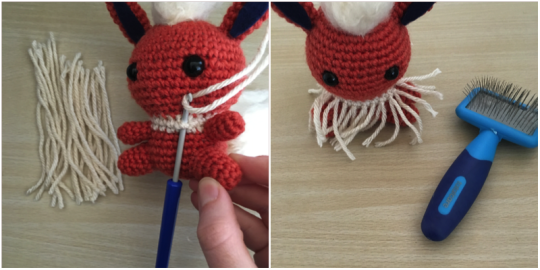
The next step is to fluffify the tail. We’re using the same hook-and-latch technique that we did for Eevee’s fluffy collar (and will be recreating later for Flareon’s fluffy collar). We’re going around the base of the tail – where it will join to the body later, and attaching strands of yarn in the cream/yellow colour to be brushed out. I’ve added a bunch of coloured pins to the tail in the picture below to mark where these strands will go – you want to make it so that they naturally point towards the tip, so insert your hook towards the base of the tail.
To attach the pieces of yarn to the tail:
1. Insert your hook into the doll as pictured below.
2. Fold one of the pieces in yarn in half, and put it on the hook.
3. Pull the piece of yarn through the stitch.
4. Grab the tails and pull them through the loop you’ve just created.
5. Pull the yarn tight, making sure that the piece of yarn is firmly attached.
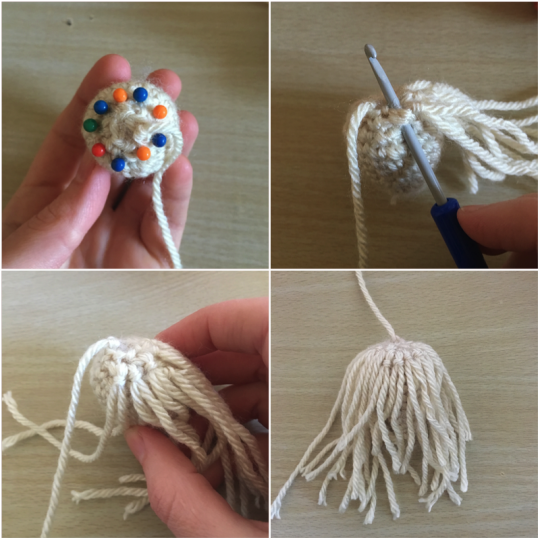
Eventually you end up with this mop looking thing. Then, grab the metal pet brush or fine tooth comb and go to town brushing that yarn out until it is nice and fuzzy. Usually you’ll end up with a lot of leftover fluff in the bristles of the comb – don’t throw that out. We’re going to use it to make Flareon’s hairdo next.
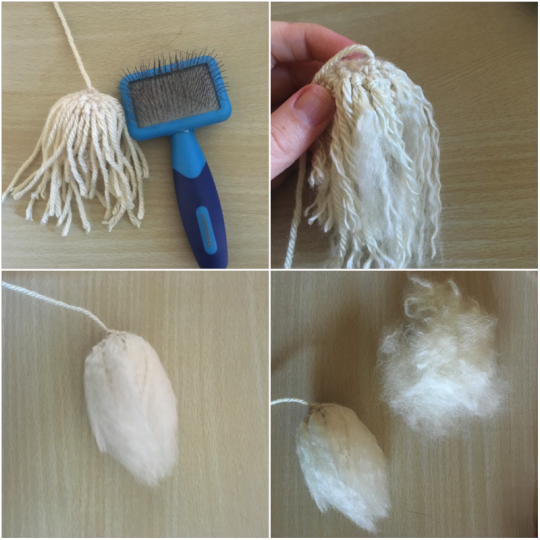
Once the tail is sufficiently fluffy, you can smooth it and twist it to help it keep it’s shape. At this point you could hairspray it to help maintain shape, glue the crocheted part of the tail and then smooth the fluff over the yarn. I usually prefer to take a felting needle and poke it a little bit to help keep it in place – not too much, I don’t mind if it’s a little wild.
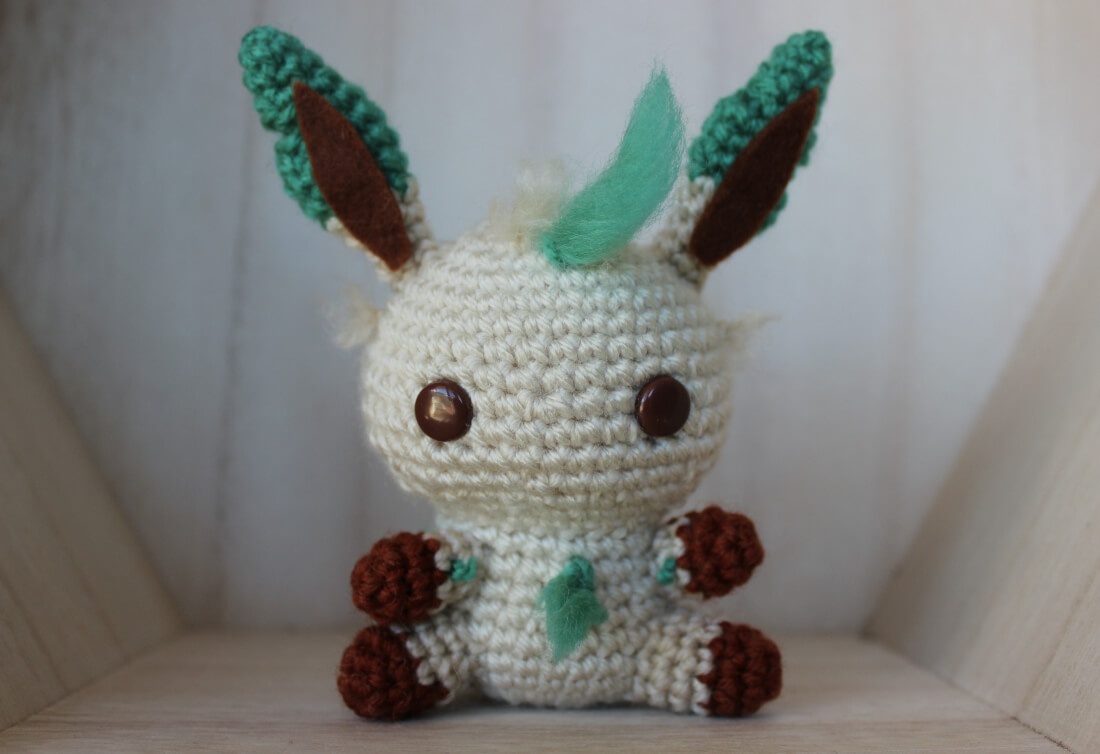
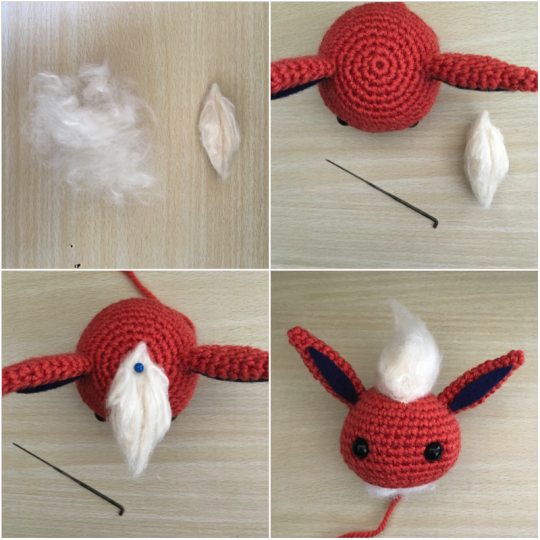
At this point, you want to attach the ears to the head, because next comes the slightly tricky part – getting Flareon’s cool hairdo sorted. Leafeon had a similar sort of hair-think happening as well, but I tried something new this time. Flareon’s head-fluff is entirely needle felted on.
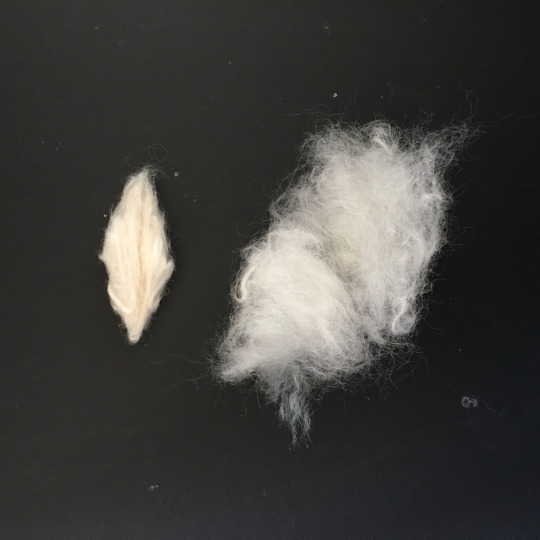
I took the leftover fluff from the tail and rolled it between my hands quickly to compress it and give it an almond shape. In the picture below, the shape I’ve created is on the left, and the unshaped fluff is on the right.
I basically got the felting needle, pinned the shaped felt into place, and then poked away, moving and shaping the fluff as I went to get the look that I wanted. Then I turned another bit of loose fluff into the almond shape and added to the volume. I tried to get a video of this, since it’s pretty hard to show in pictures – hopefully this will help, you can see me making it up as I go along.
The video has no sound, in case you think your speakers are broken haha.
If you find you’re having trouble creating the shape you like on Flareon’s head this way, you could try and recreate the style I did for Leafeon – attaching the strands like we did for the tail and then brushing them out and shaping. I find needle felting it is a little nice to look at, but probably a bit more fragile as well – it can come off with a firm tug or two.
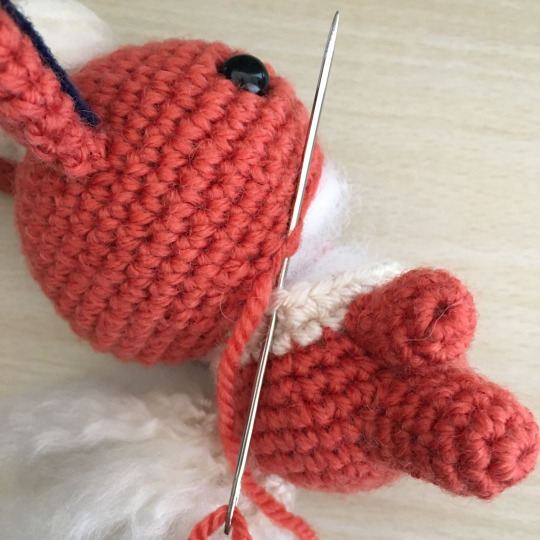
That’s it for the fluff (for now!), now it’s time for assembly. I like to pin all of the body pieces together to help position them and get an idea of where to sew them. I’ve had a few people ask how I attach the limbs on my doll, so I’ll point you to the PlanetJune tutorial on the subject – this is how I try to do. Sometimes I get lazy and it’s not quite as neat and organised haha.

I usually attach them in this order: legs to body, arms to body, tail to body, ears to head, and finally, head to body. Be careful when you’re joining the head and the body – I found the tail was a bit difficult and kept getting caught by my needle, so just watch out for that.
For the last bit of fluff, you’ll need 24 lengths of the cream/yellow yarn. We’re basically going to attach one of the pieces to every stitch around Flareon’s neck – just like for the Eevee pattern. If you want SUPER fluff, feel free to add even more pieces. Try making some diagonal, so that it covers a little more of the neck.
Attach all the pieces and go at it again with the brush. You could also do this part with the leftover fluff like we did for the head – I haven’t tried it, maybe next time. I’ll usually go back in with a felting needle for the collar as well to tame it a little bit.
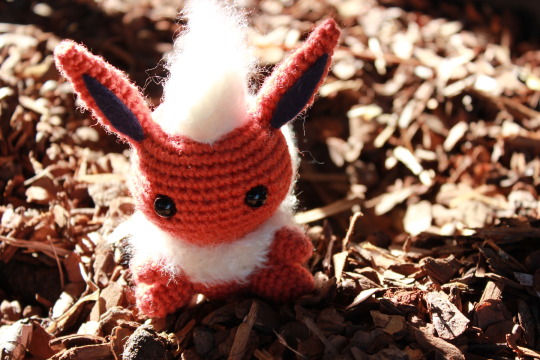
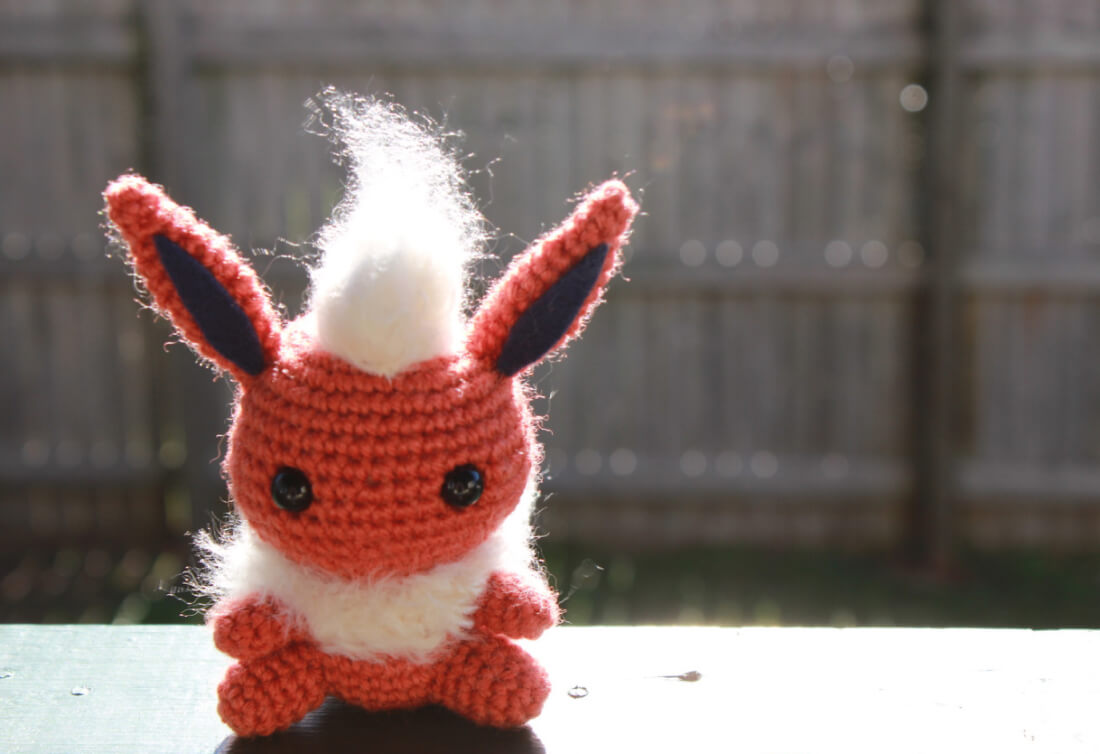
Aaaand done! I think this has been my favourite Eeveelution so far, and I’m definitely getting that impression from all of you as well. Hope you like them and had a lot of fun making them! If you share on Instagram or Tumblr, don’t forget to tag @53stitches so I can check it out.
Other Pokemon crochet patterns
Now that you’ve finished Flareon, I think they need some buddies! I have patterns for the complete Eeveelution collection available, follow the links below to easily jump to the next one:
Vaporeon | Jolteon | Eevee | Umbreon | Espeon | Leafeon | Glaceon | Sylveon
You can also check out my other Pokemon crochet patterns here.