

In the wonderful world of amigurumi, one of the skills you’ll likely want to learn sooner rather than later, is how to change yarn colours in crochet. Changing colours in crochet and amigurumi opens up a whole new world of available patterns! And the great thing about amigurumi are the bright and beautiful colours many of them are made with. Today we’re going to go through two simple ways to change colours. Both are very similar but you use them in different scenarios – one for a horizontal colour change, and one for a vertical one.
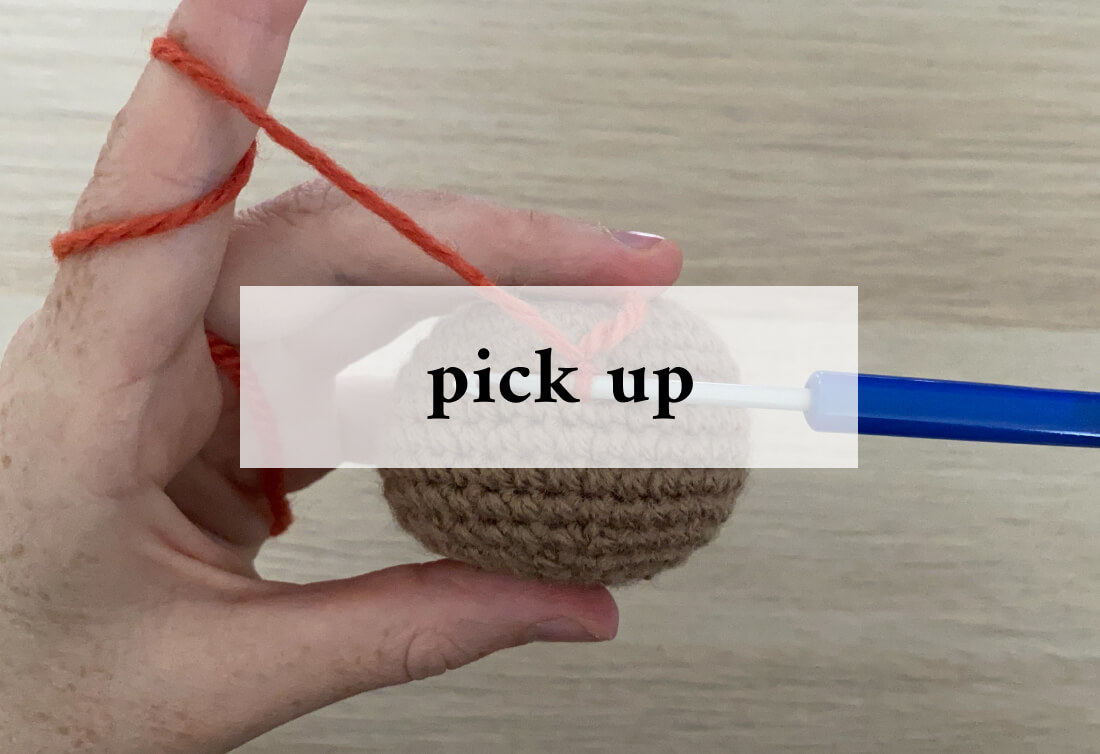
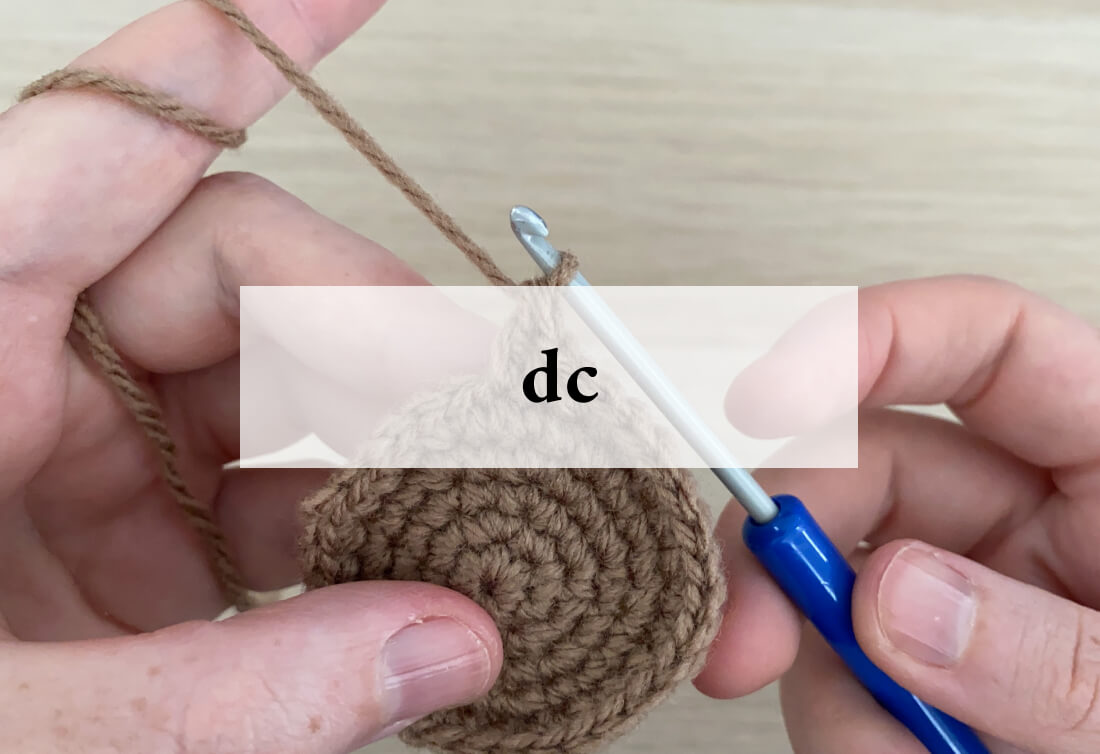
These techniques use a single crochet and a slip stitch, so follow the links to those tutorials if you’d like a refresher.
How to change yarn colours in crochet
Horizontal colour change
e.g. from red to blue.
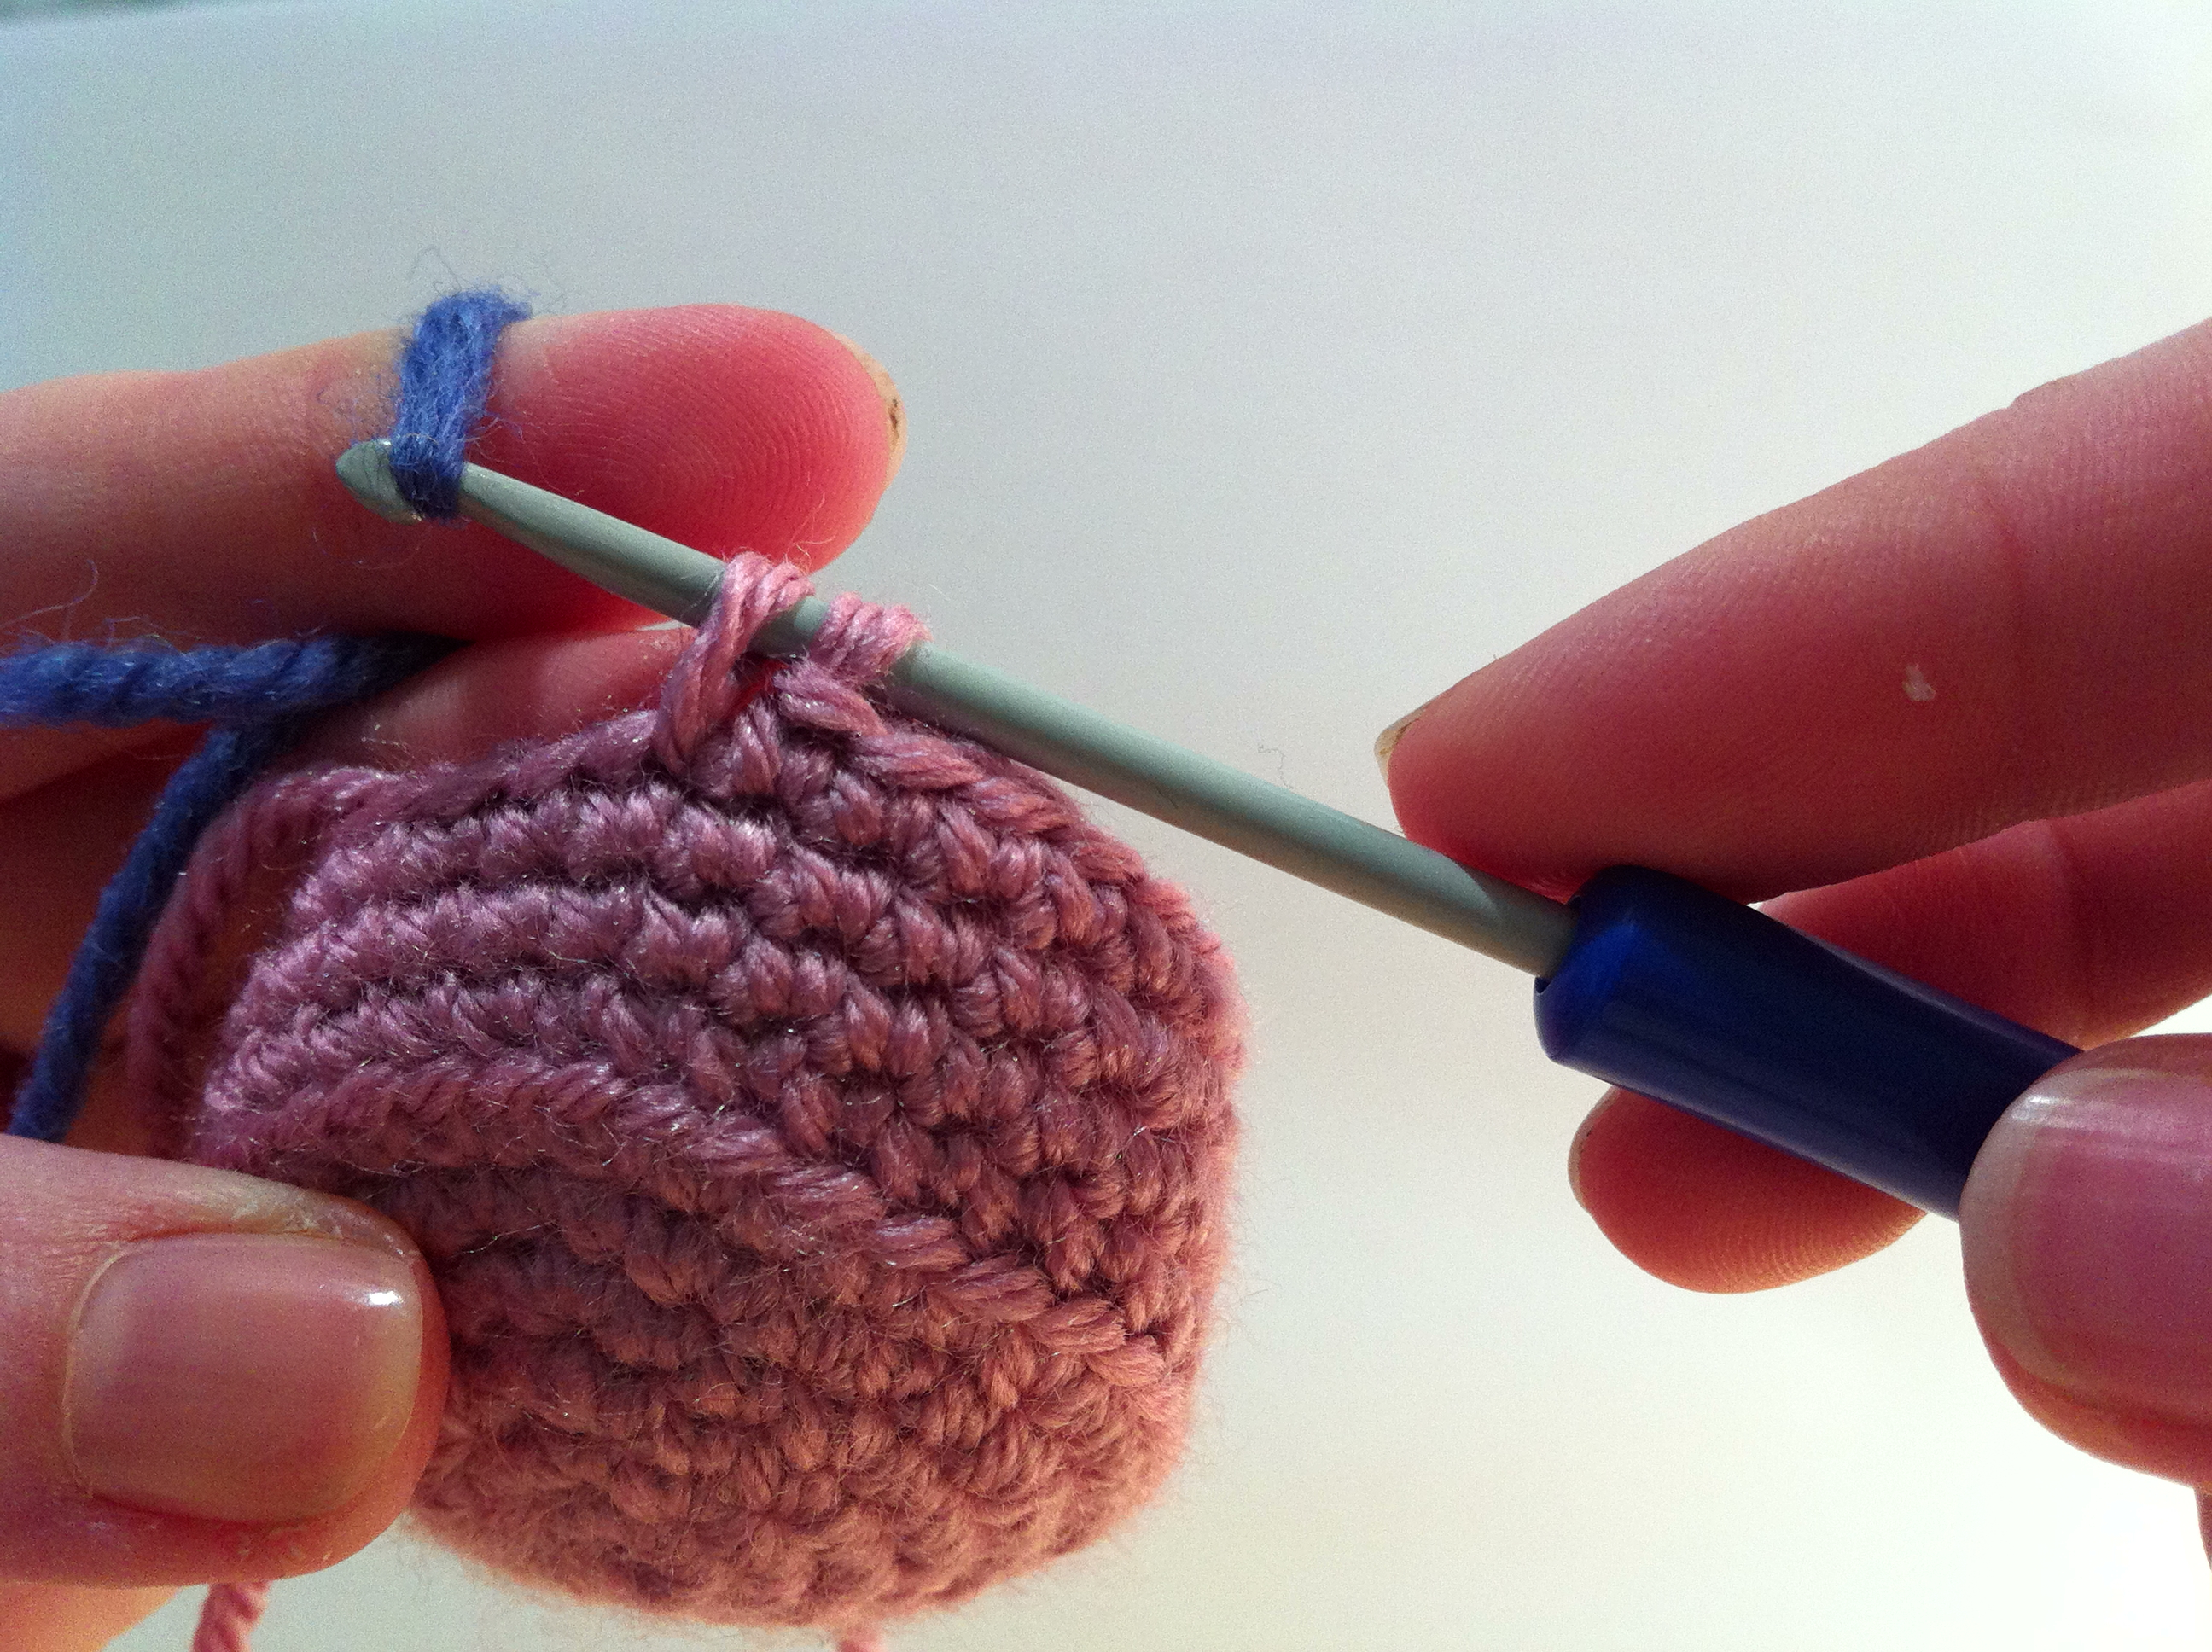
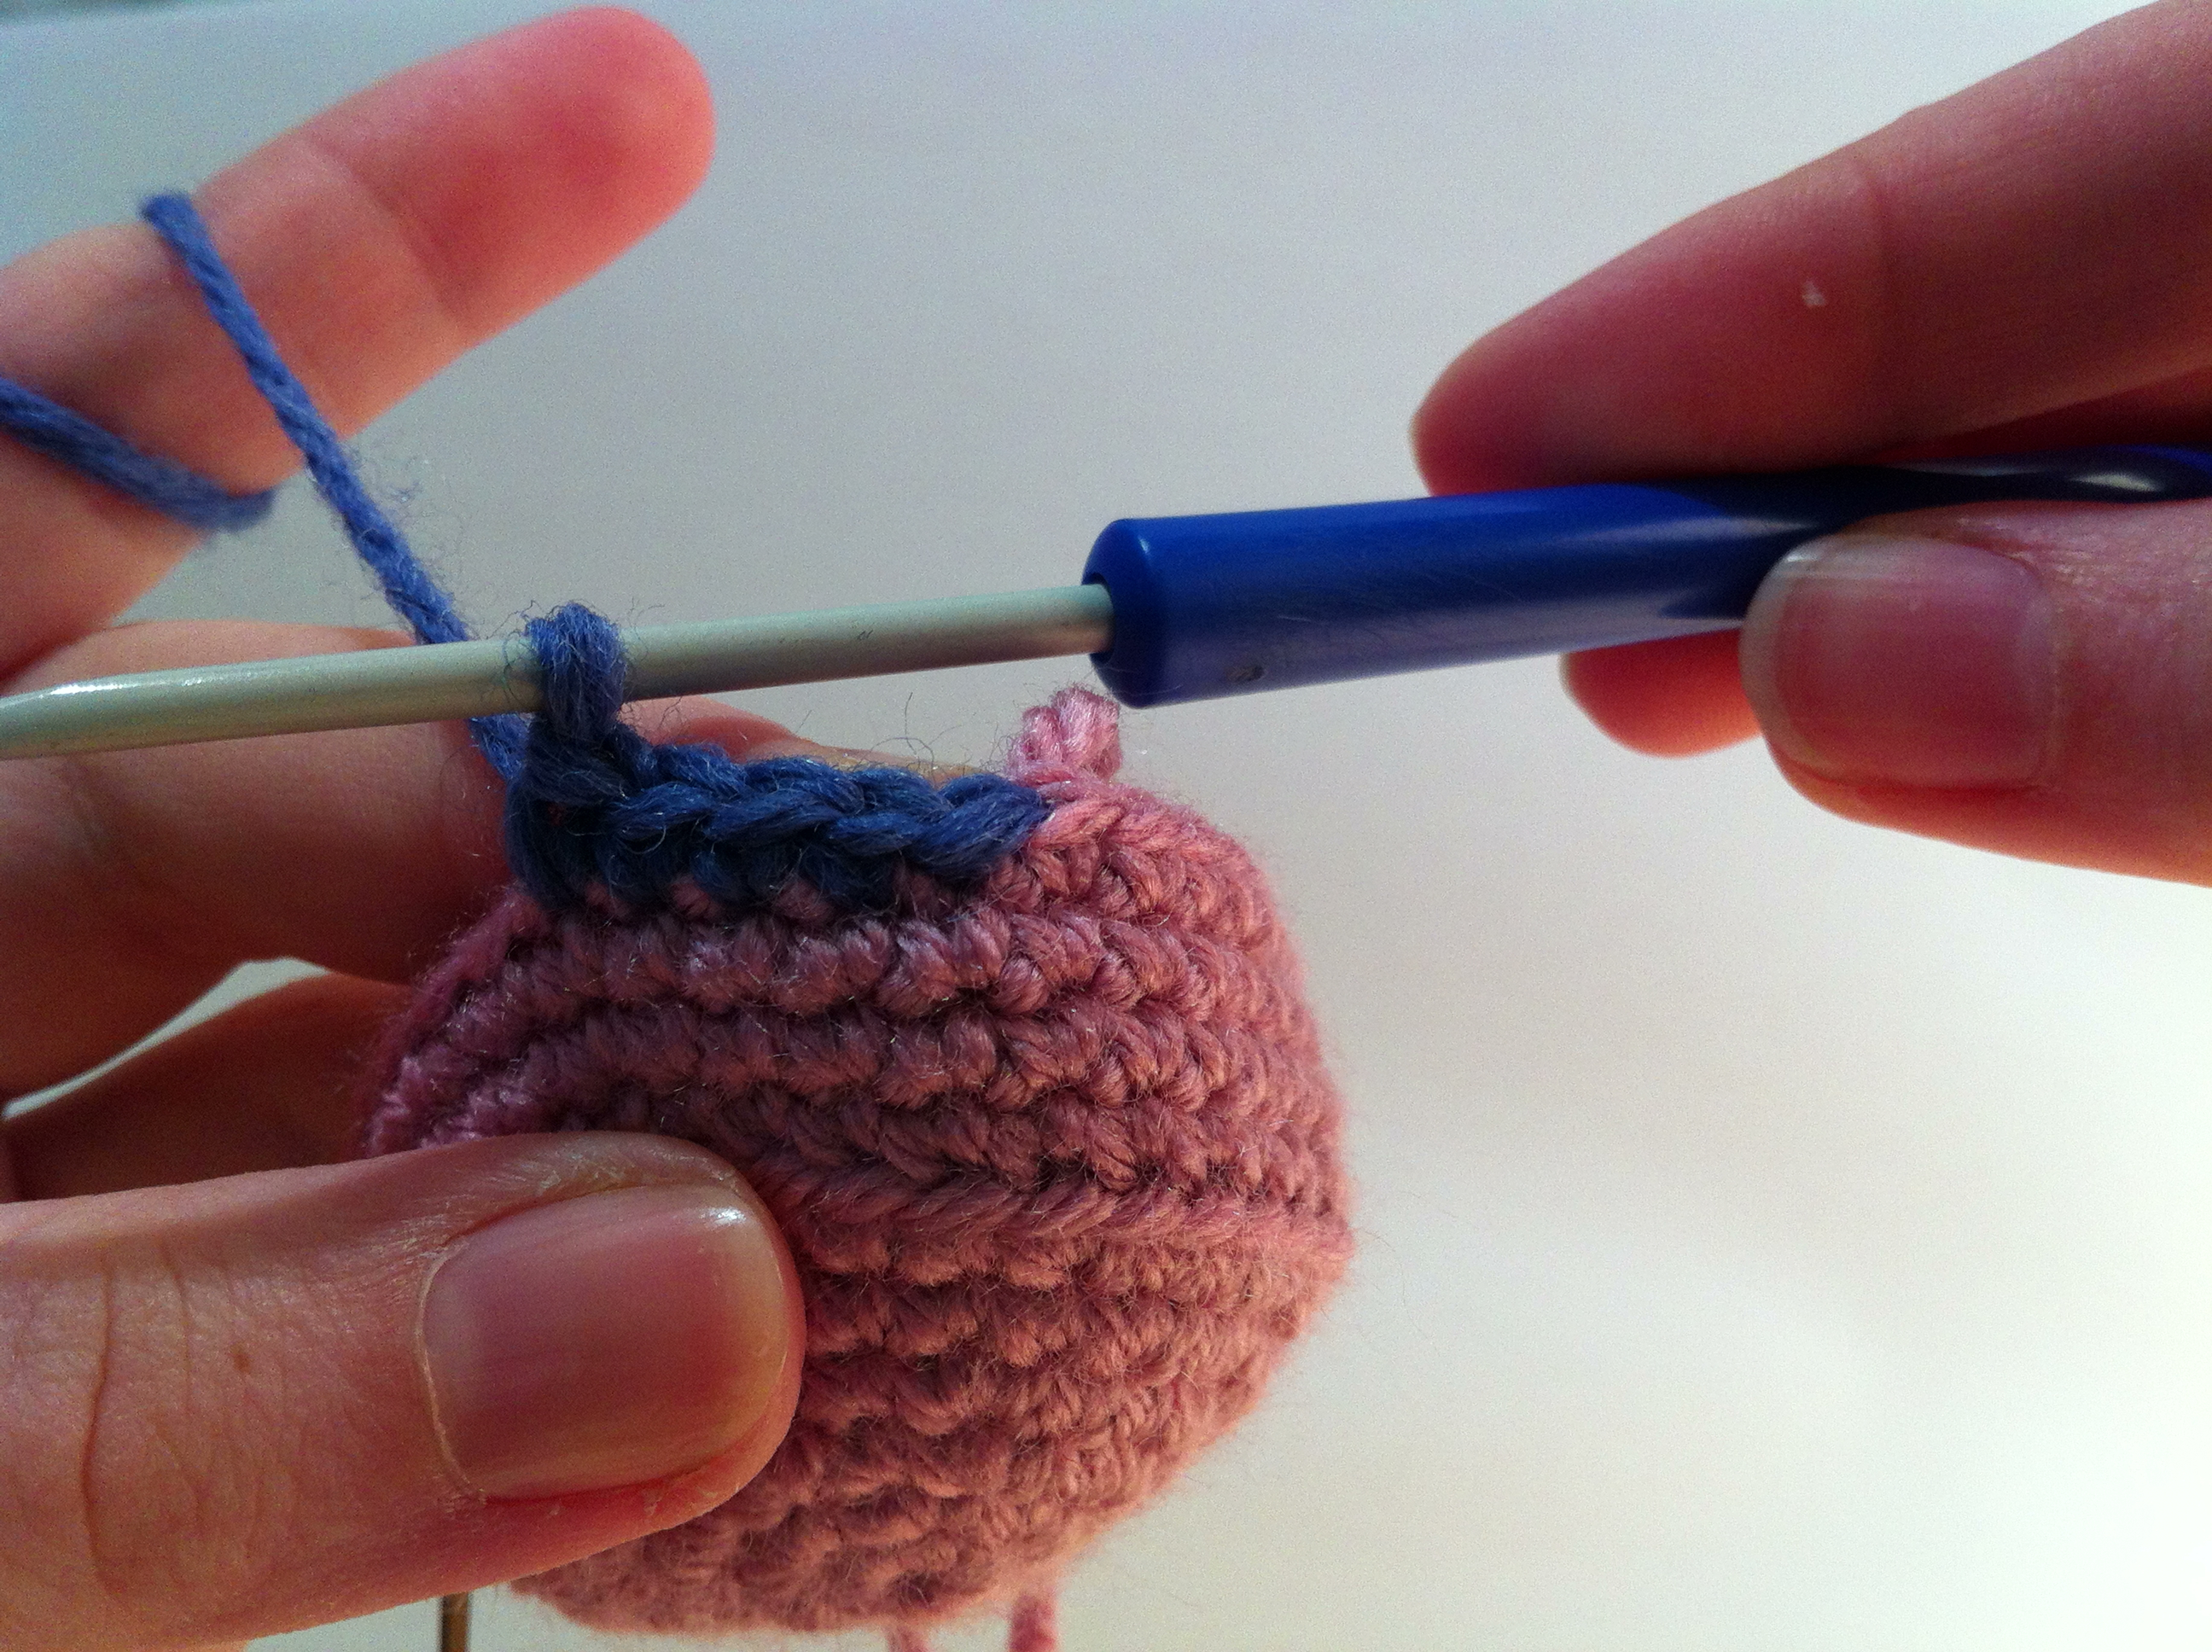
On the last stitch in the old colour (red), start doing a single crochet. Insert, yarn over, pull through. When you have two loops on your hook, stop before finishing the stitch.

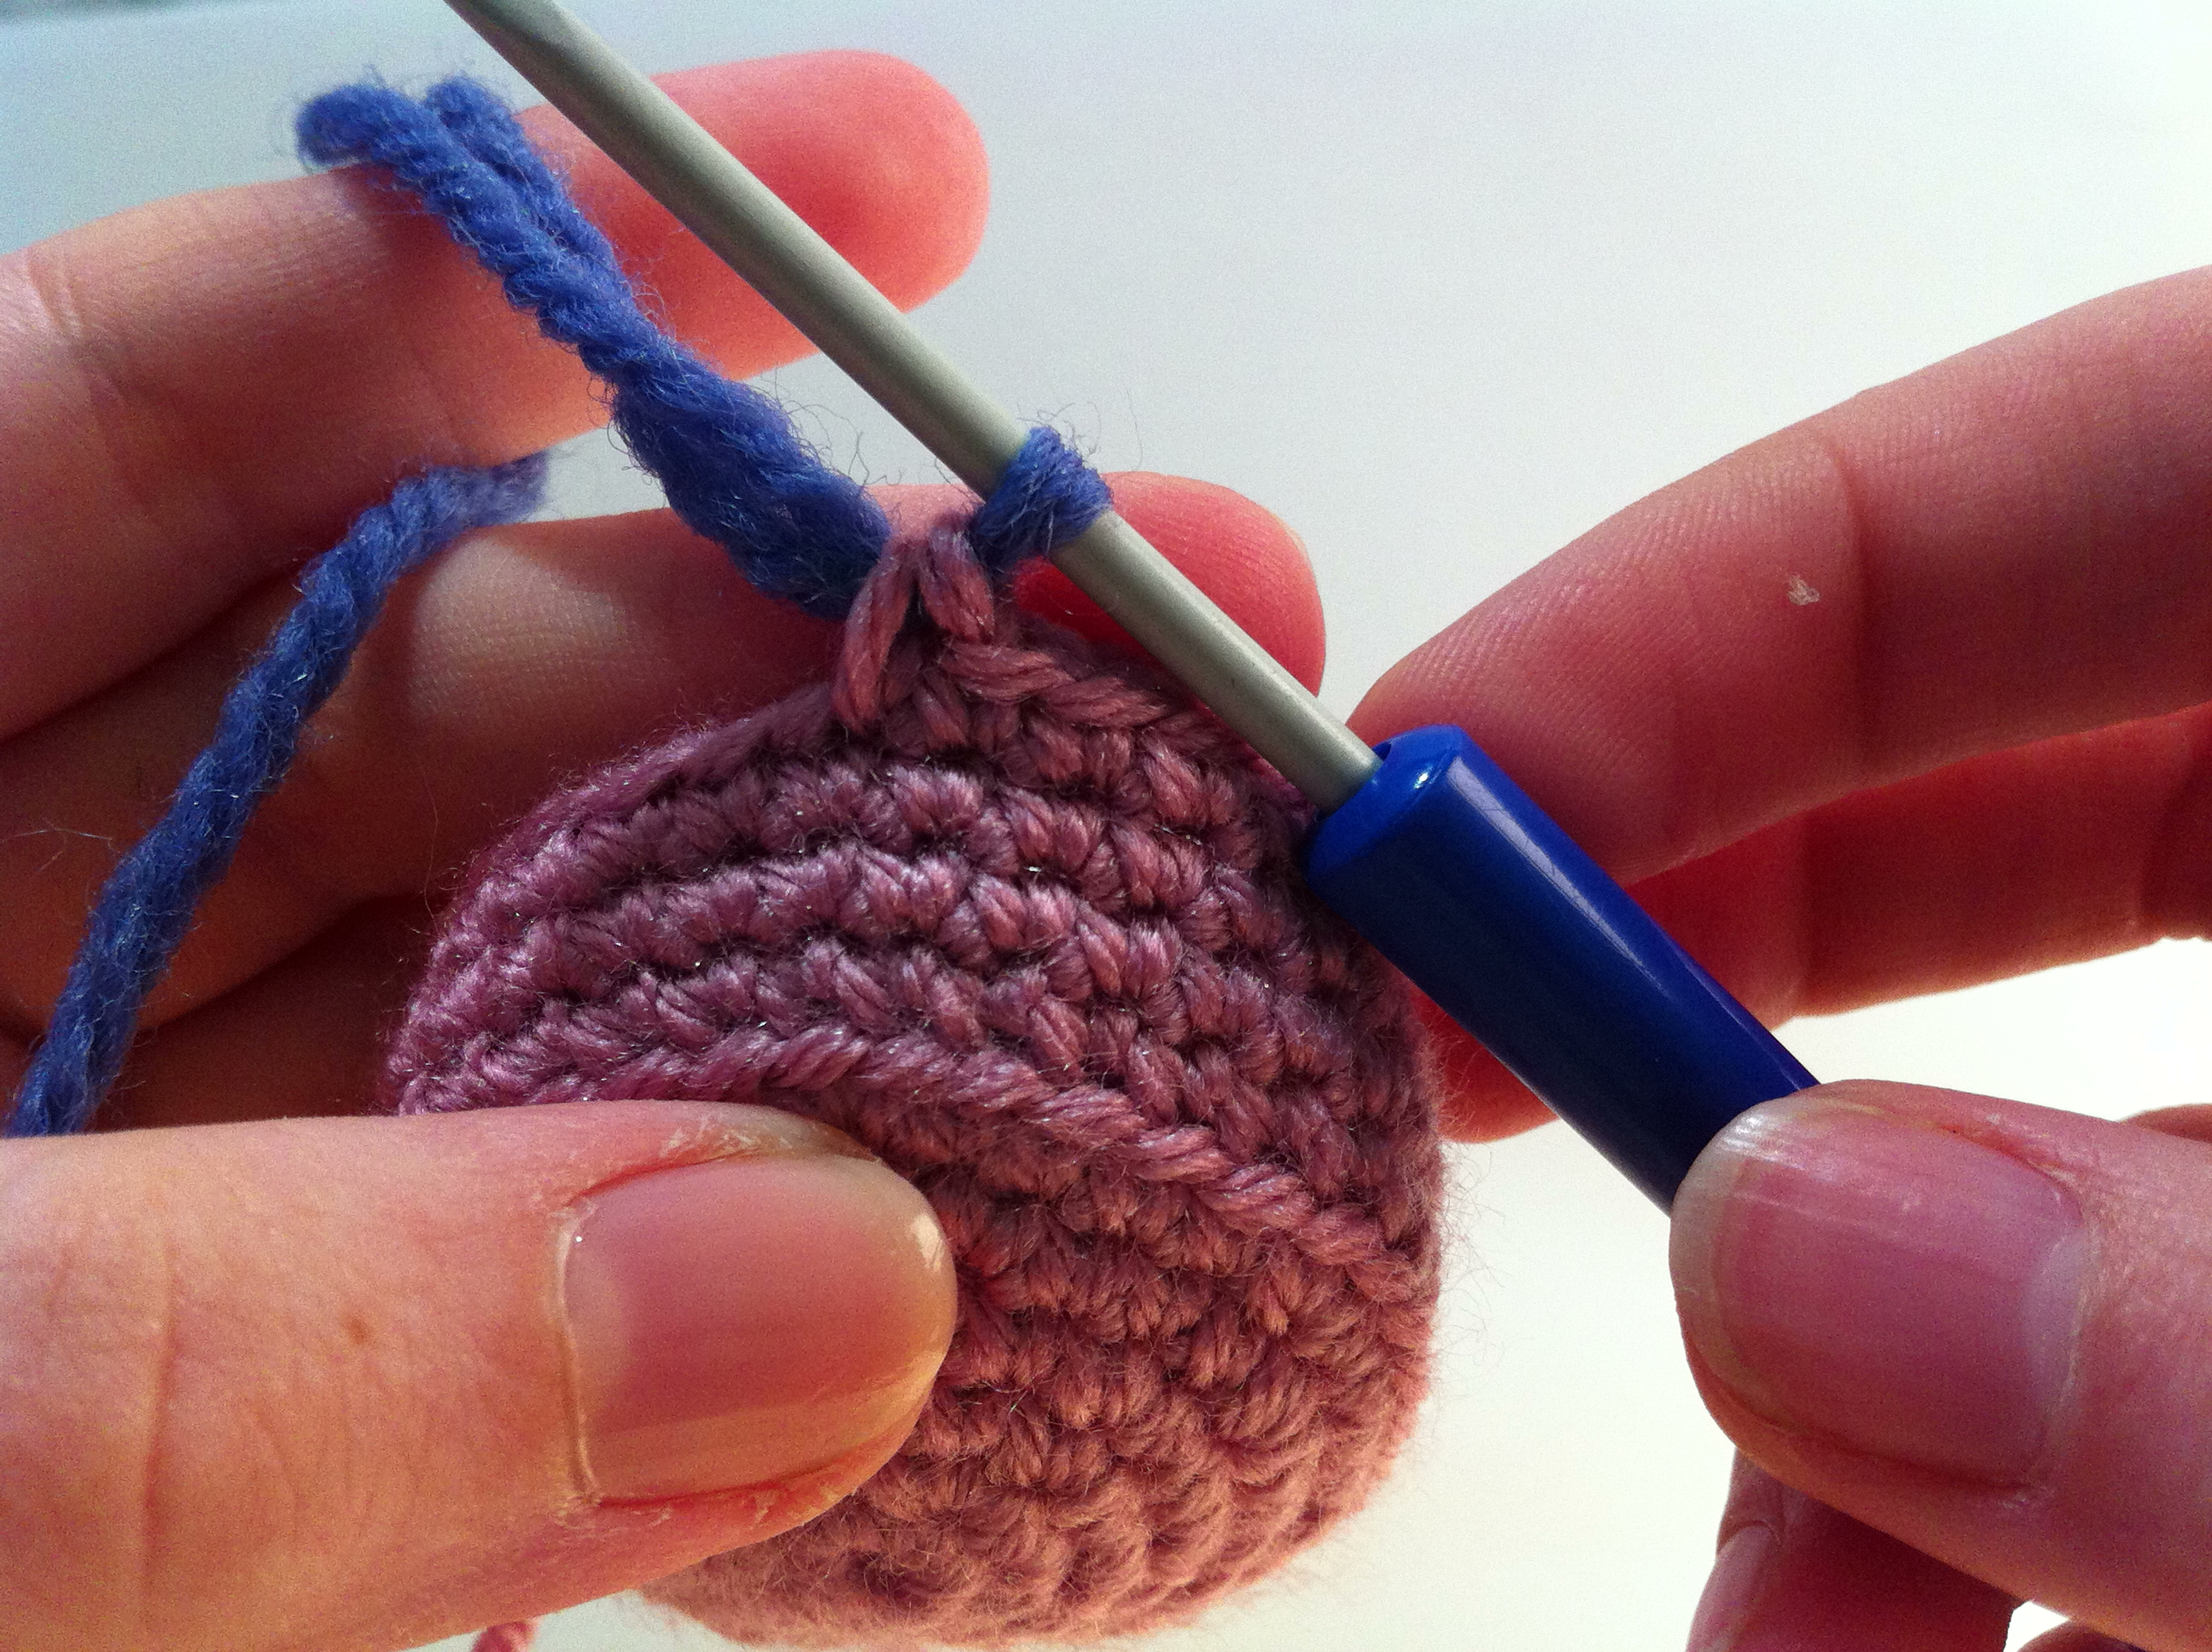
You want to finish the stitch in the new colour (blue). Yarn over using the blue.
Pull the second colour yarn through both loops on the hook.
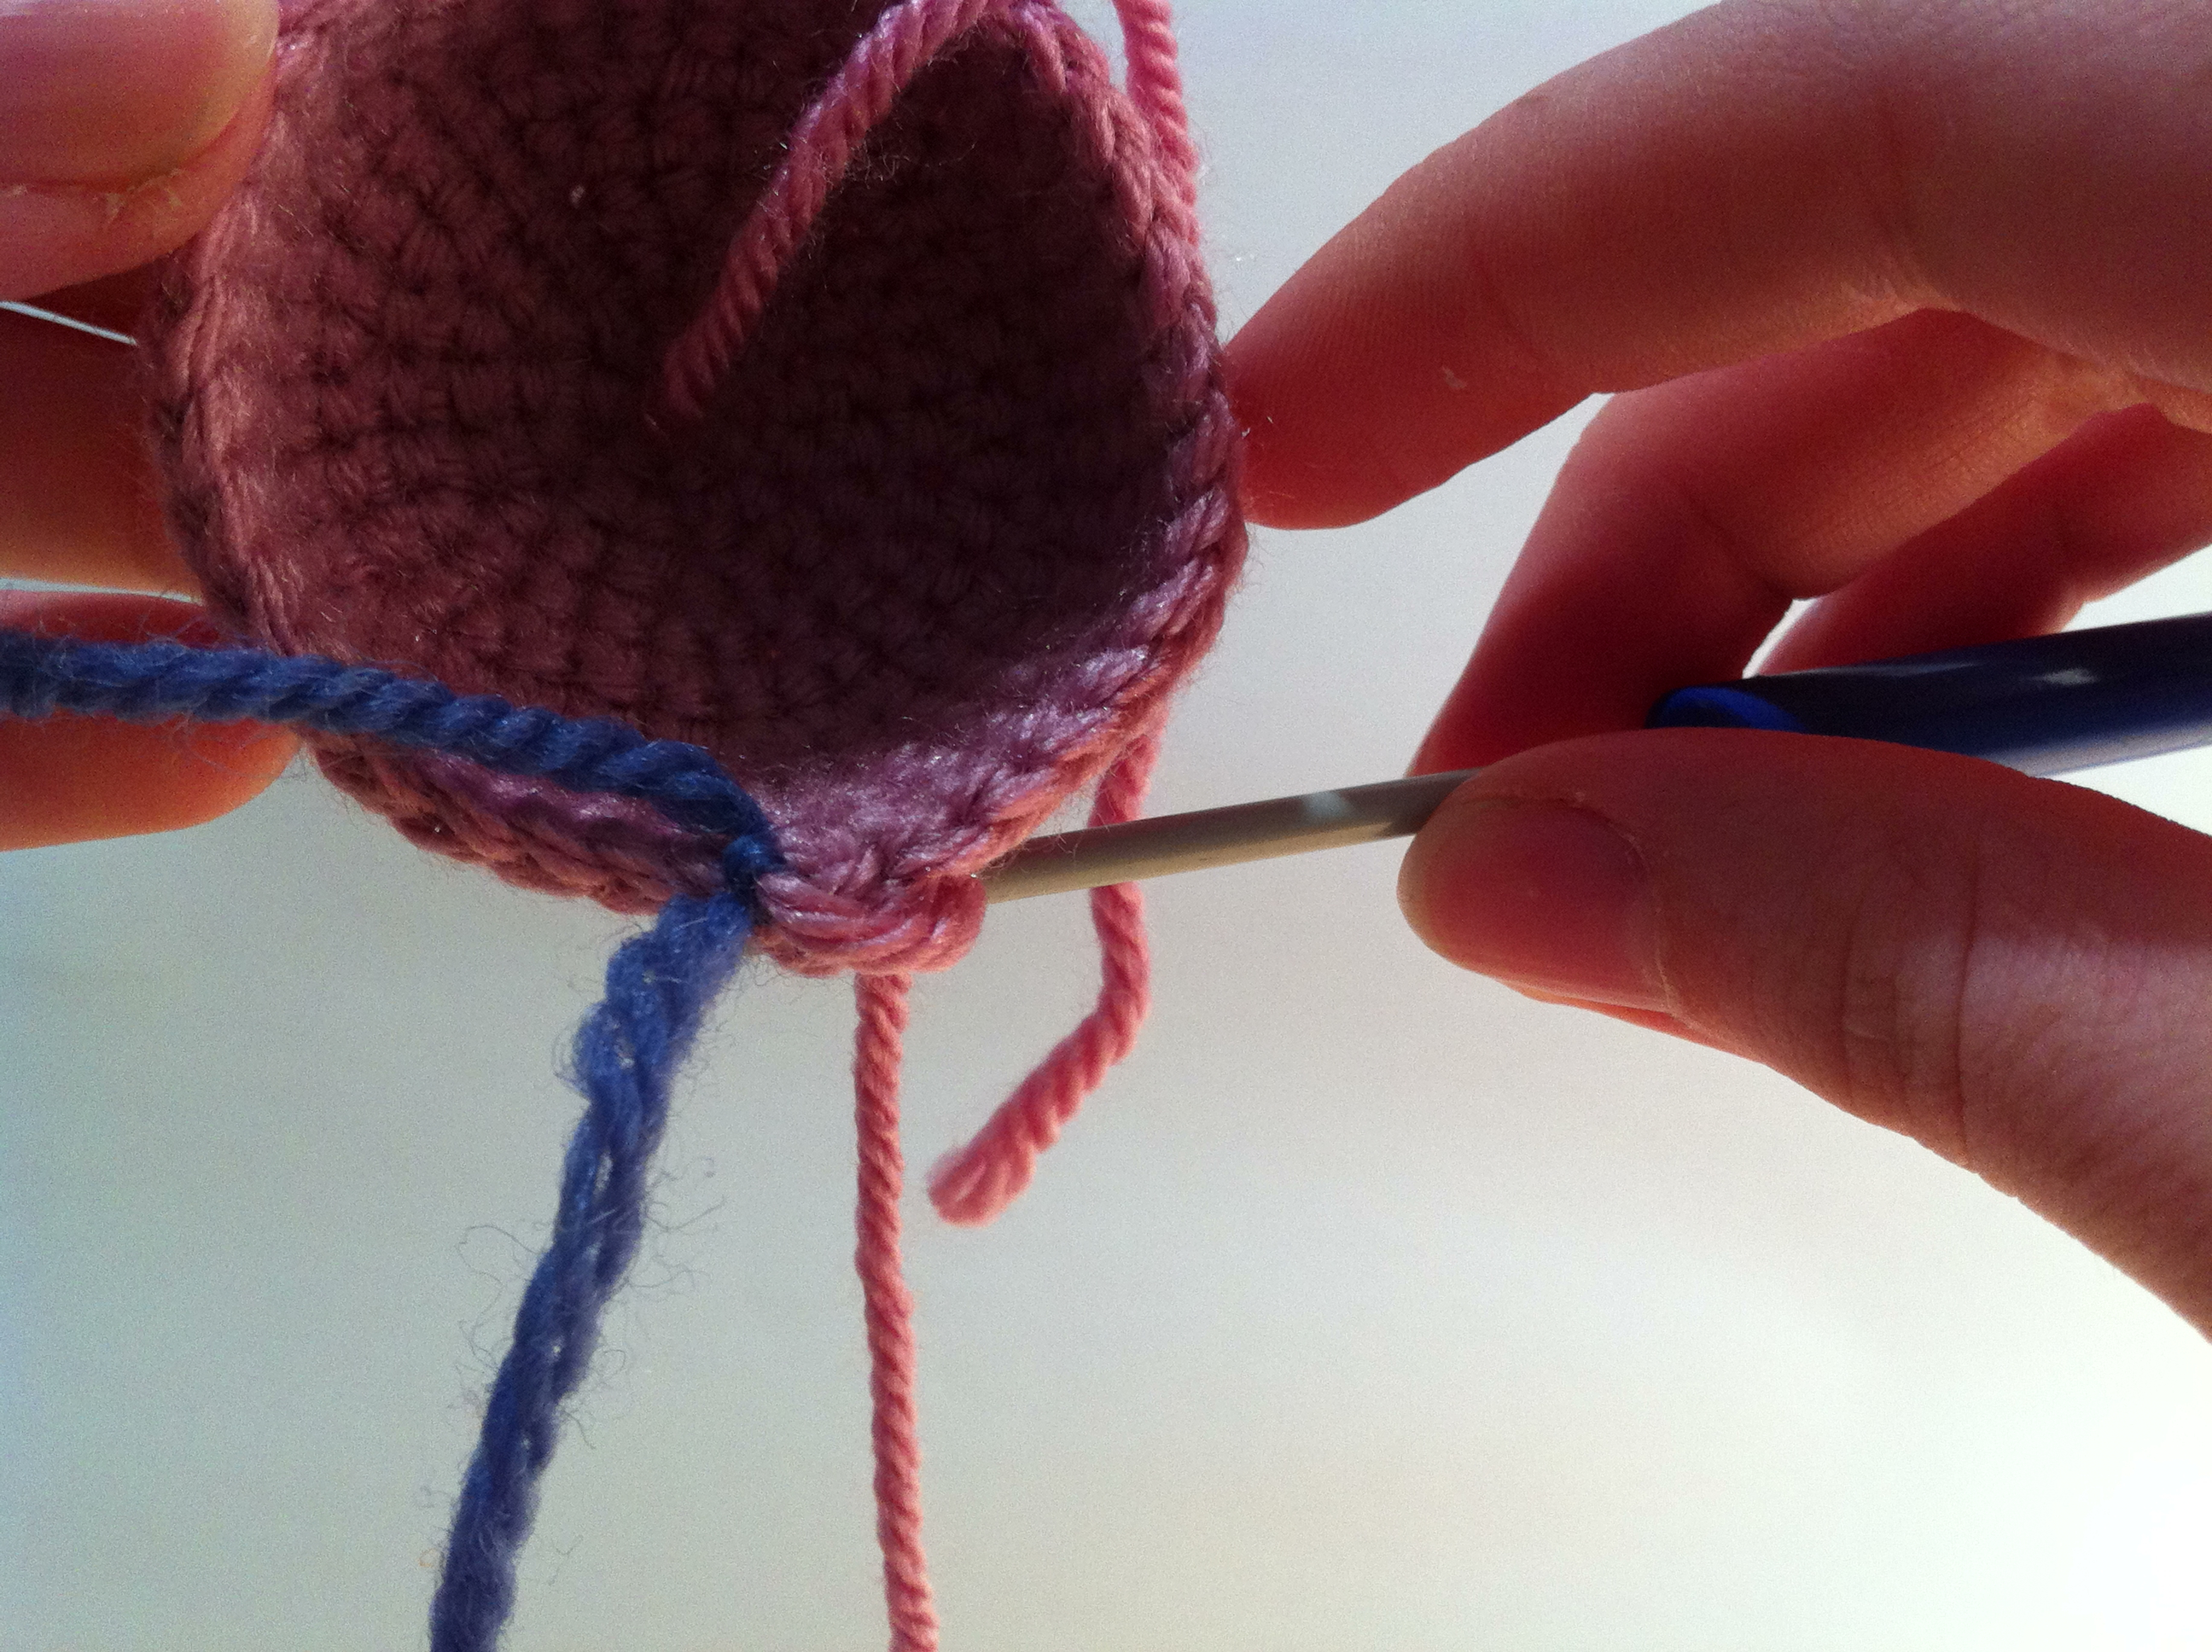
At this point, I like to cut the first colour (red) and tie the two ends together with a knot. This helps give a tighter stitch and a neater colour change.
Now, complete a slip stitch in the blue – by making the first stitch of the new colour a slip stitch, it will make the colour change a little smoother when you get to the next row.
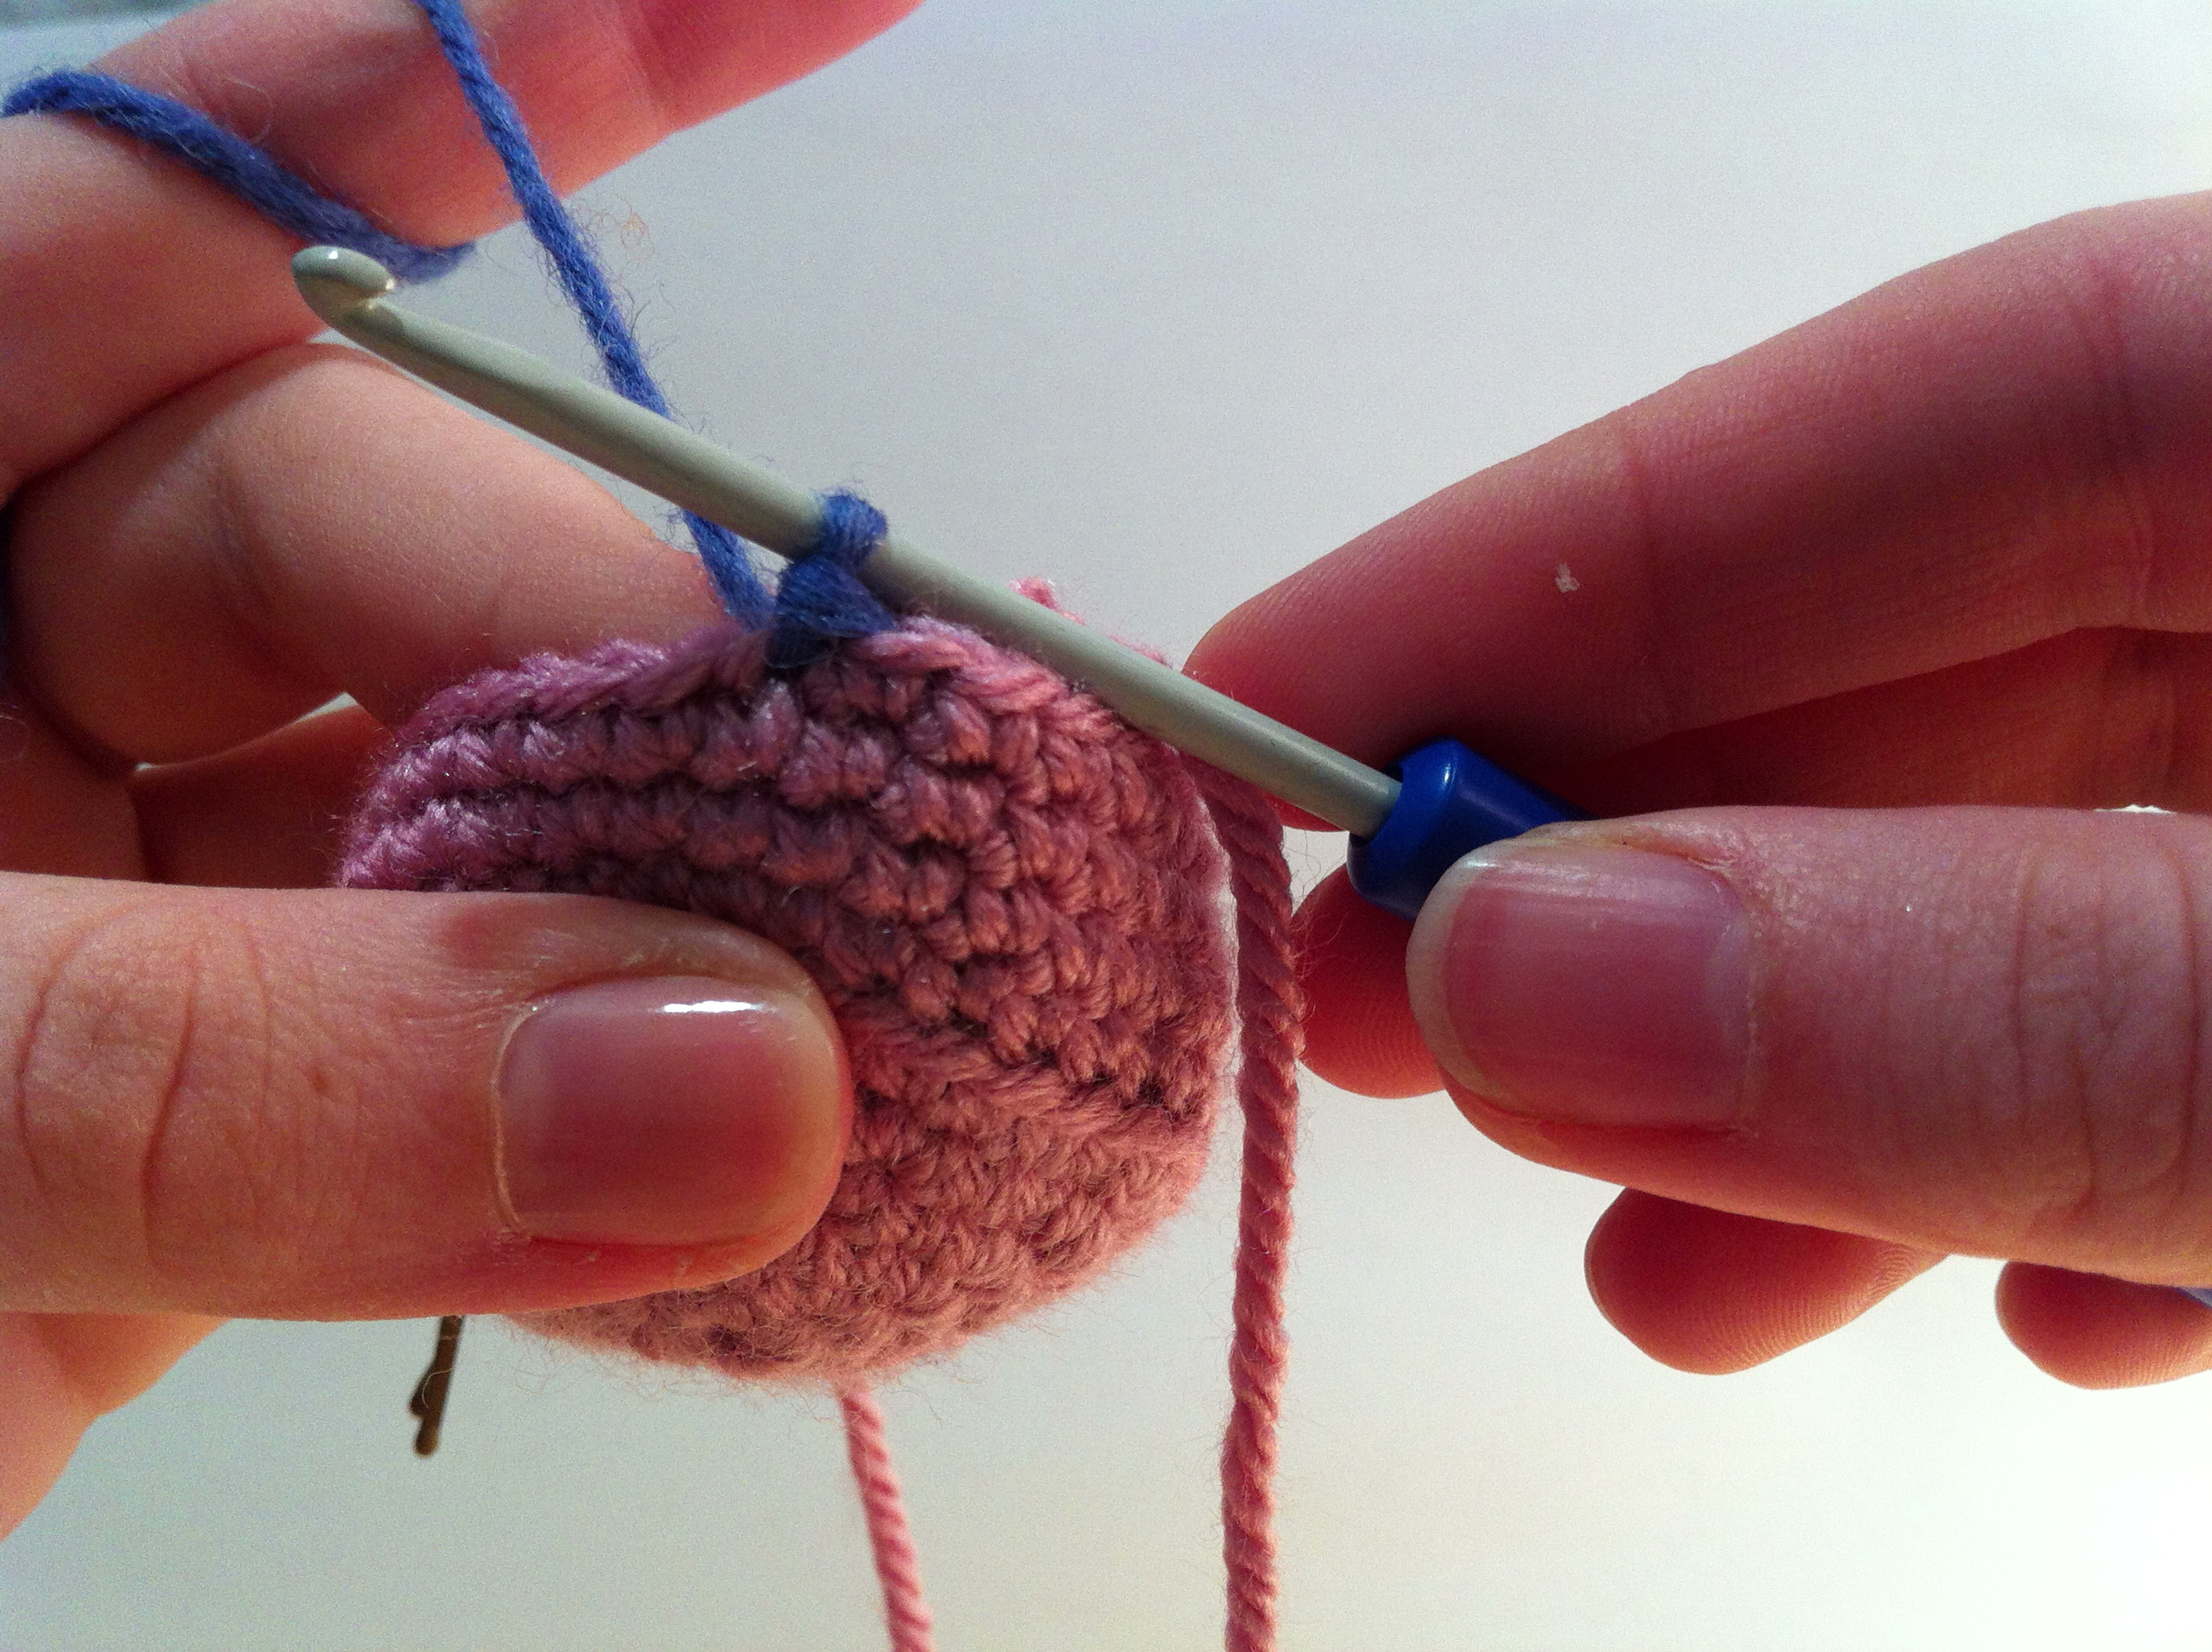
Continue as normal in the new colour!
Vertical colour change
A vertical colour change has the same first few steps, but instead of doing a slip stitch, you’ll complete a regular single crochet.
It’s extra important to tie the colours together at the back for a vertical colour change – amigurumi worked in continuous rounds tends to twist in one direction depending on whether you’re left or right handed. One way to avoid this is by using joined rounds, but tying a knot at the back of colour changes can also help a lot.

No Comments