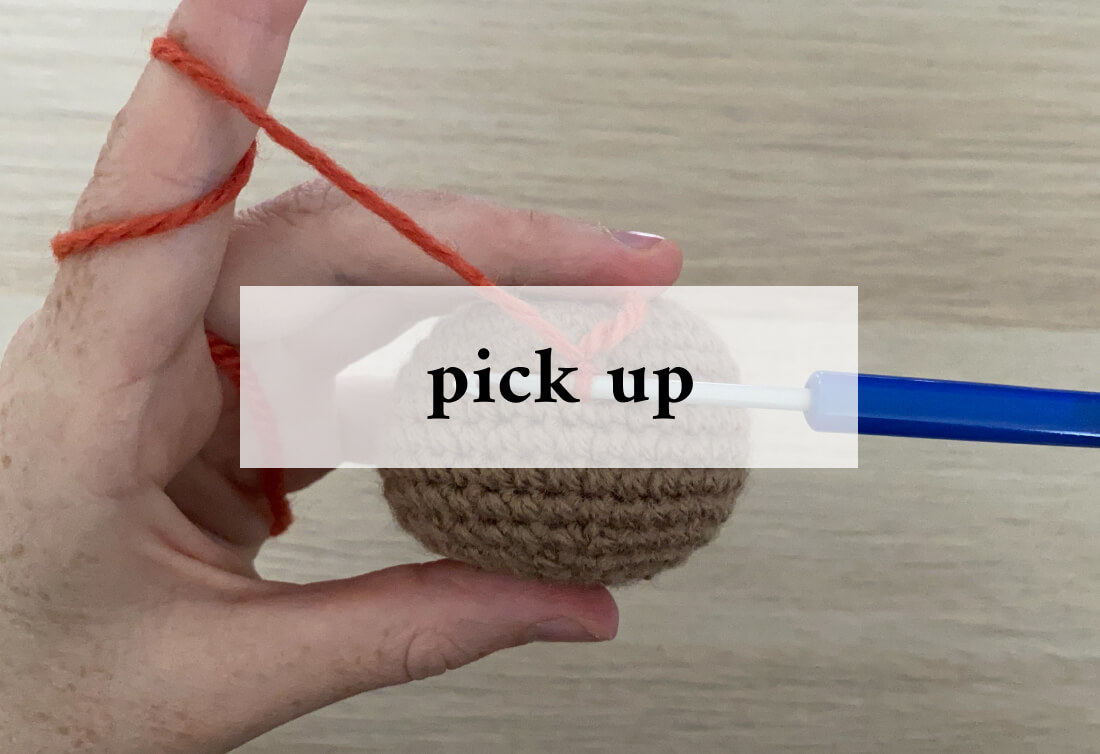
Learning to pick up stitches is really useful, though it’s something a lot of crocheters (especially with amigurumi) may not learn for a while.
How to pick up stitches on a closed crochet piece
Picking up stitches can be used for a number of things, I use it mainly to add limbs without having to create separate pieces and attach them later.

Insert your hook into one of the stitches (A/white), and poke it back out of the stitch directly next to it (B/blue).
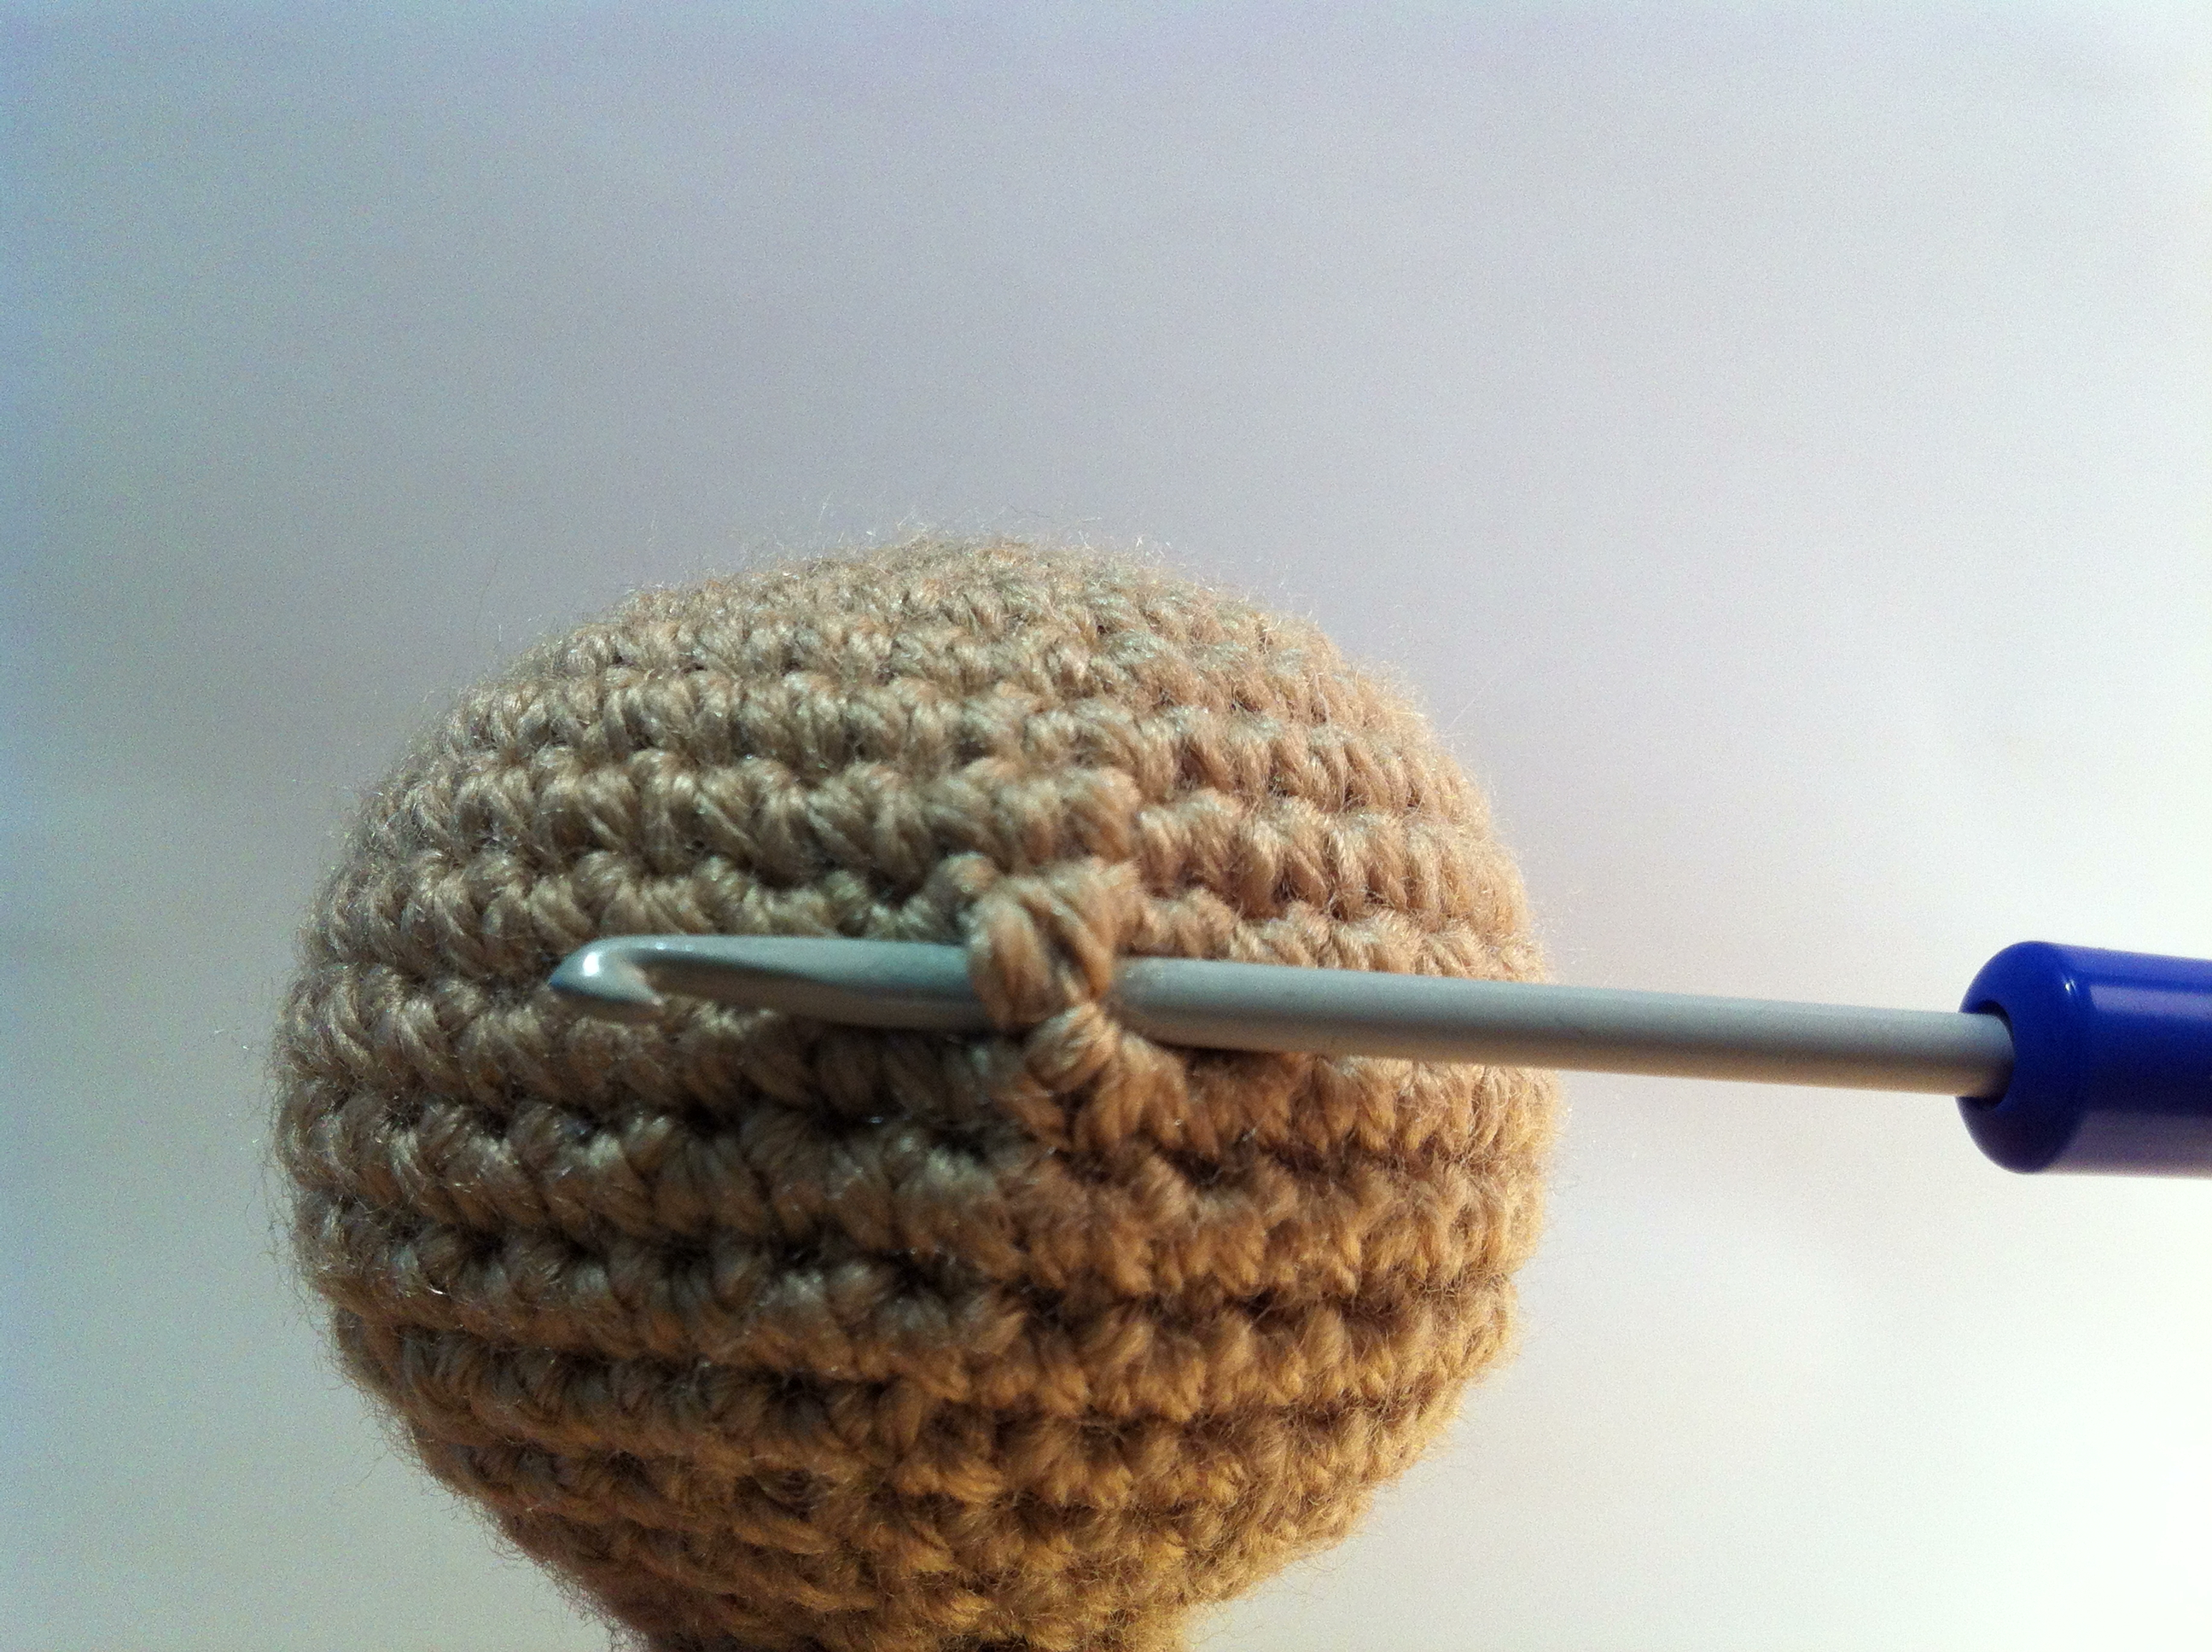
I’m demonstrating this in a different colour. Make a slip knot and put this on your hook. Then draw the slip knot back through both of the stitches (A and B).
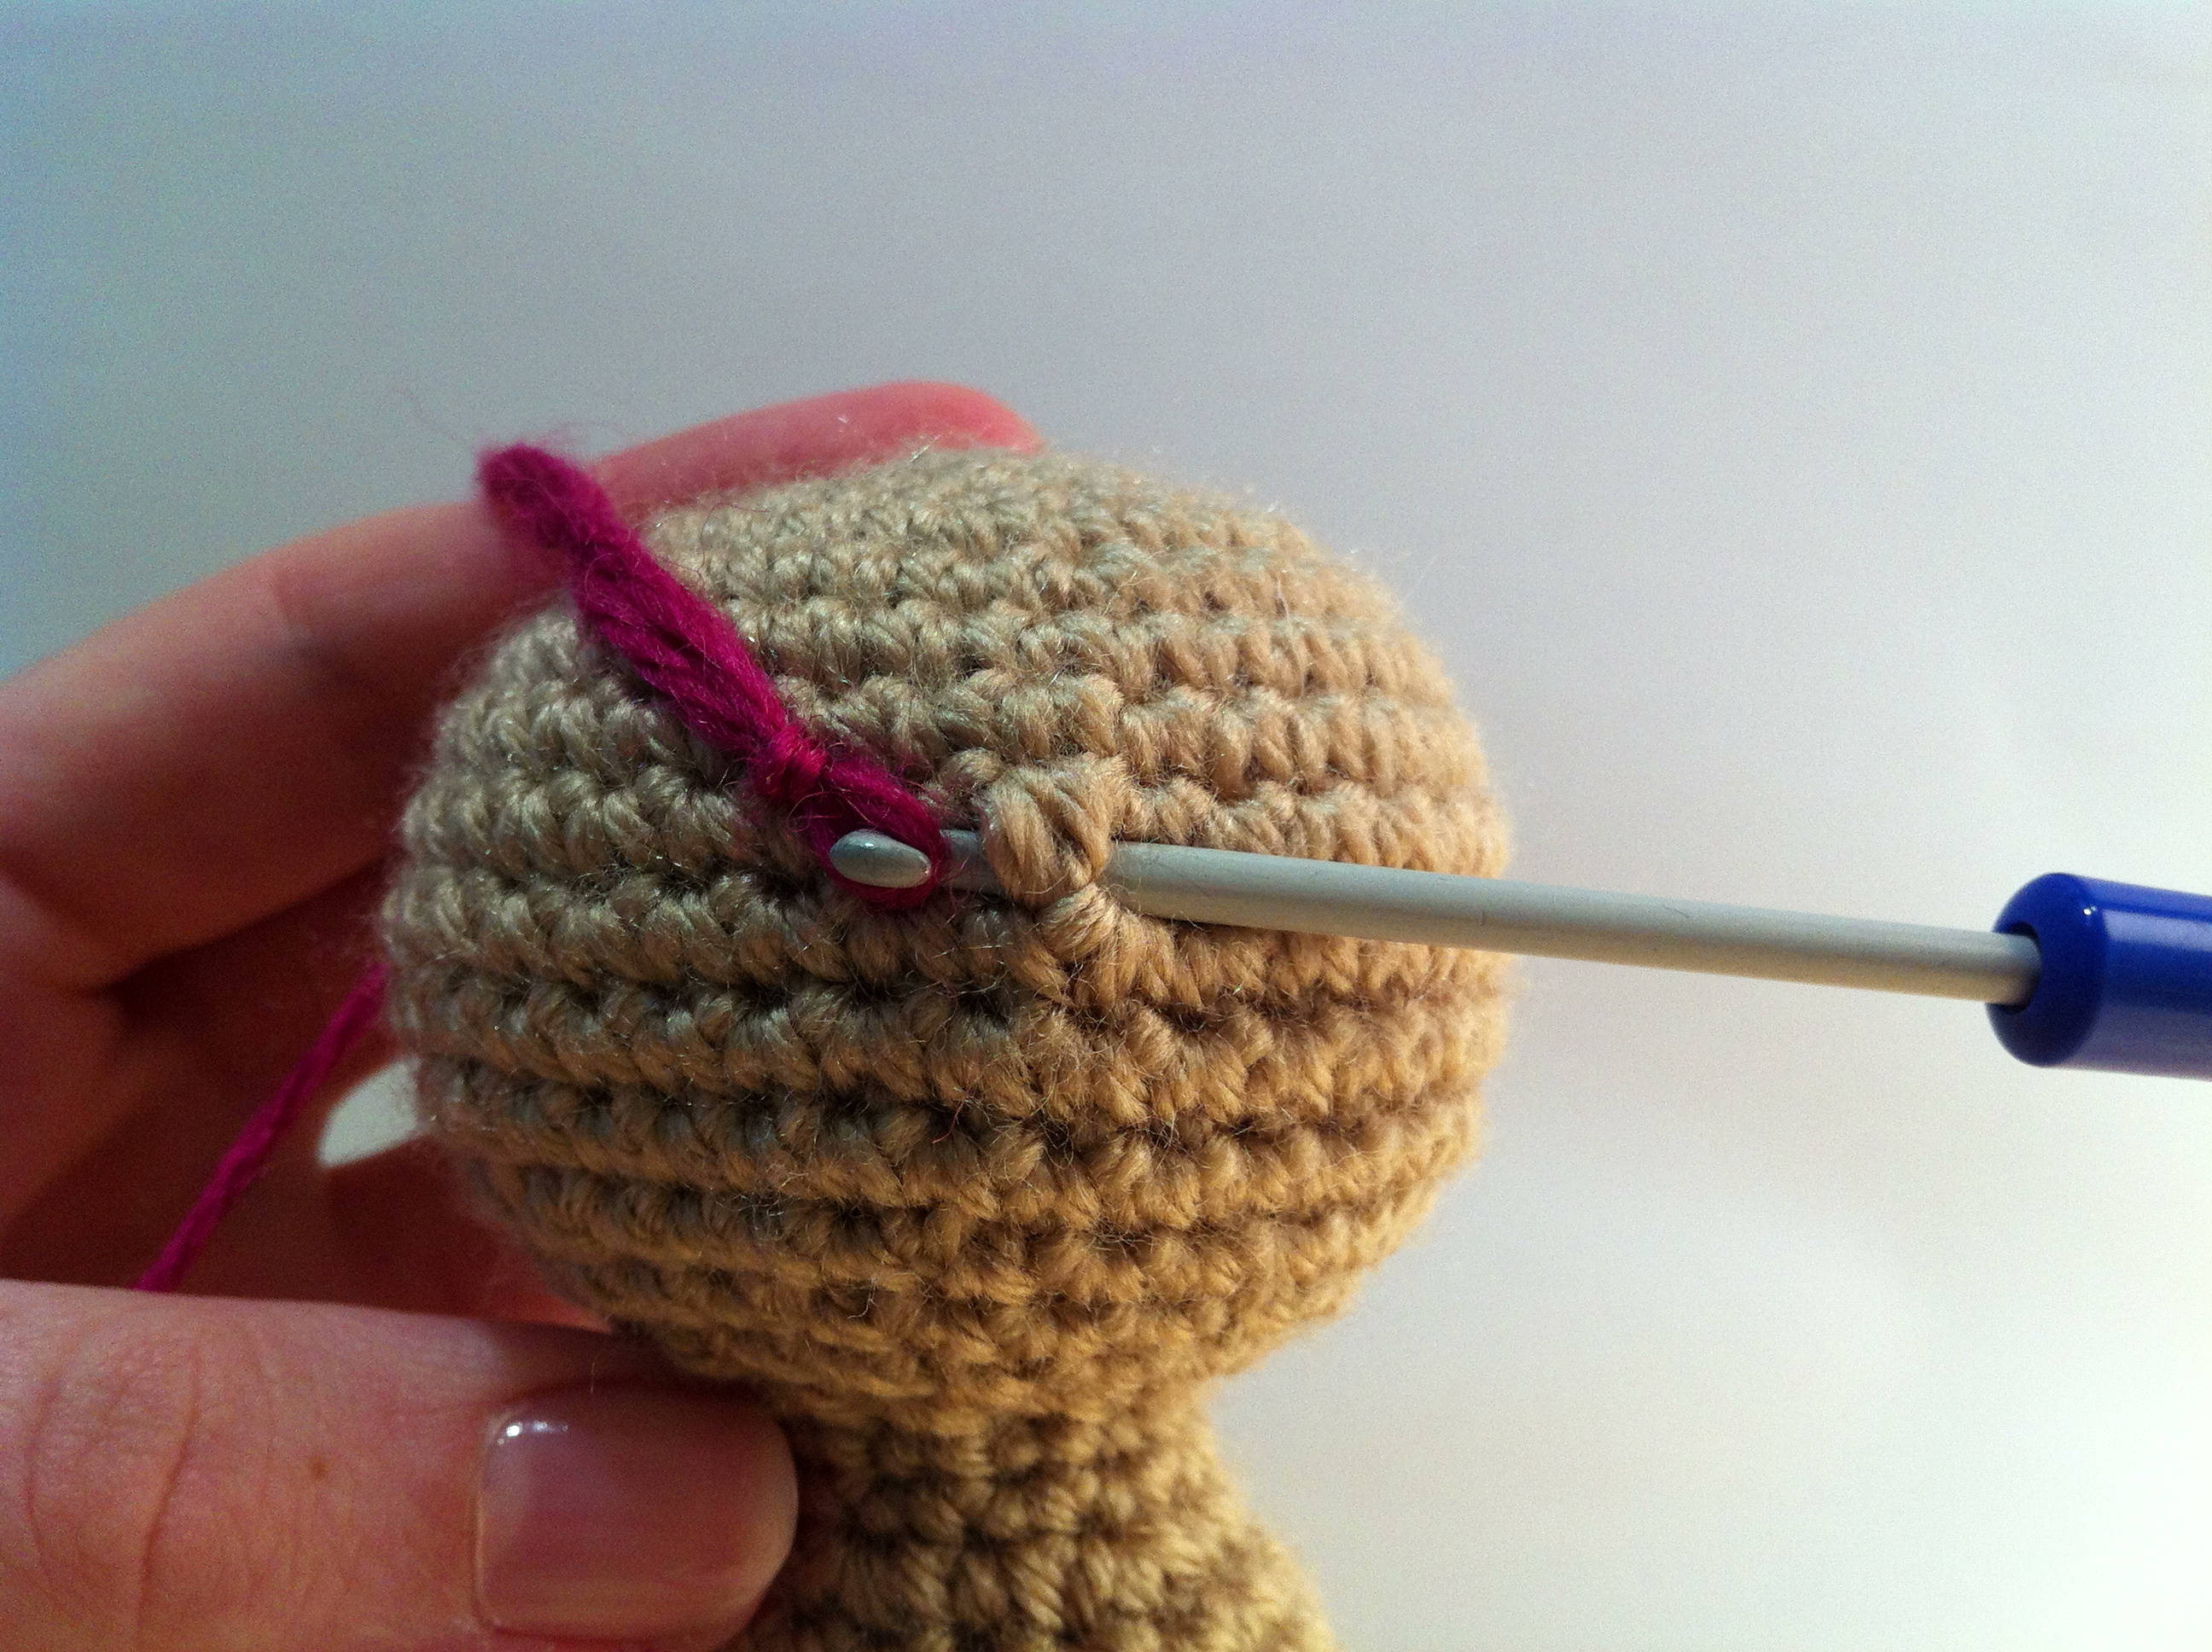
There is now a loop on your hook coming out of stitch (A).
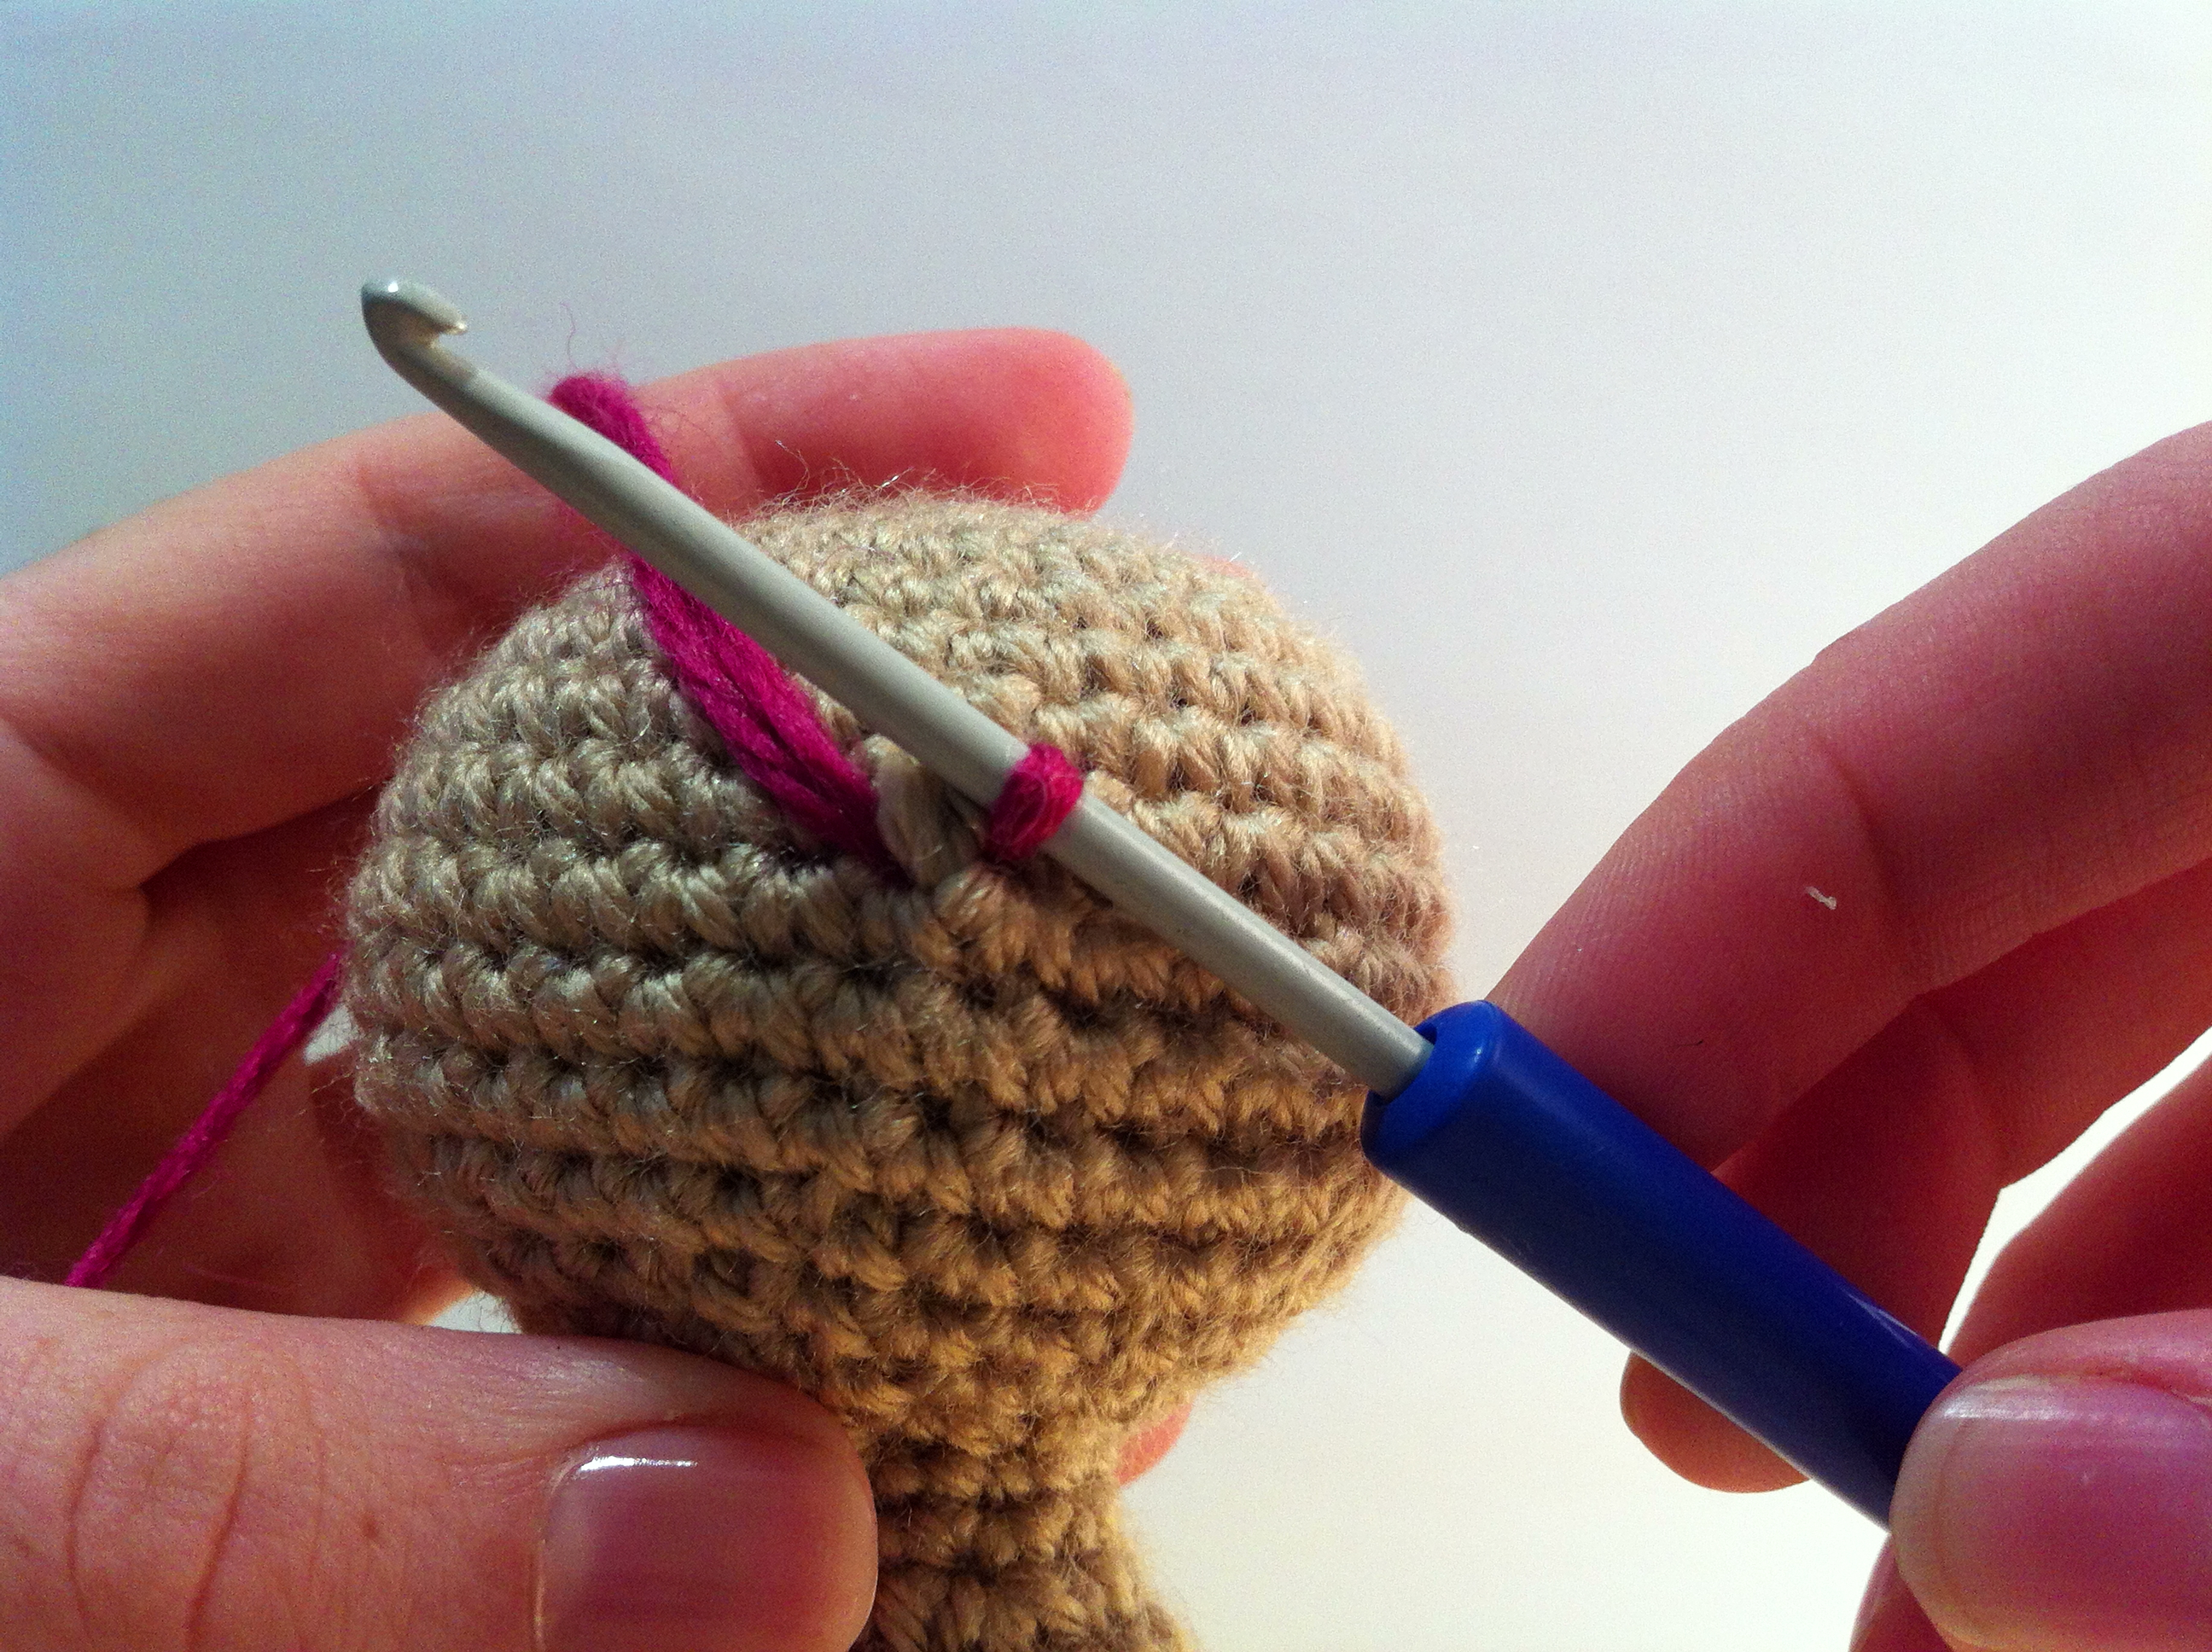
Insert your hook back into stitch (B) and poke it out of the stitch next to it (C/green). Yarn over as before and pull through both stitches (B and C).
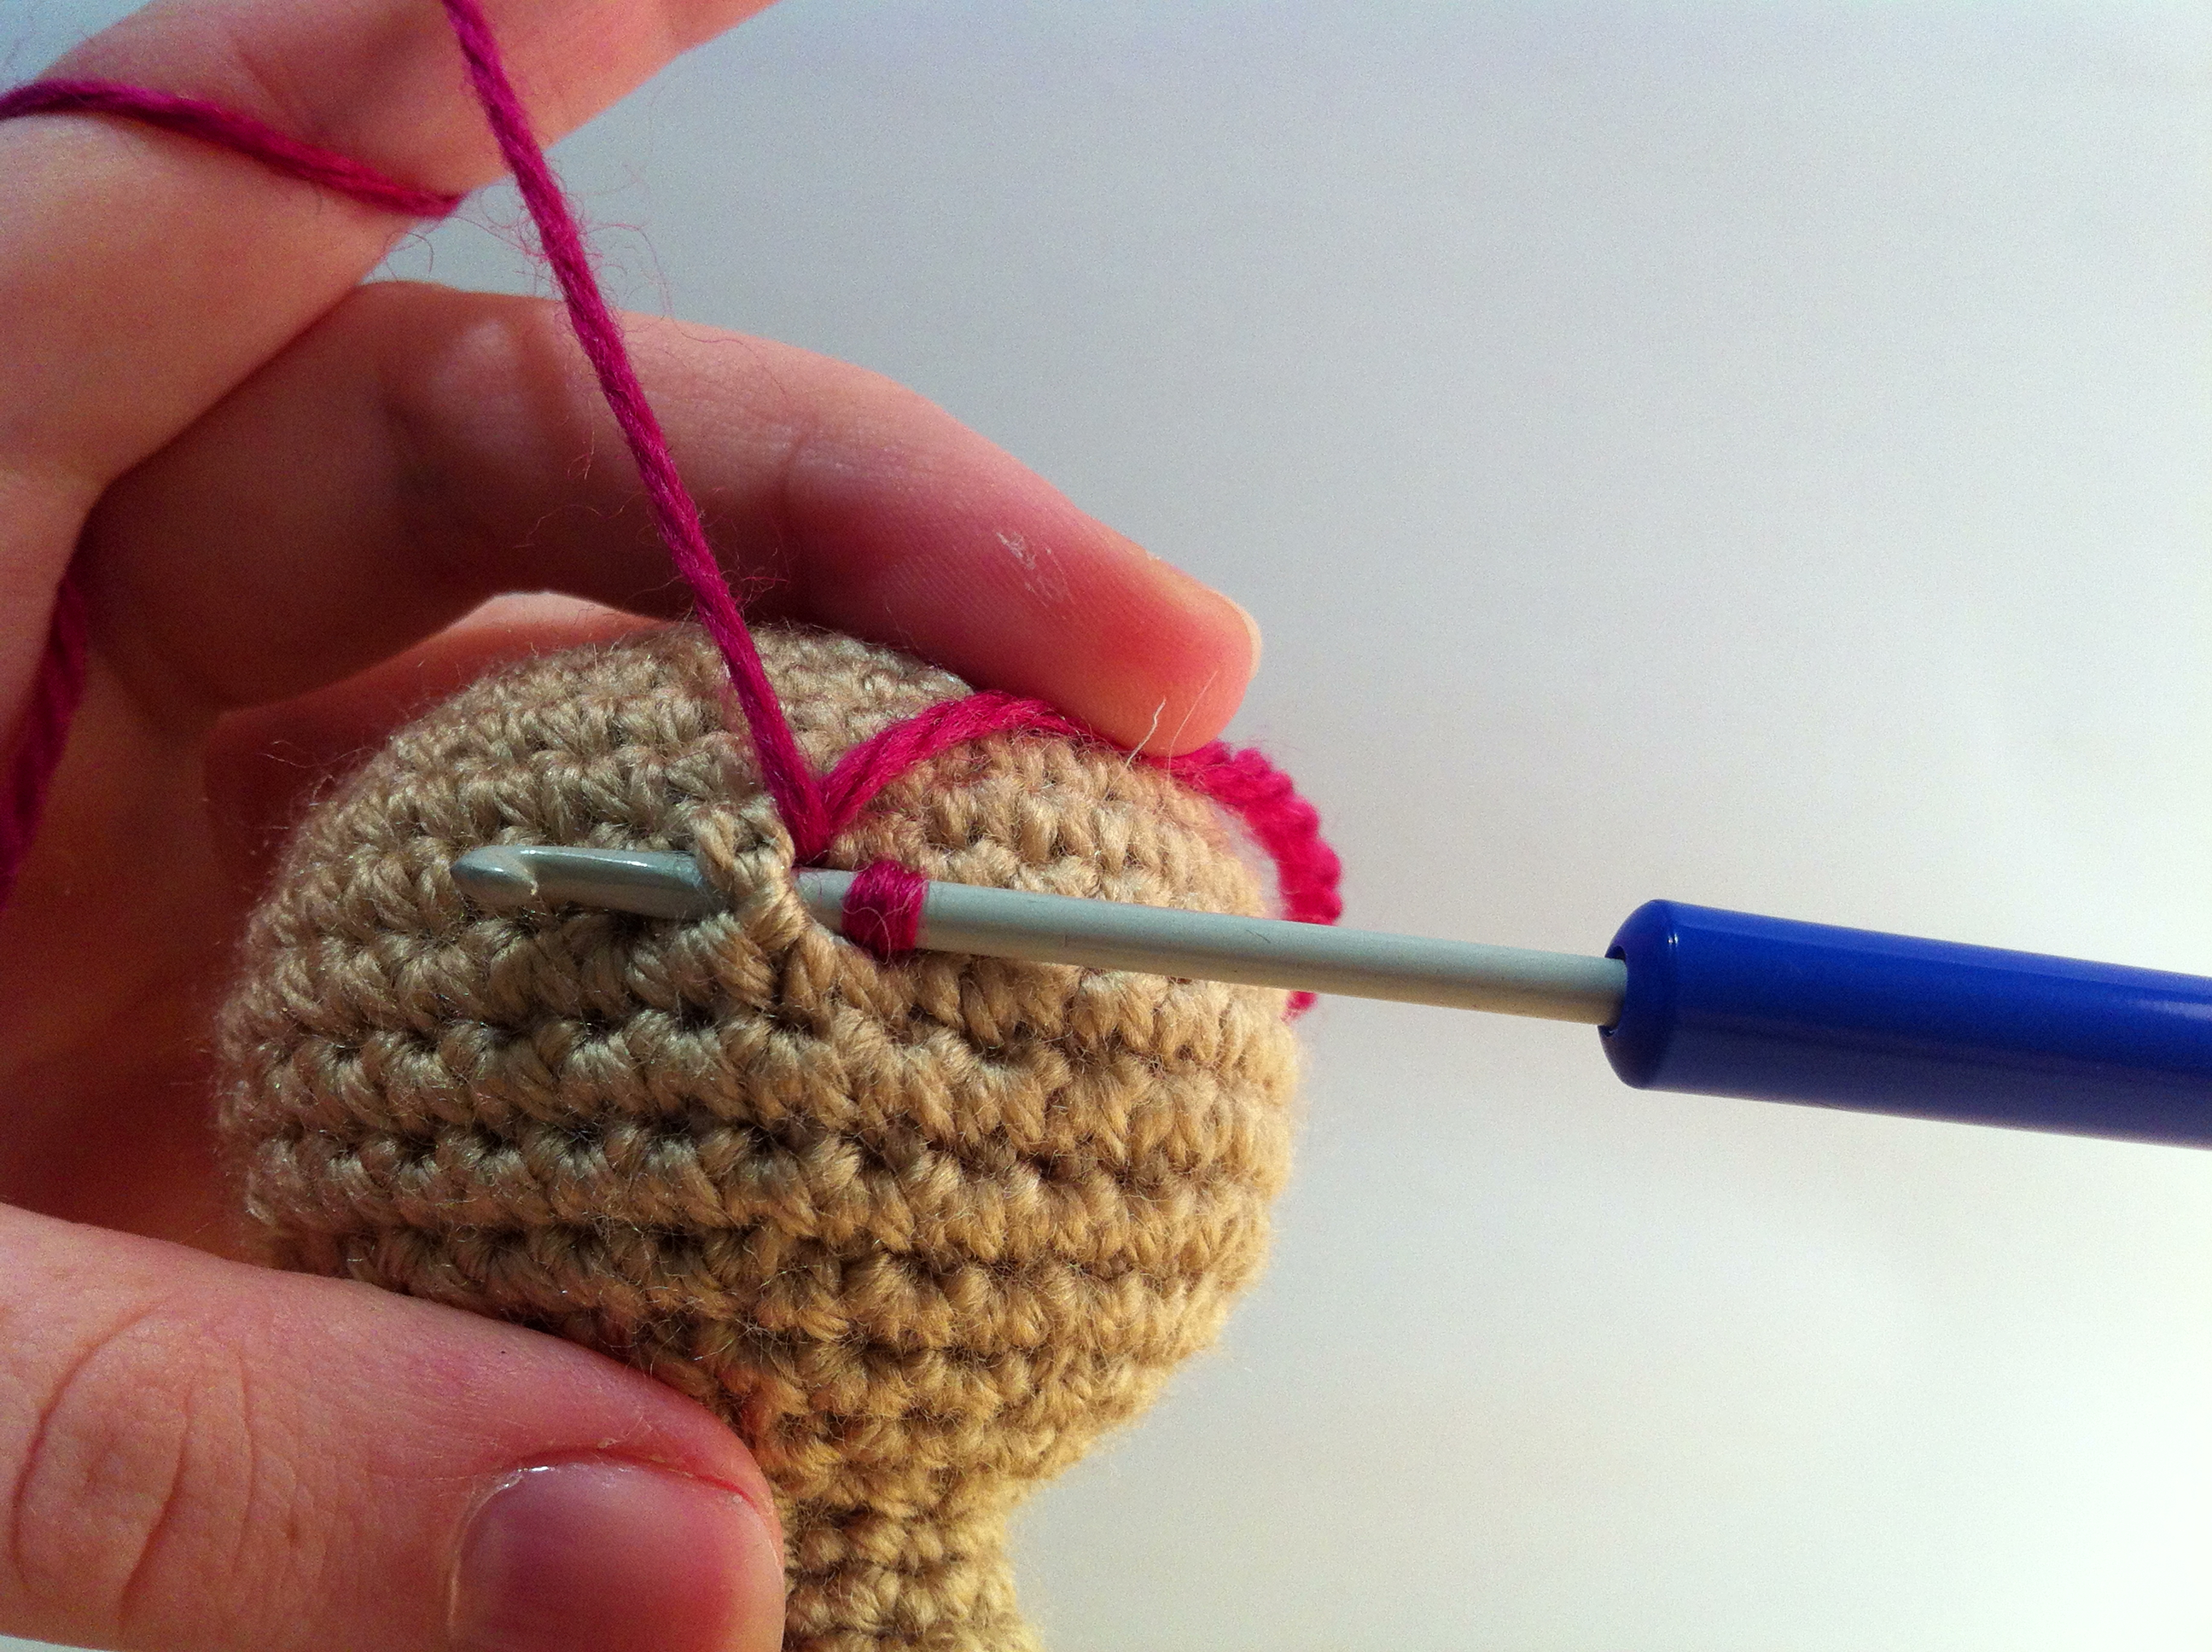
Now you have two loops on your hook. Yarn over and draw through both loops as you would for a single crochet.
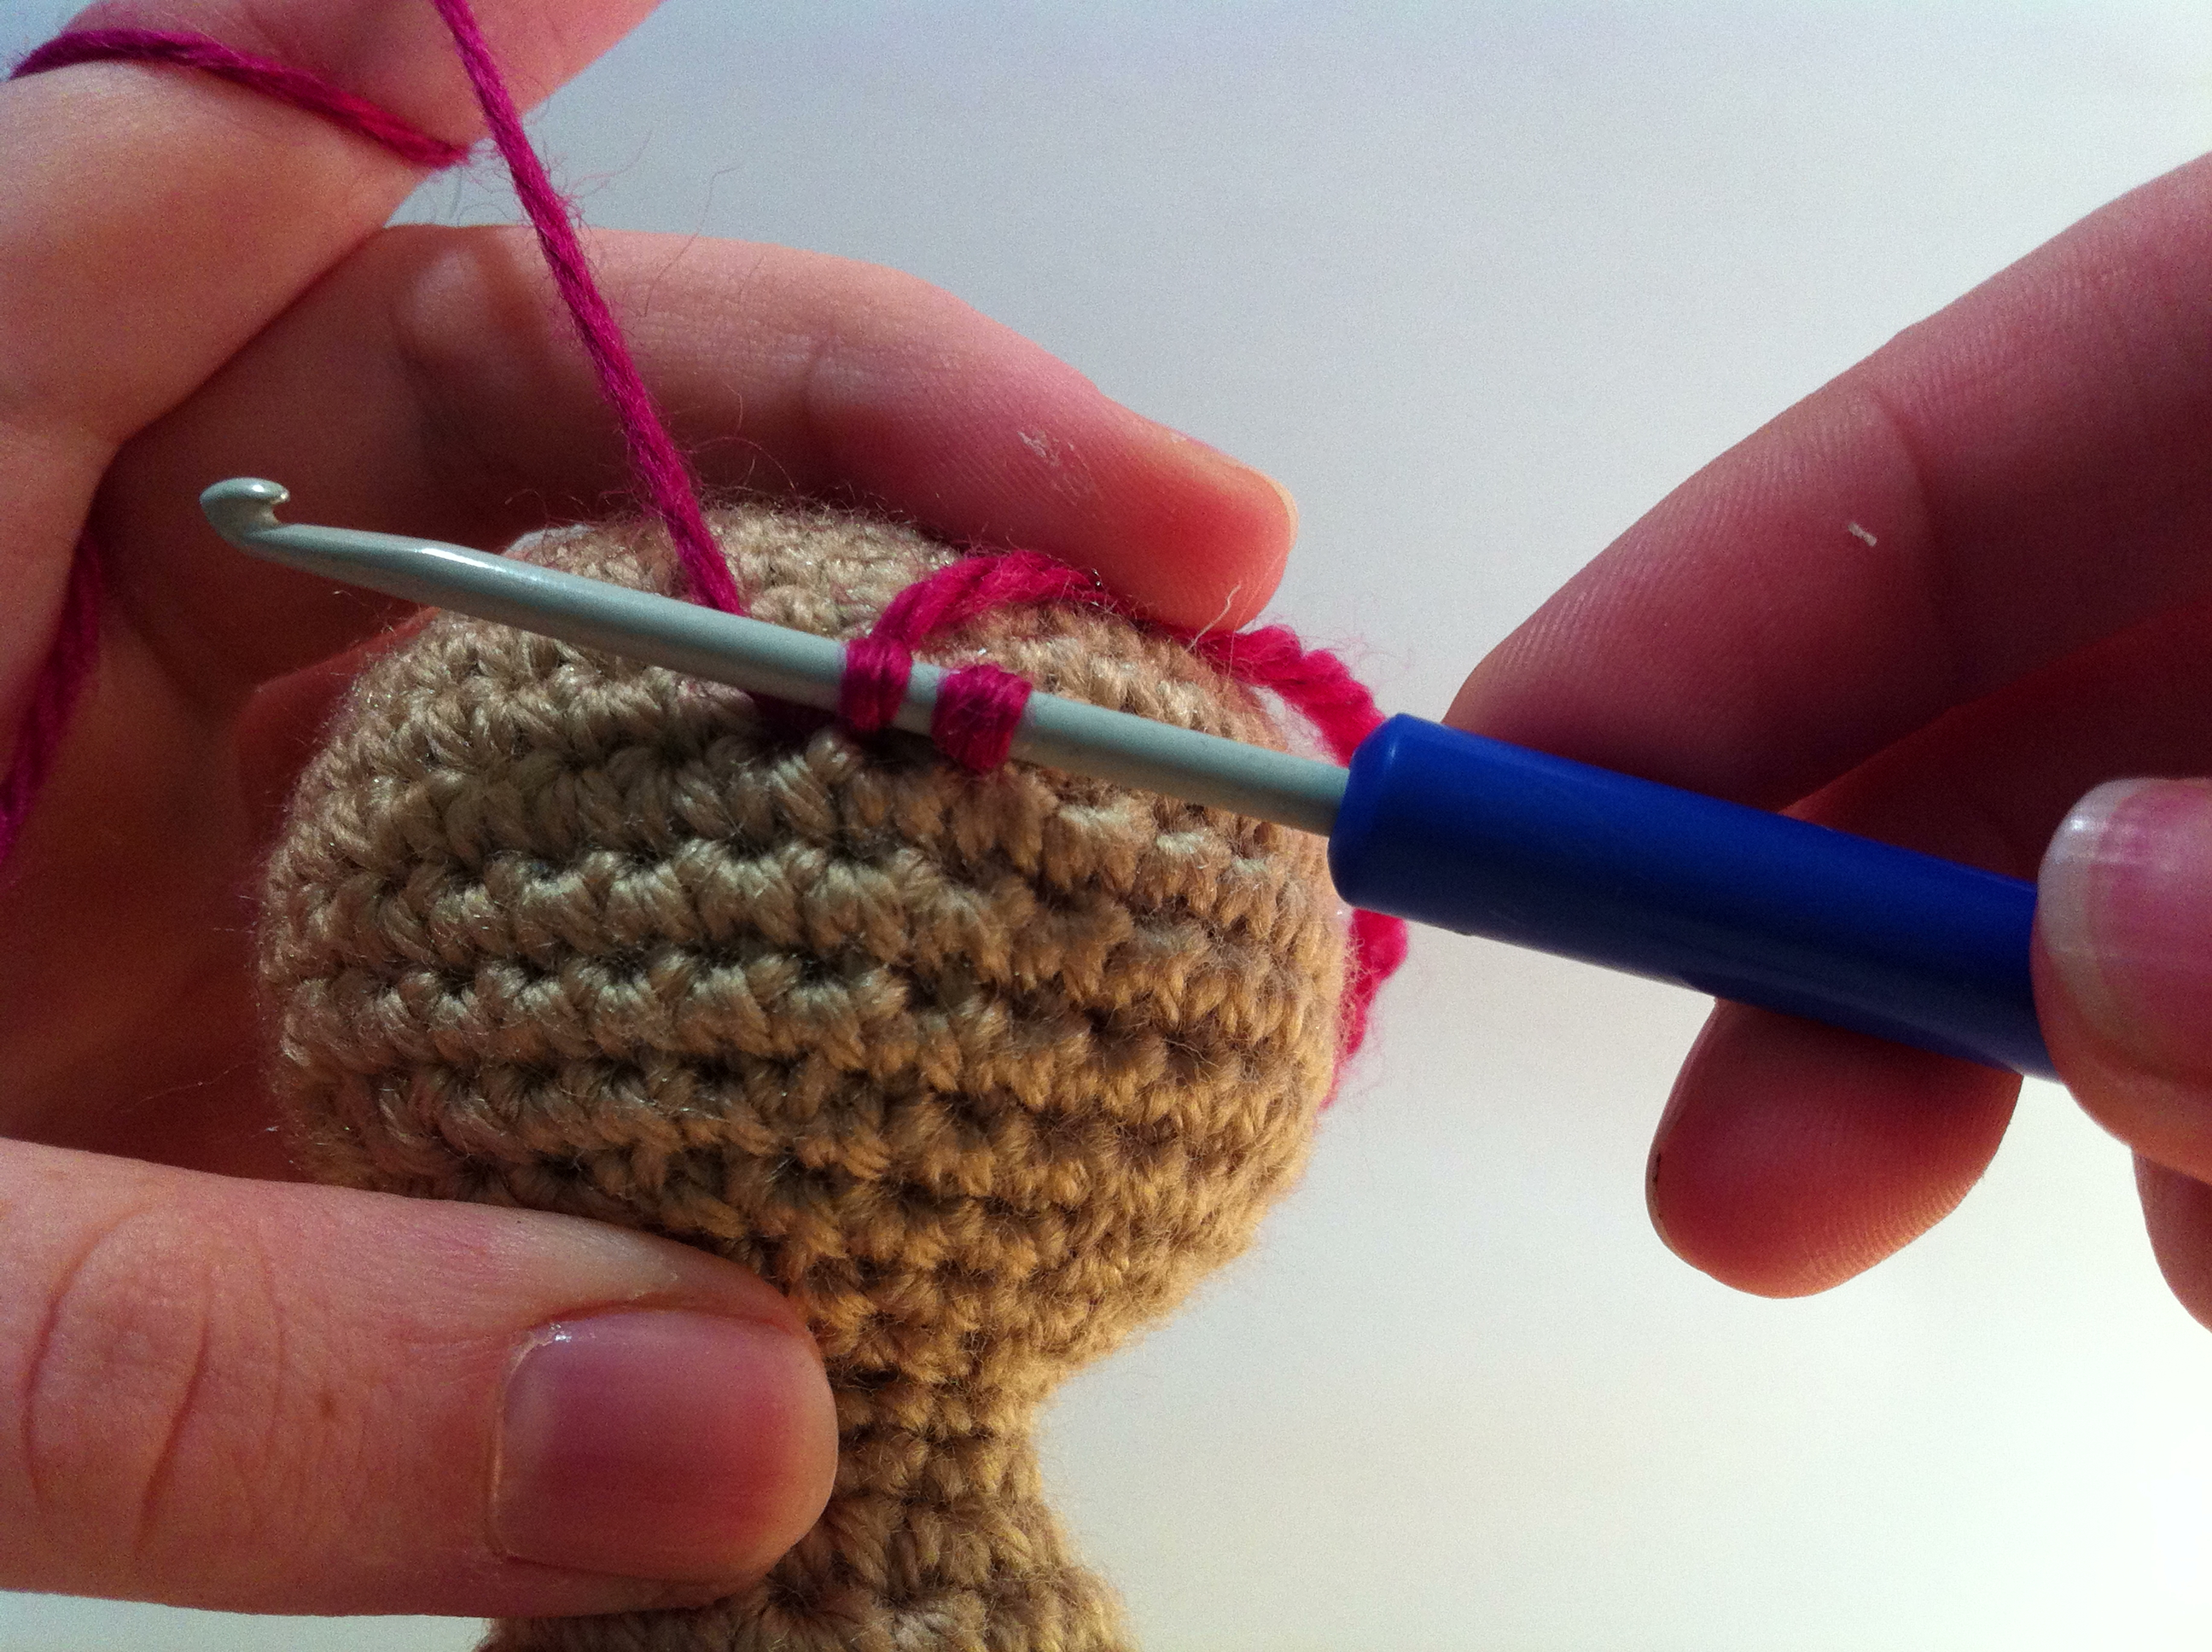
Repeat this method. Insert into (C), come out of (D/red), yarn over, pull through both (C and D), yarn over, pull through both loops on hook.
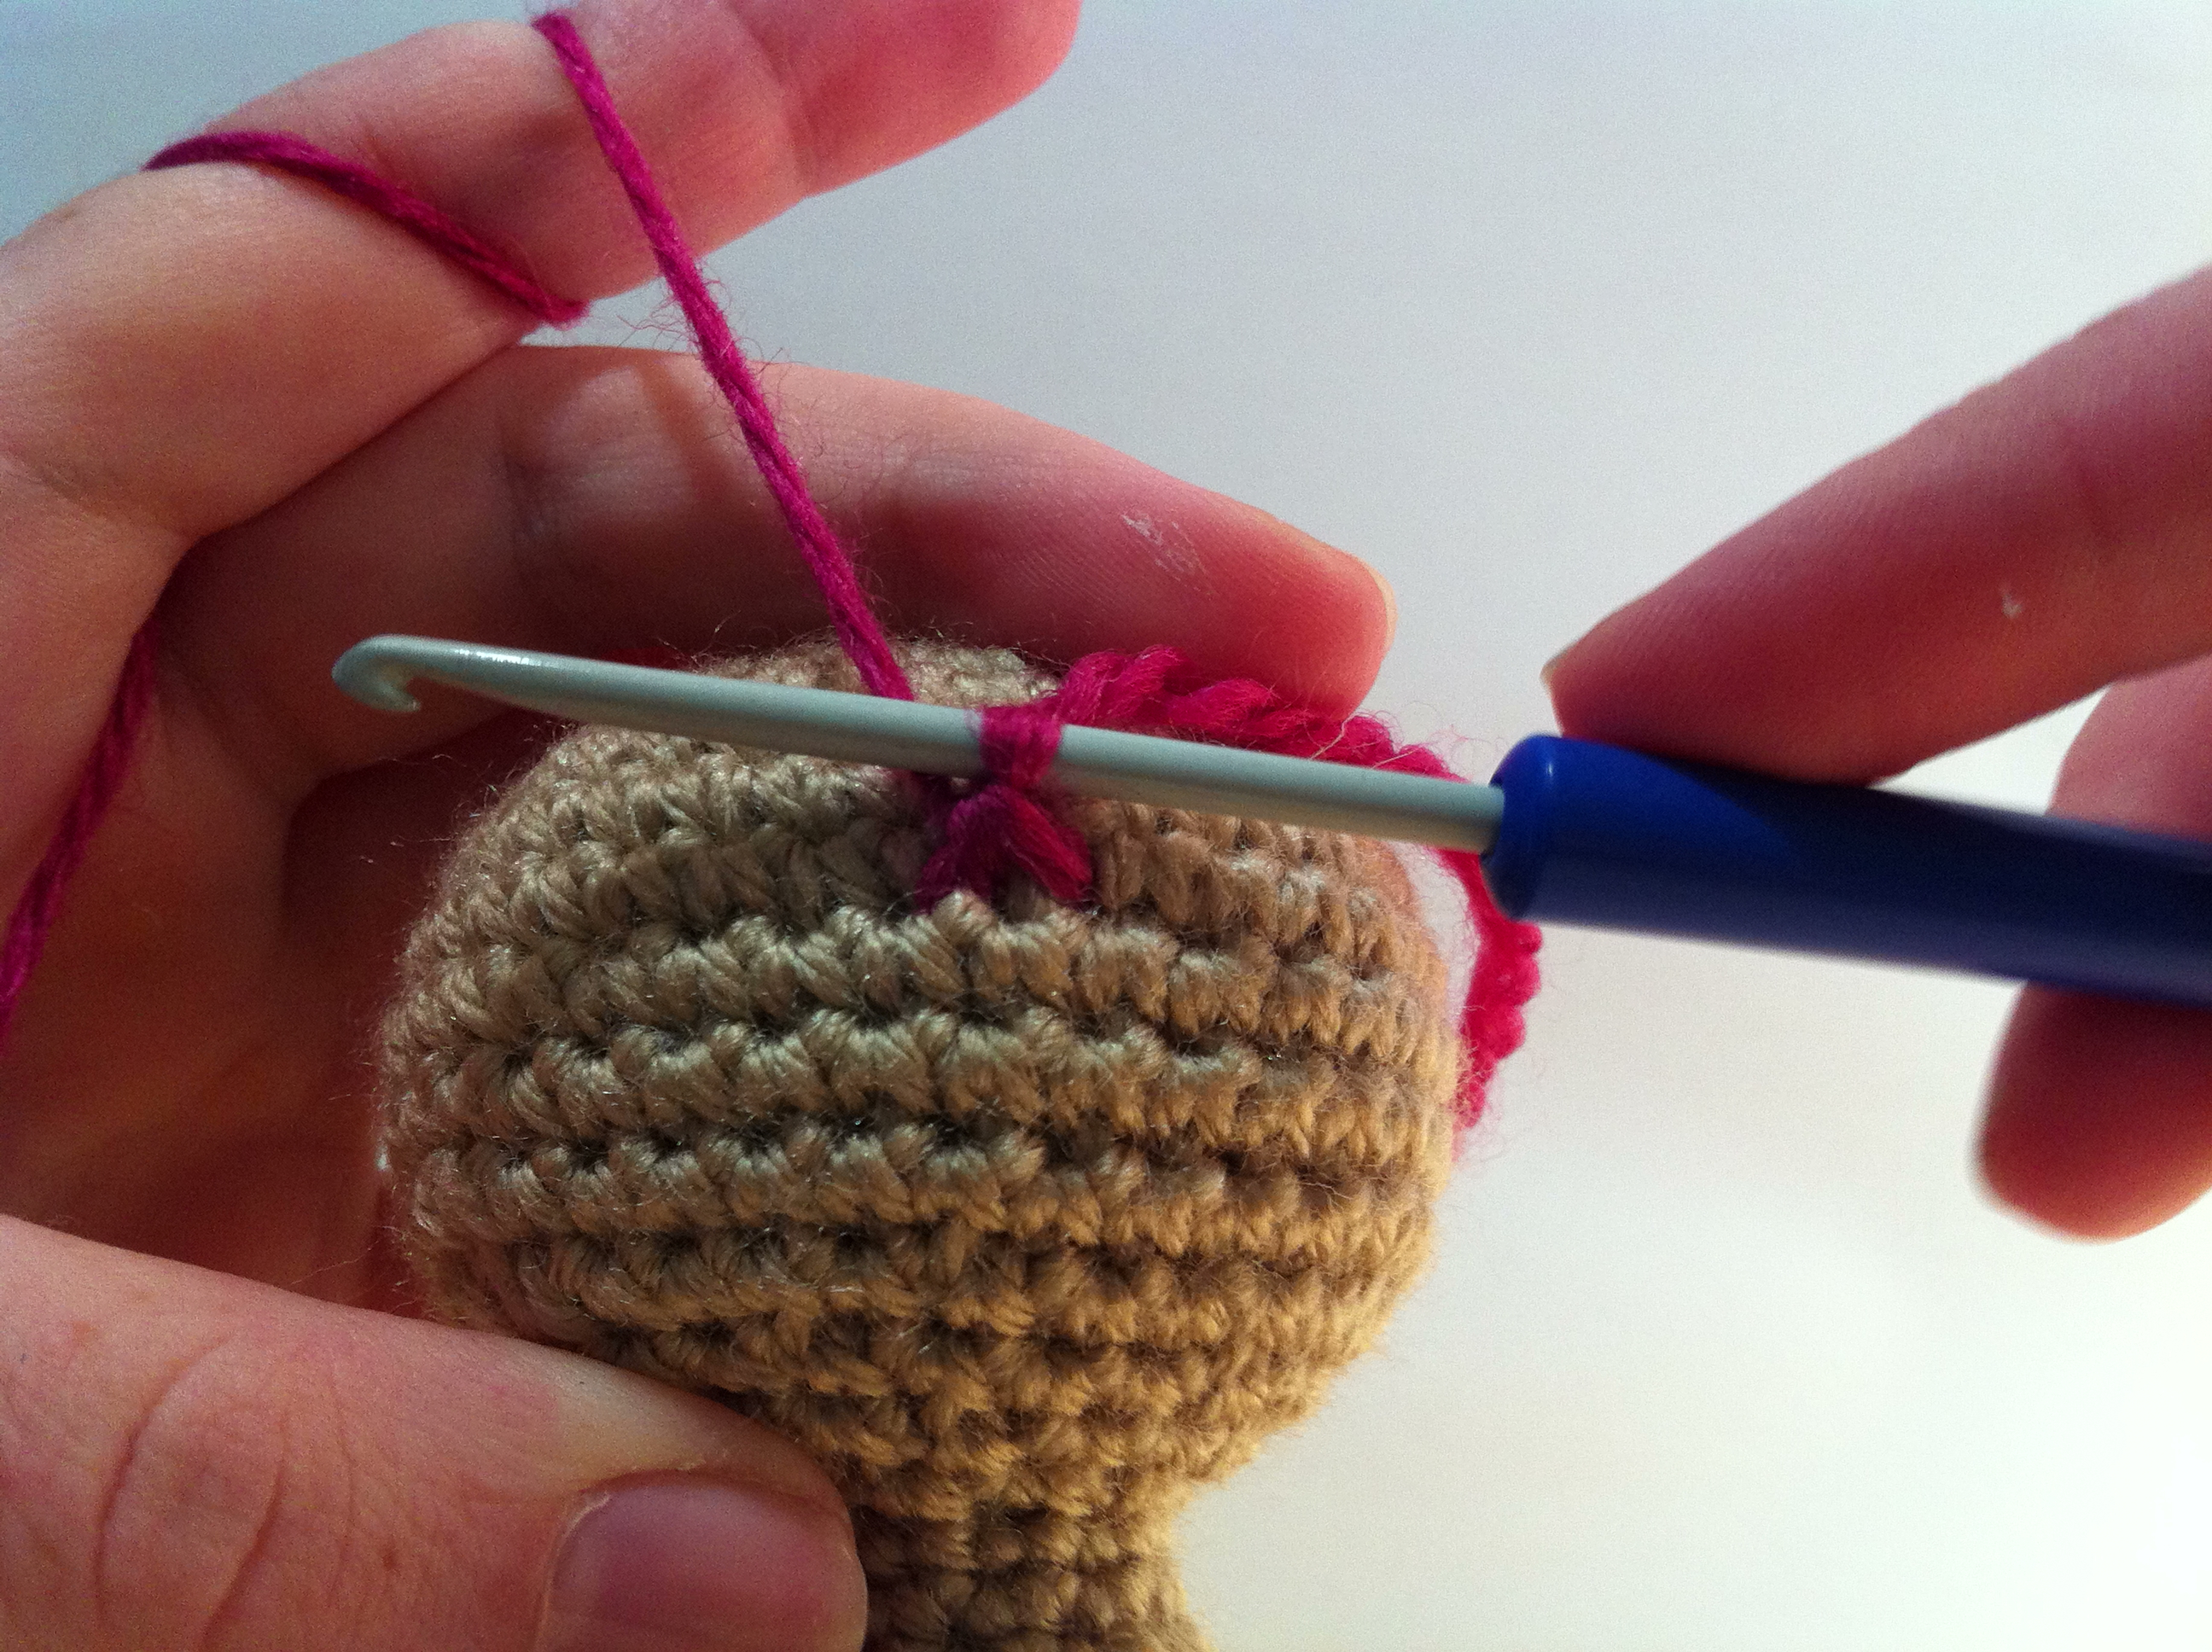
You can see here the single crochets that have been formed. You can change the direction of the row by inserting into (D) then (E/grey) and continuing the process.
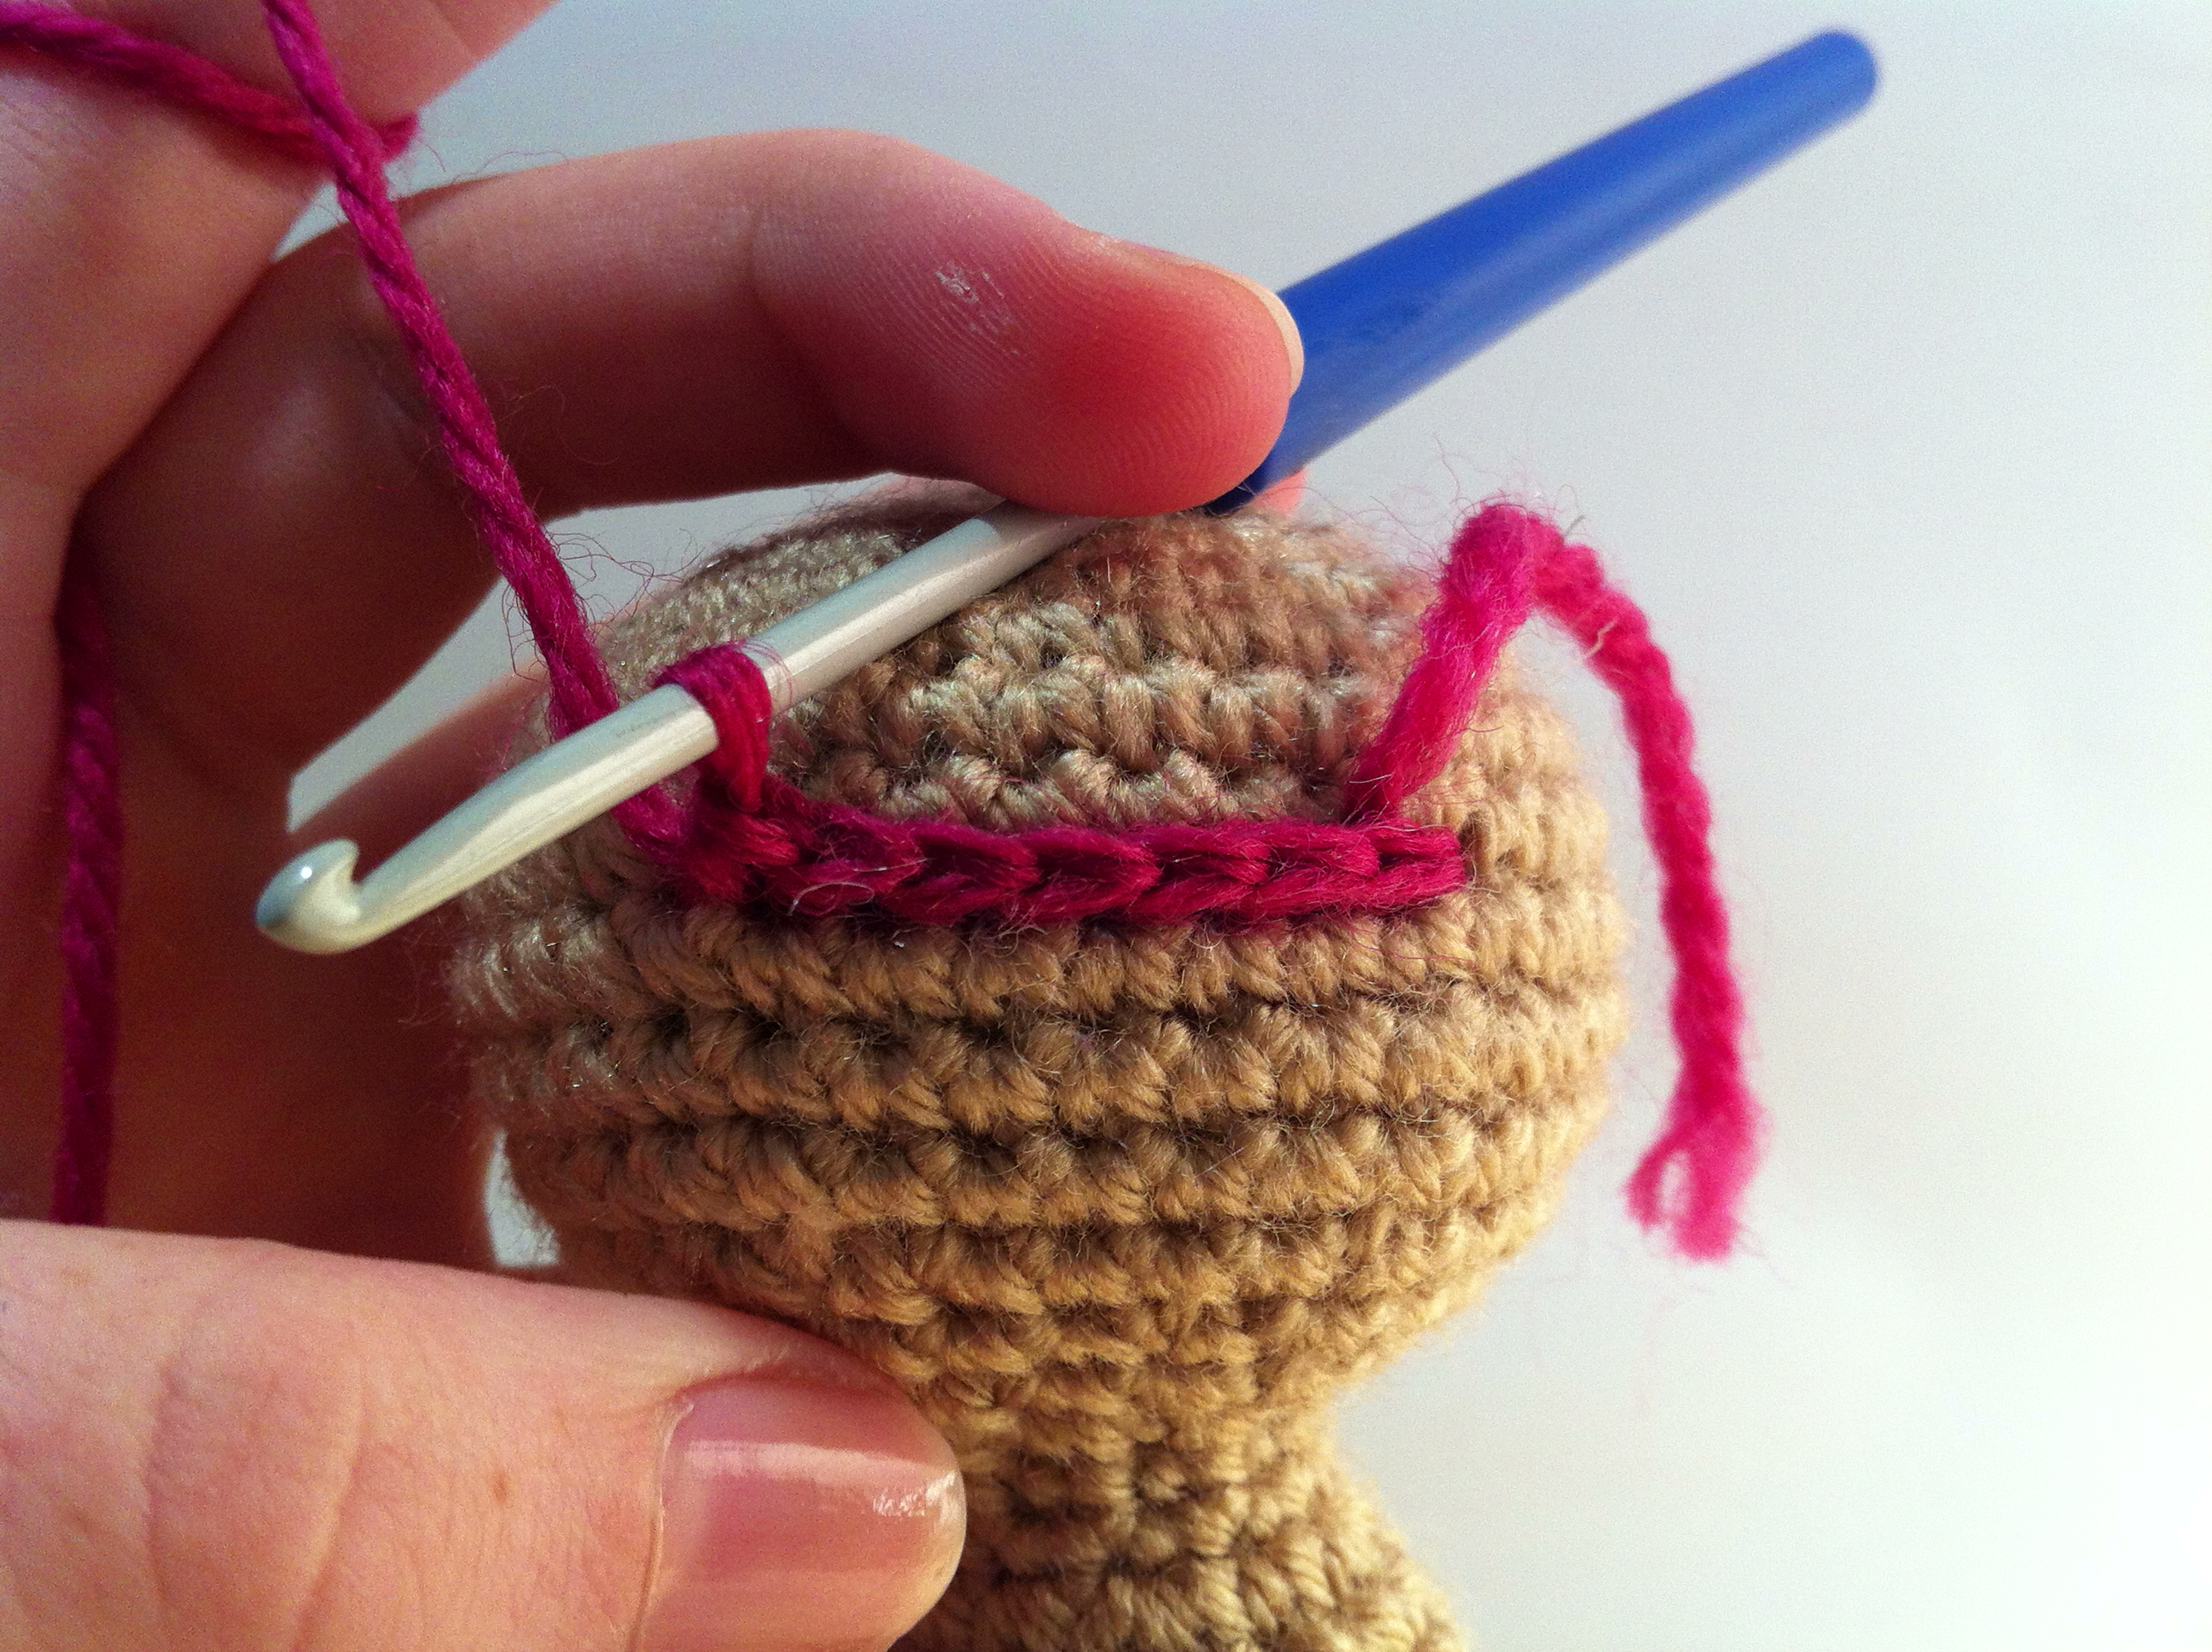
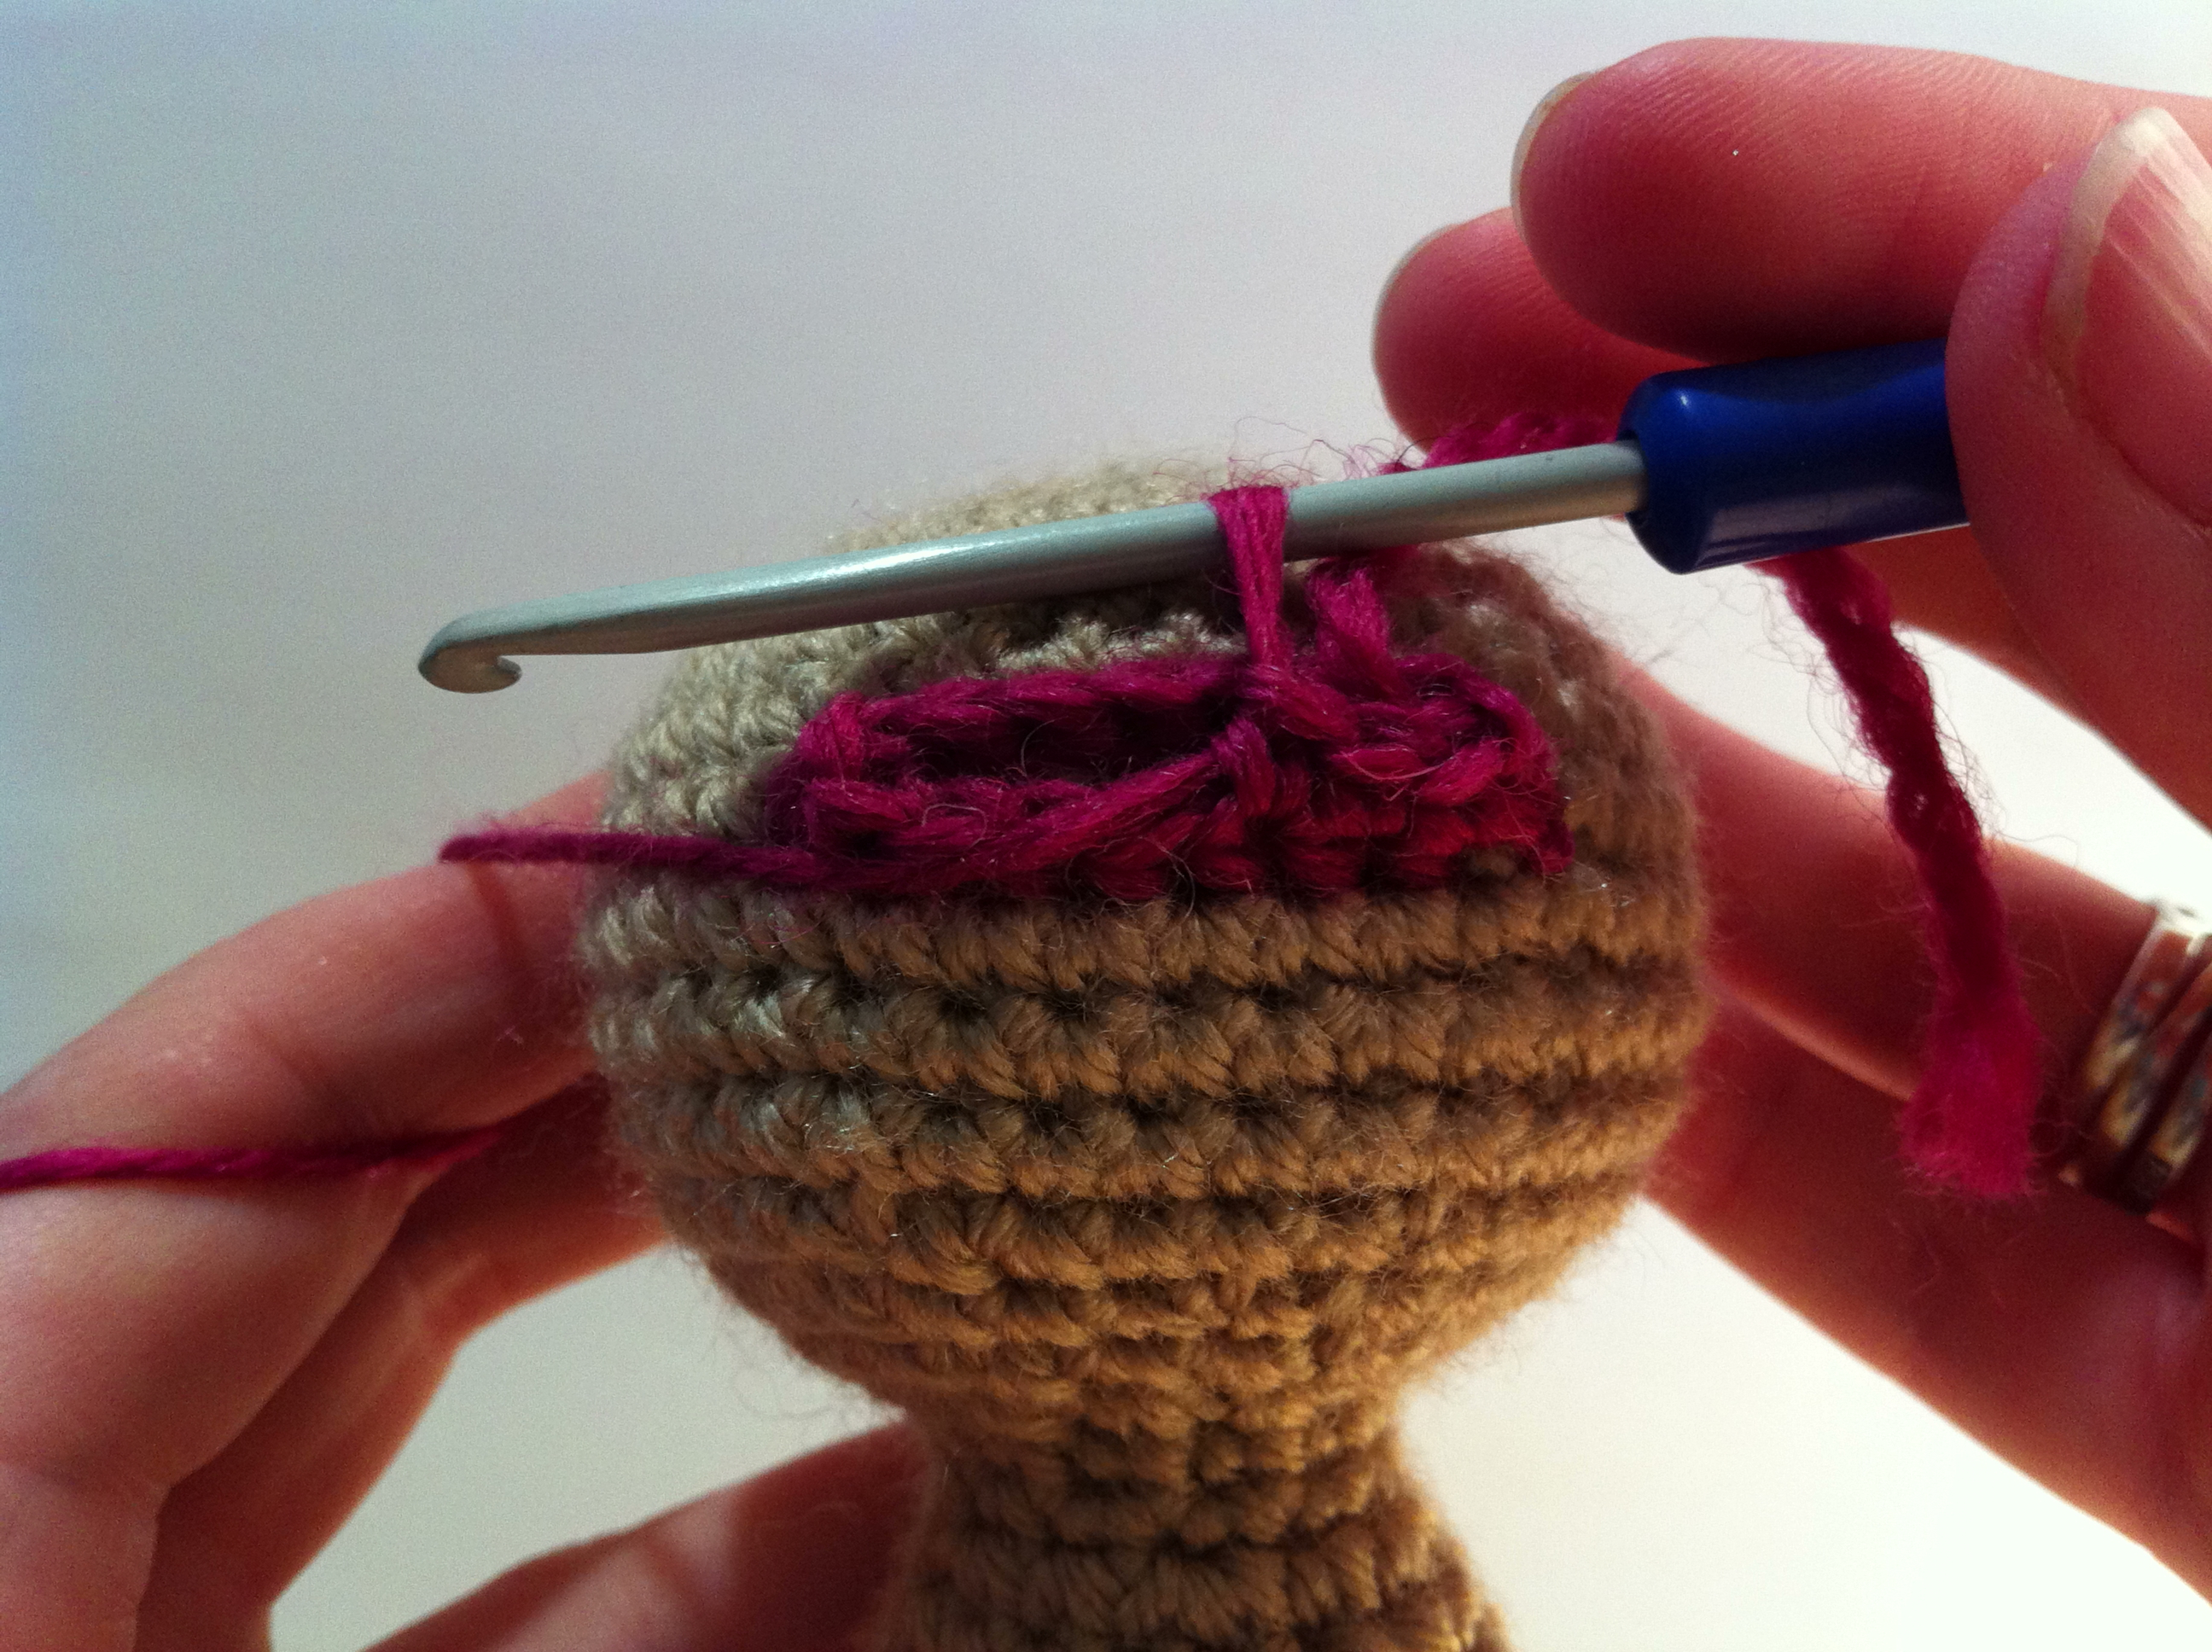
Once you have a complete circle or row you can continue to crochet as normal.



No Comments