
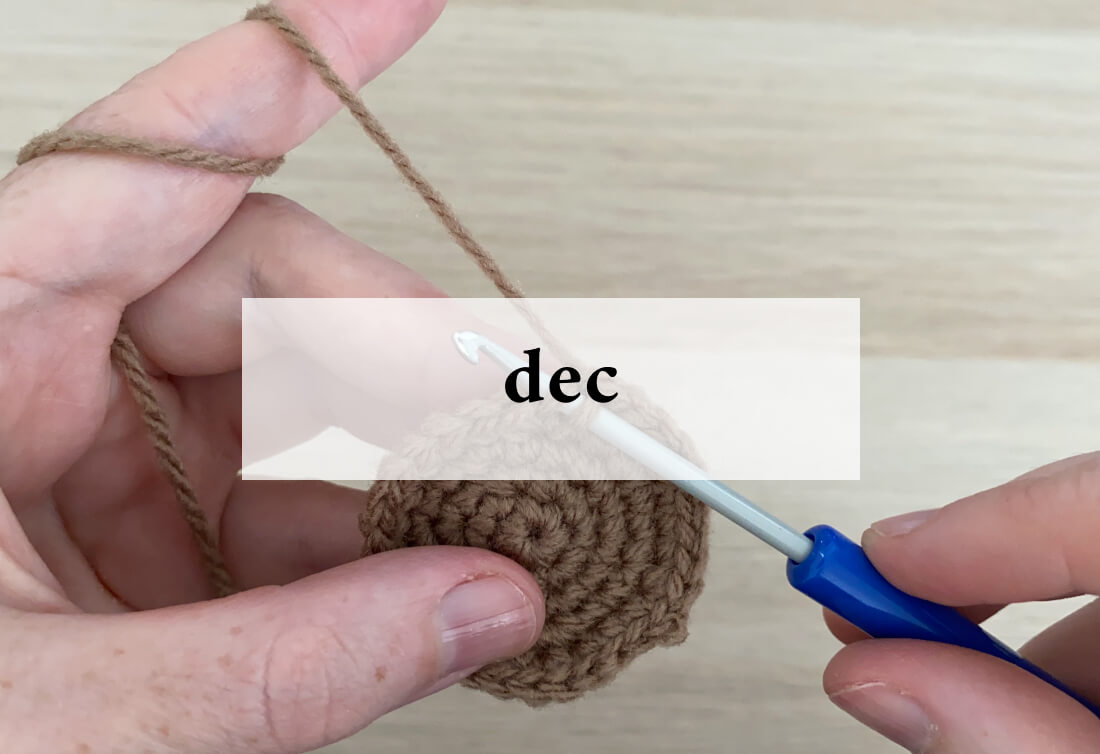
Just as an increase is used to start making your amigurumi shapes larger, a decrease is used to start shaping it down again. I almost exclusively use an invisible decrease in crochet instead of a regular decrease, just because (as the name implies) it’s harder to spot, and therefore neater – and I also happen to find it easier to complete!
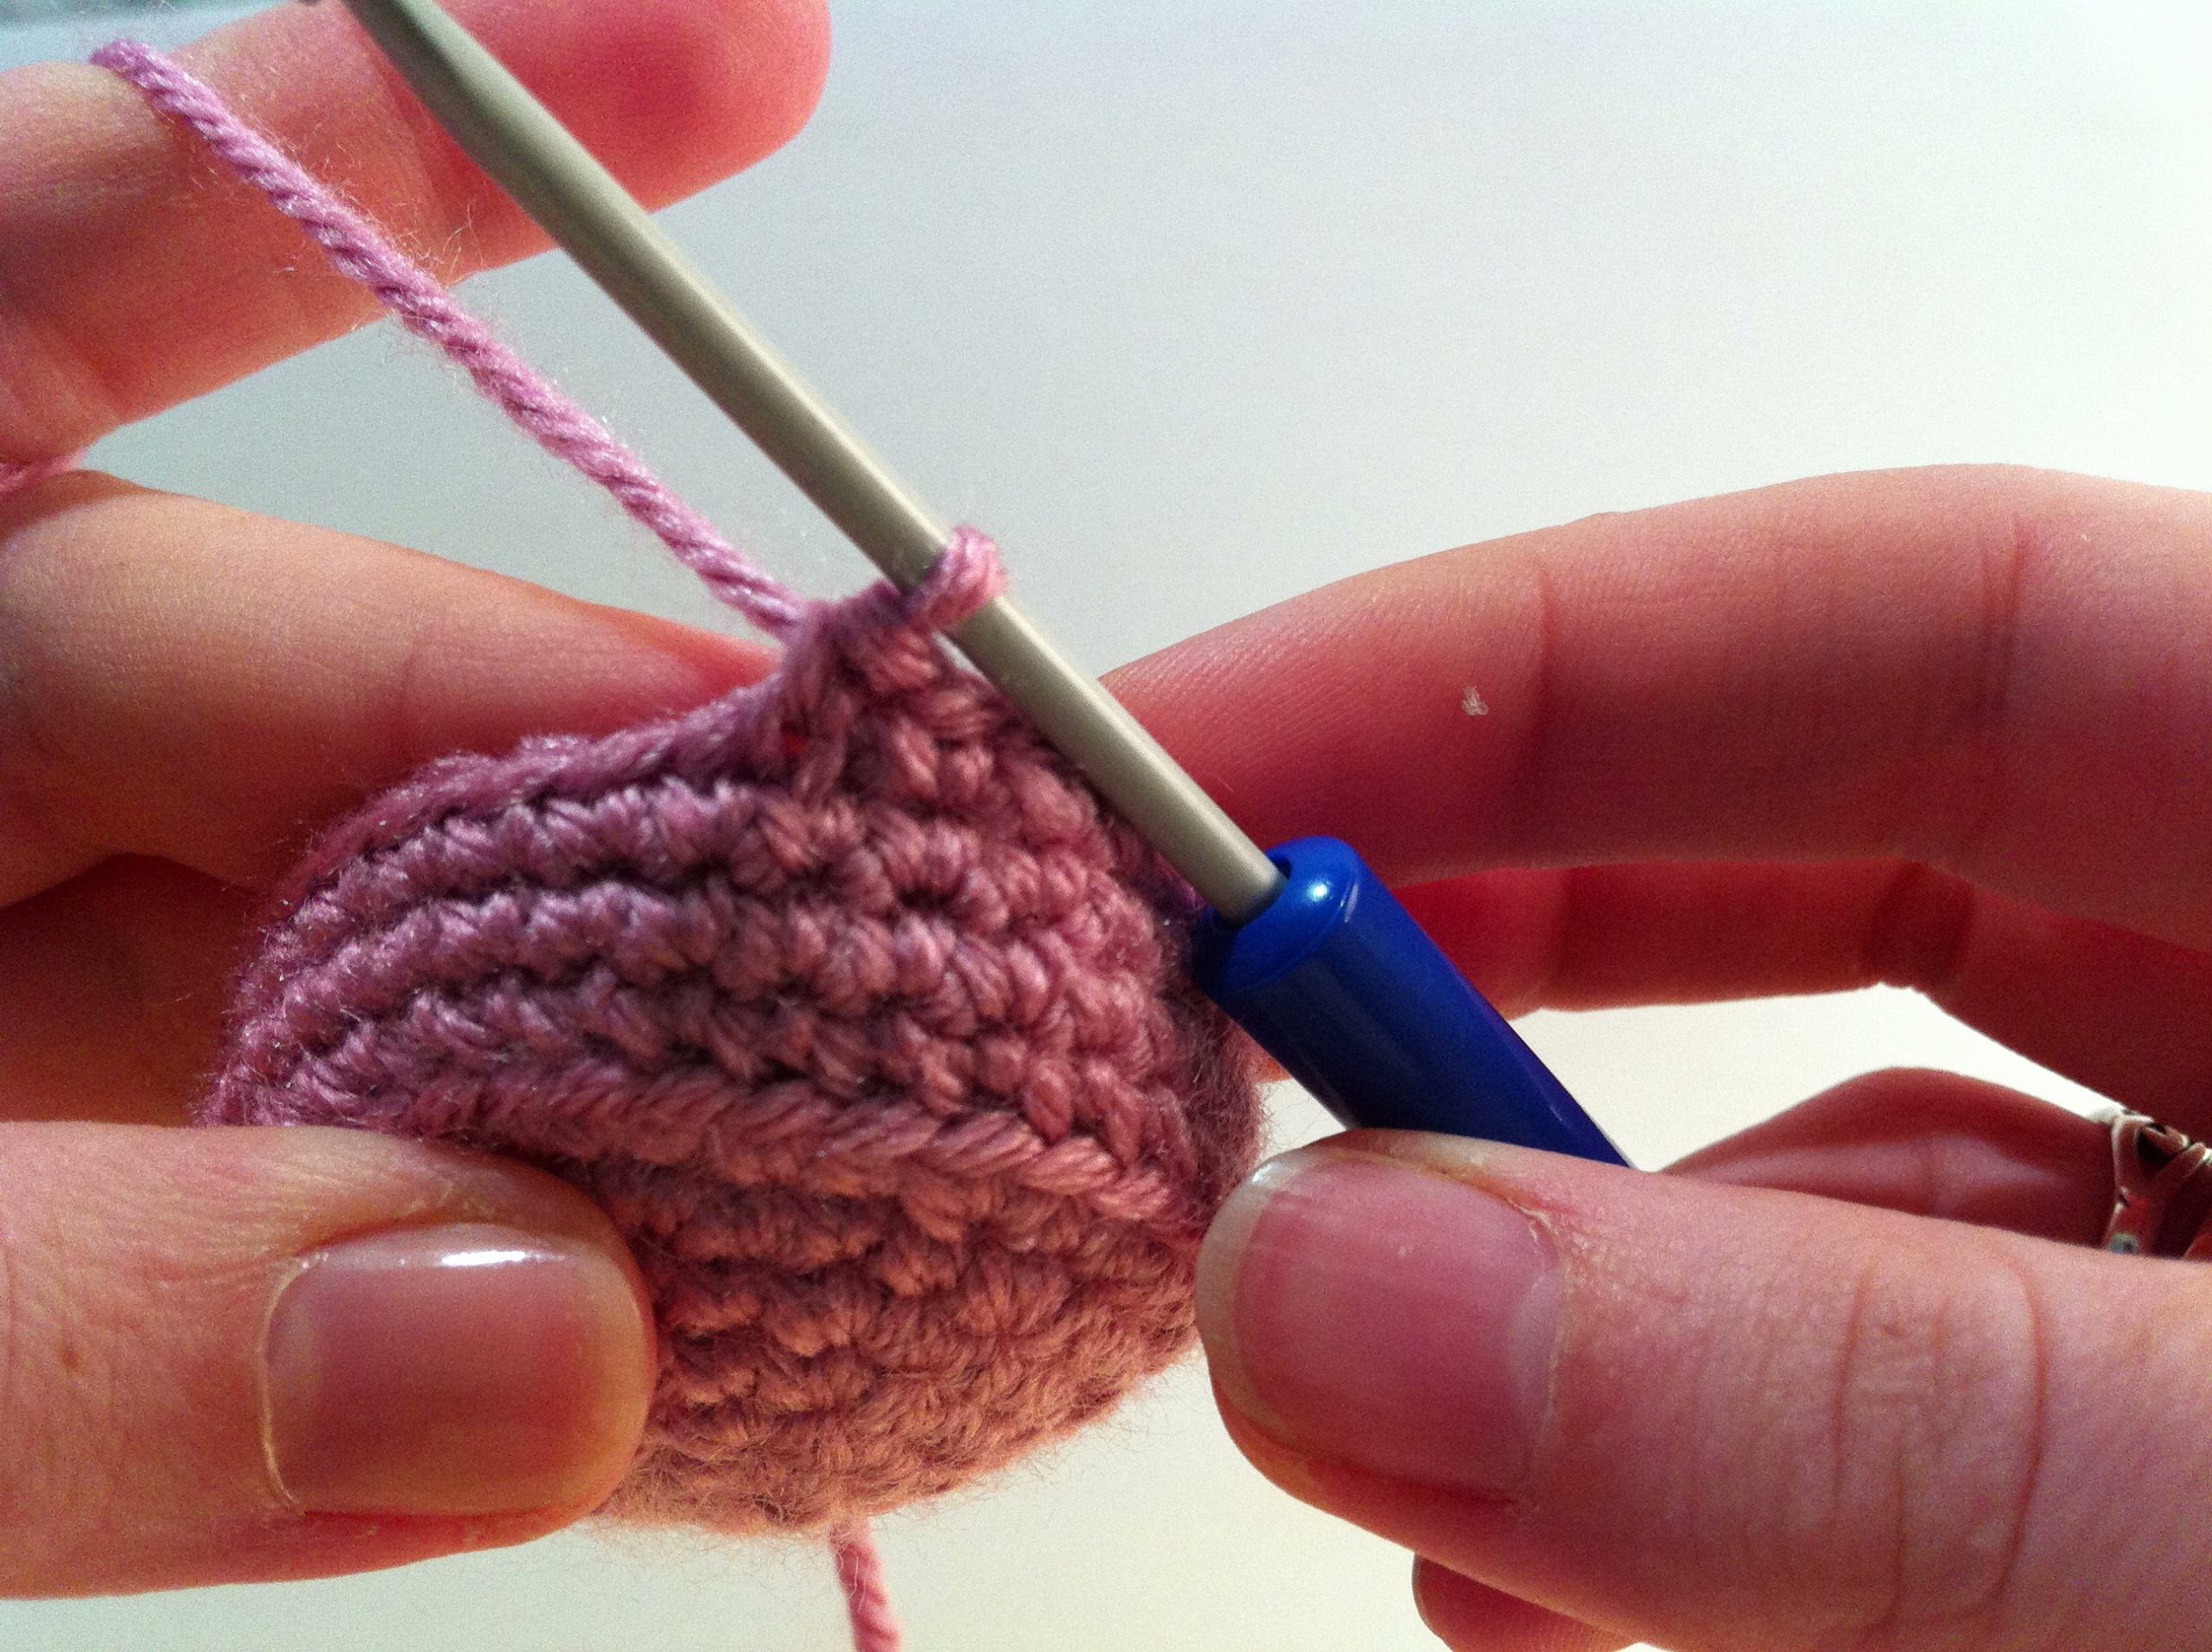
We’ll be joining two stitches. Insert your hook into the front loop only of the next stitch.
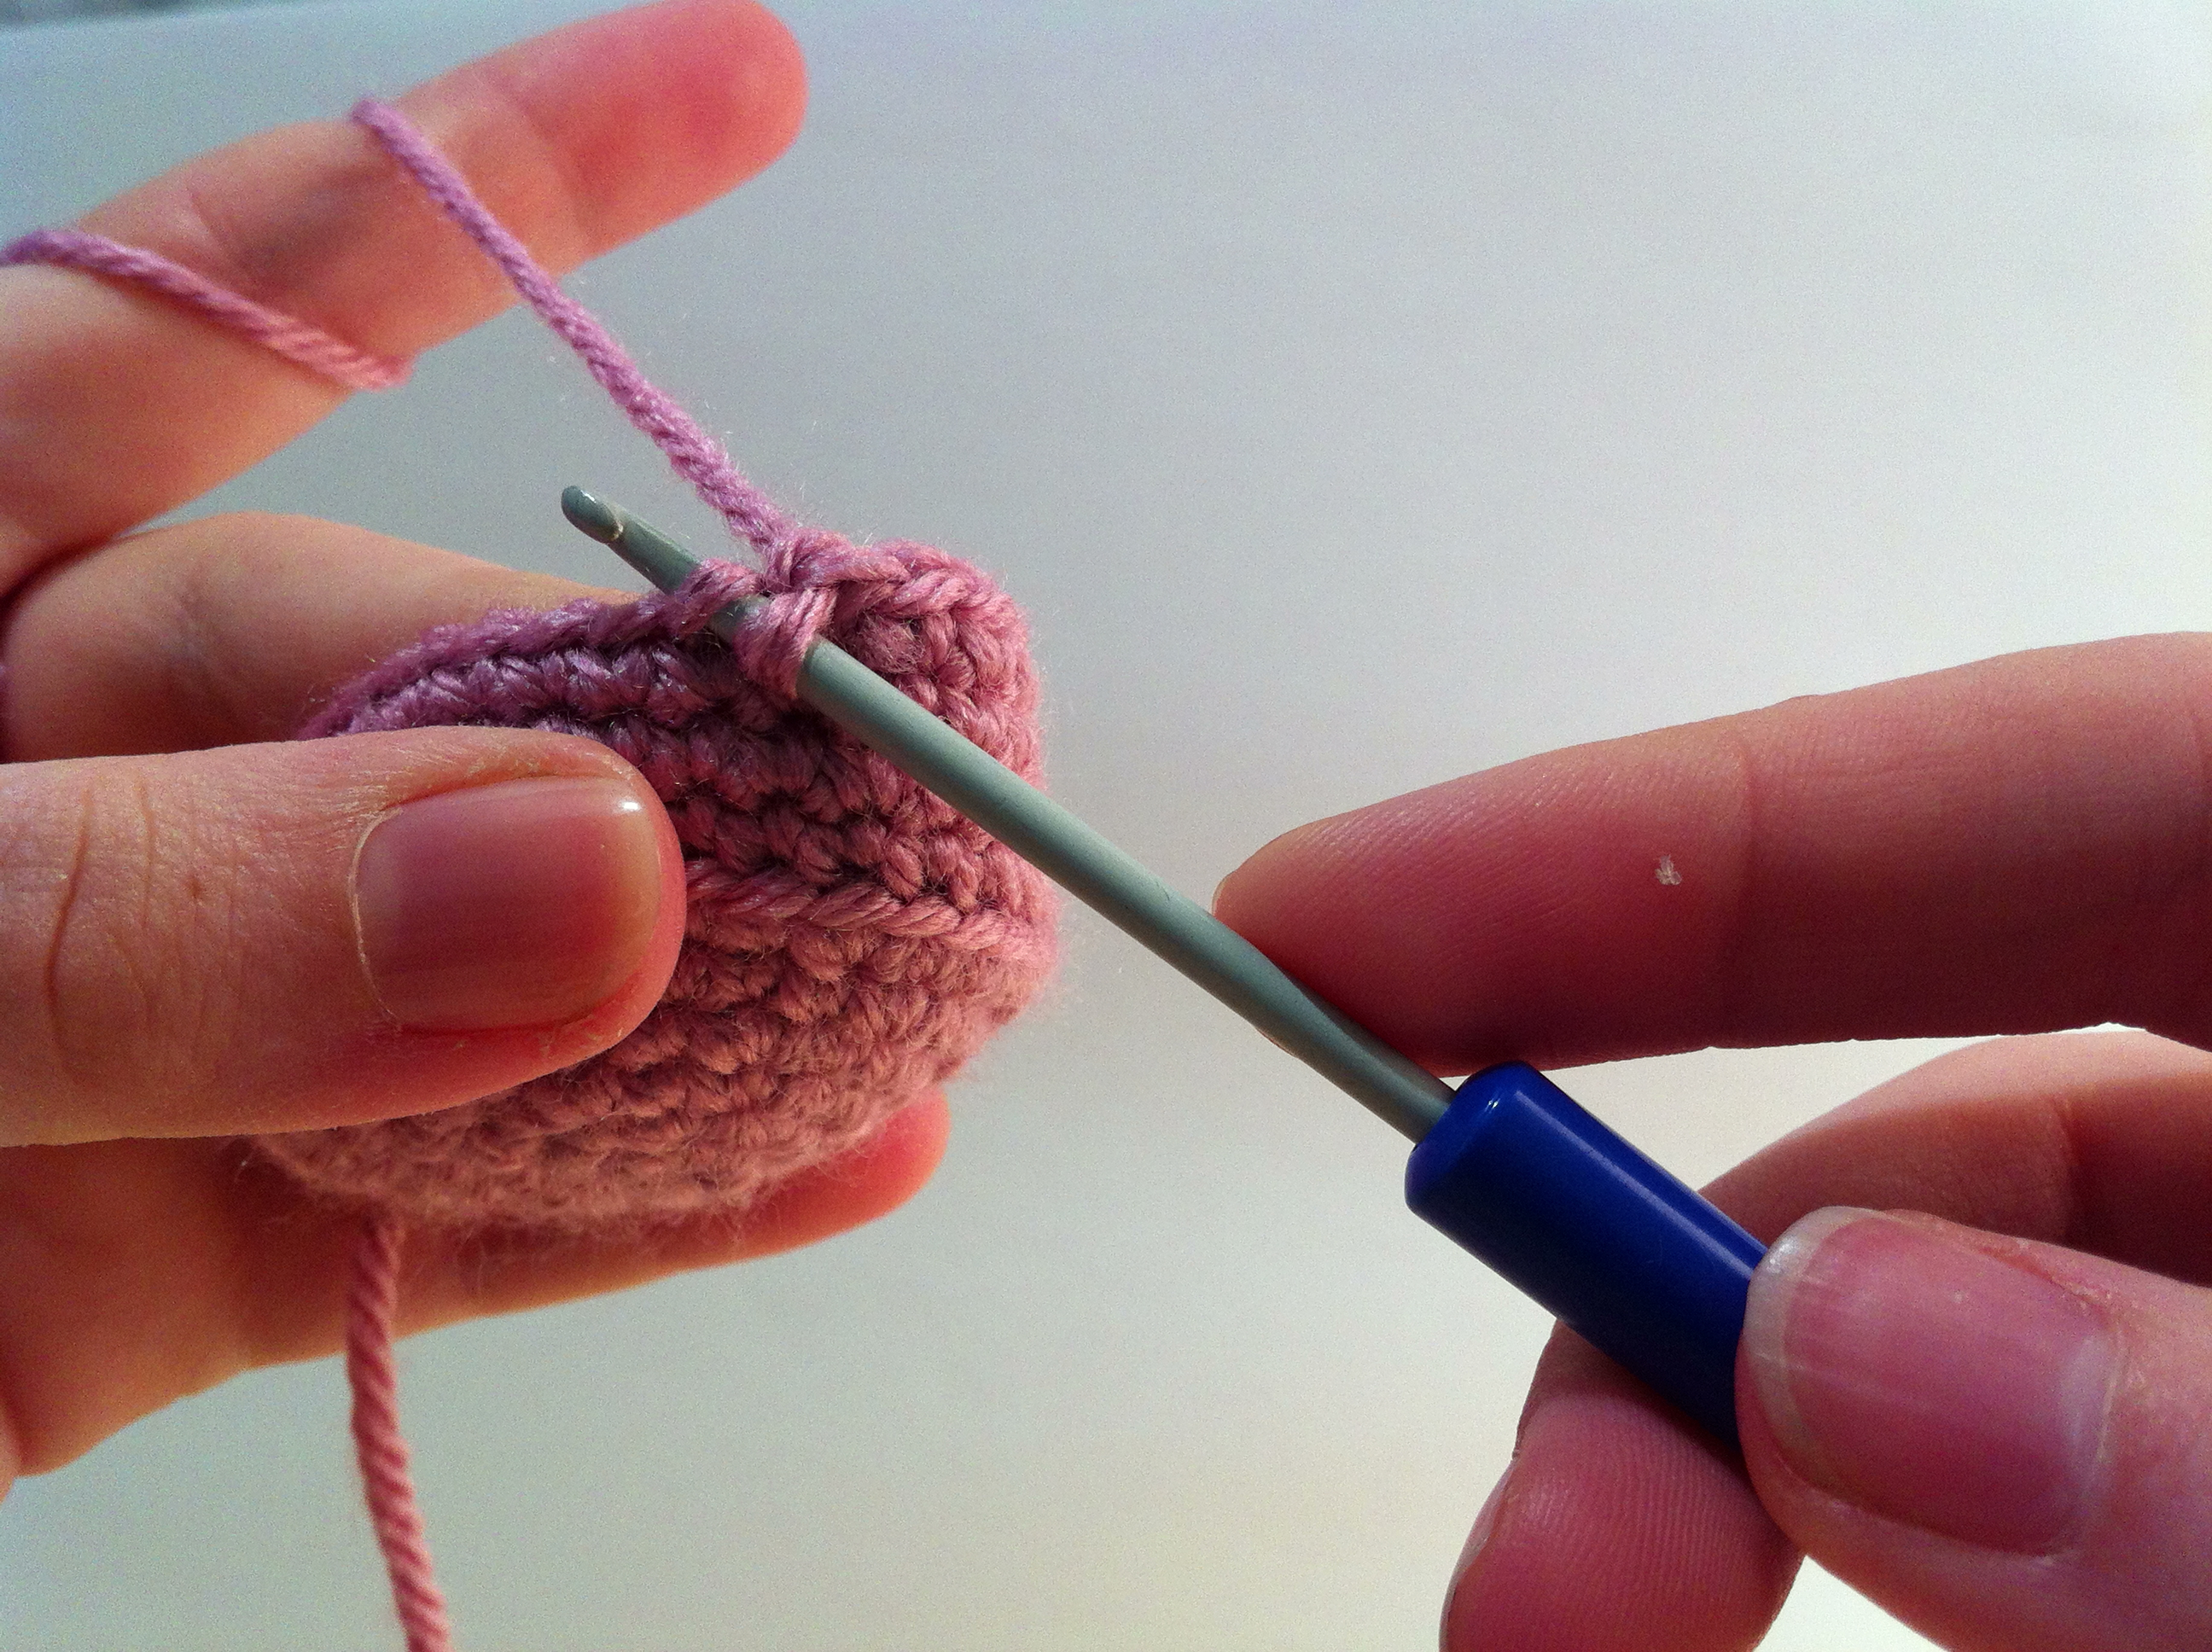
Then, keeping both loops on the hook, insert your hook into the front loop of the second stitch.
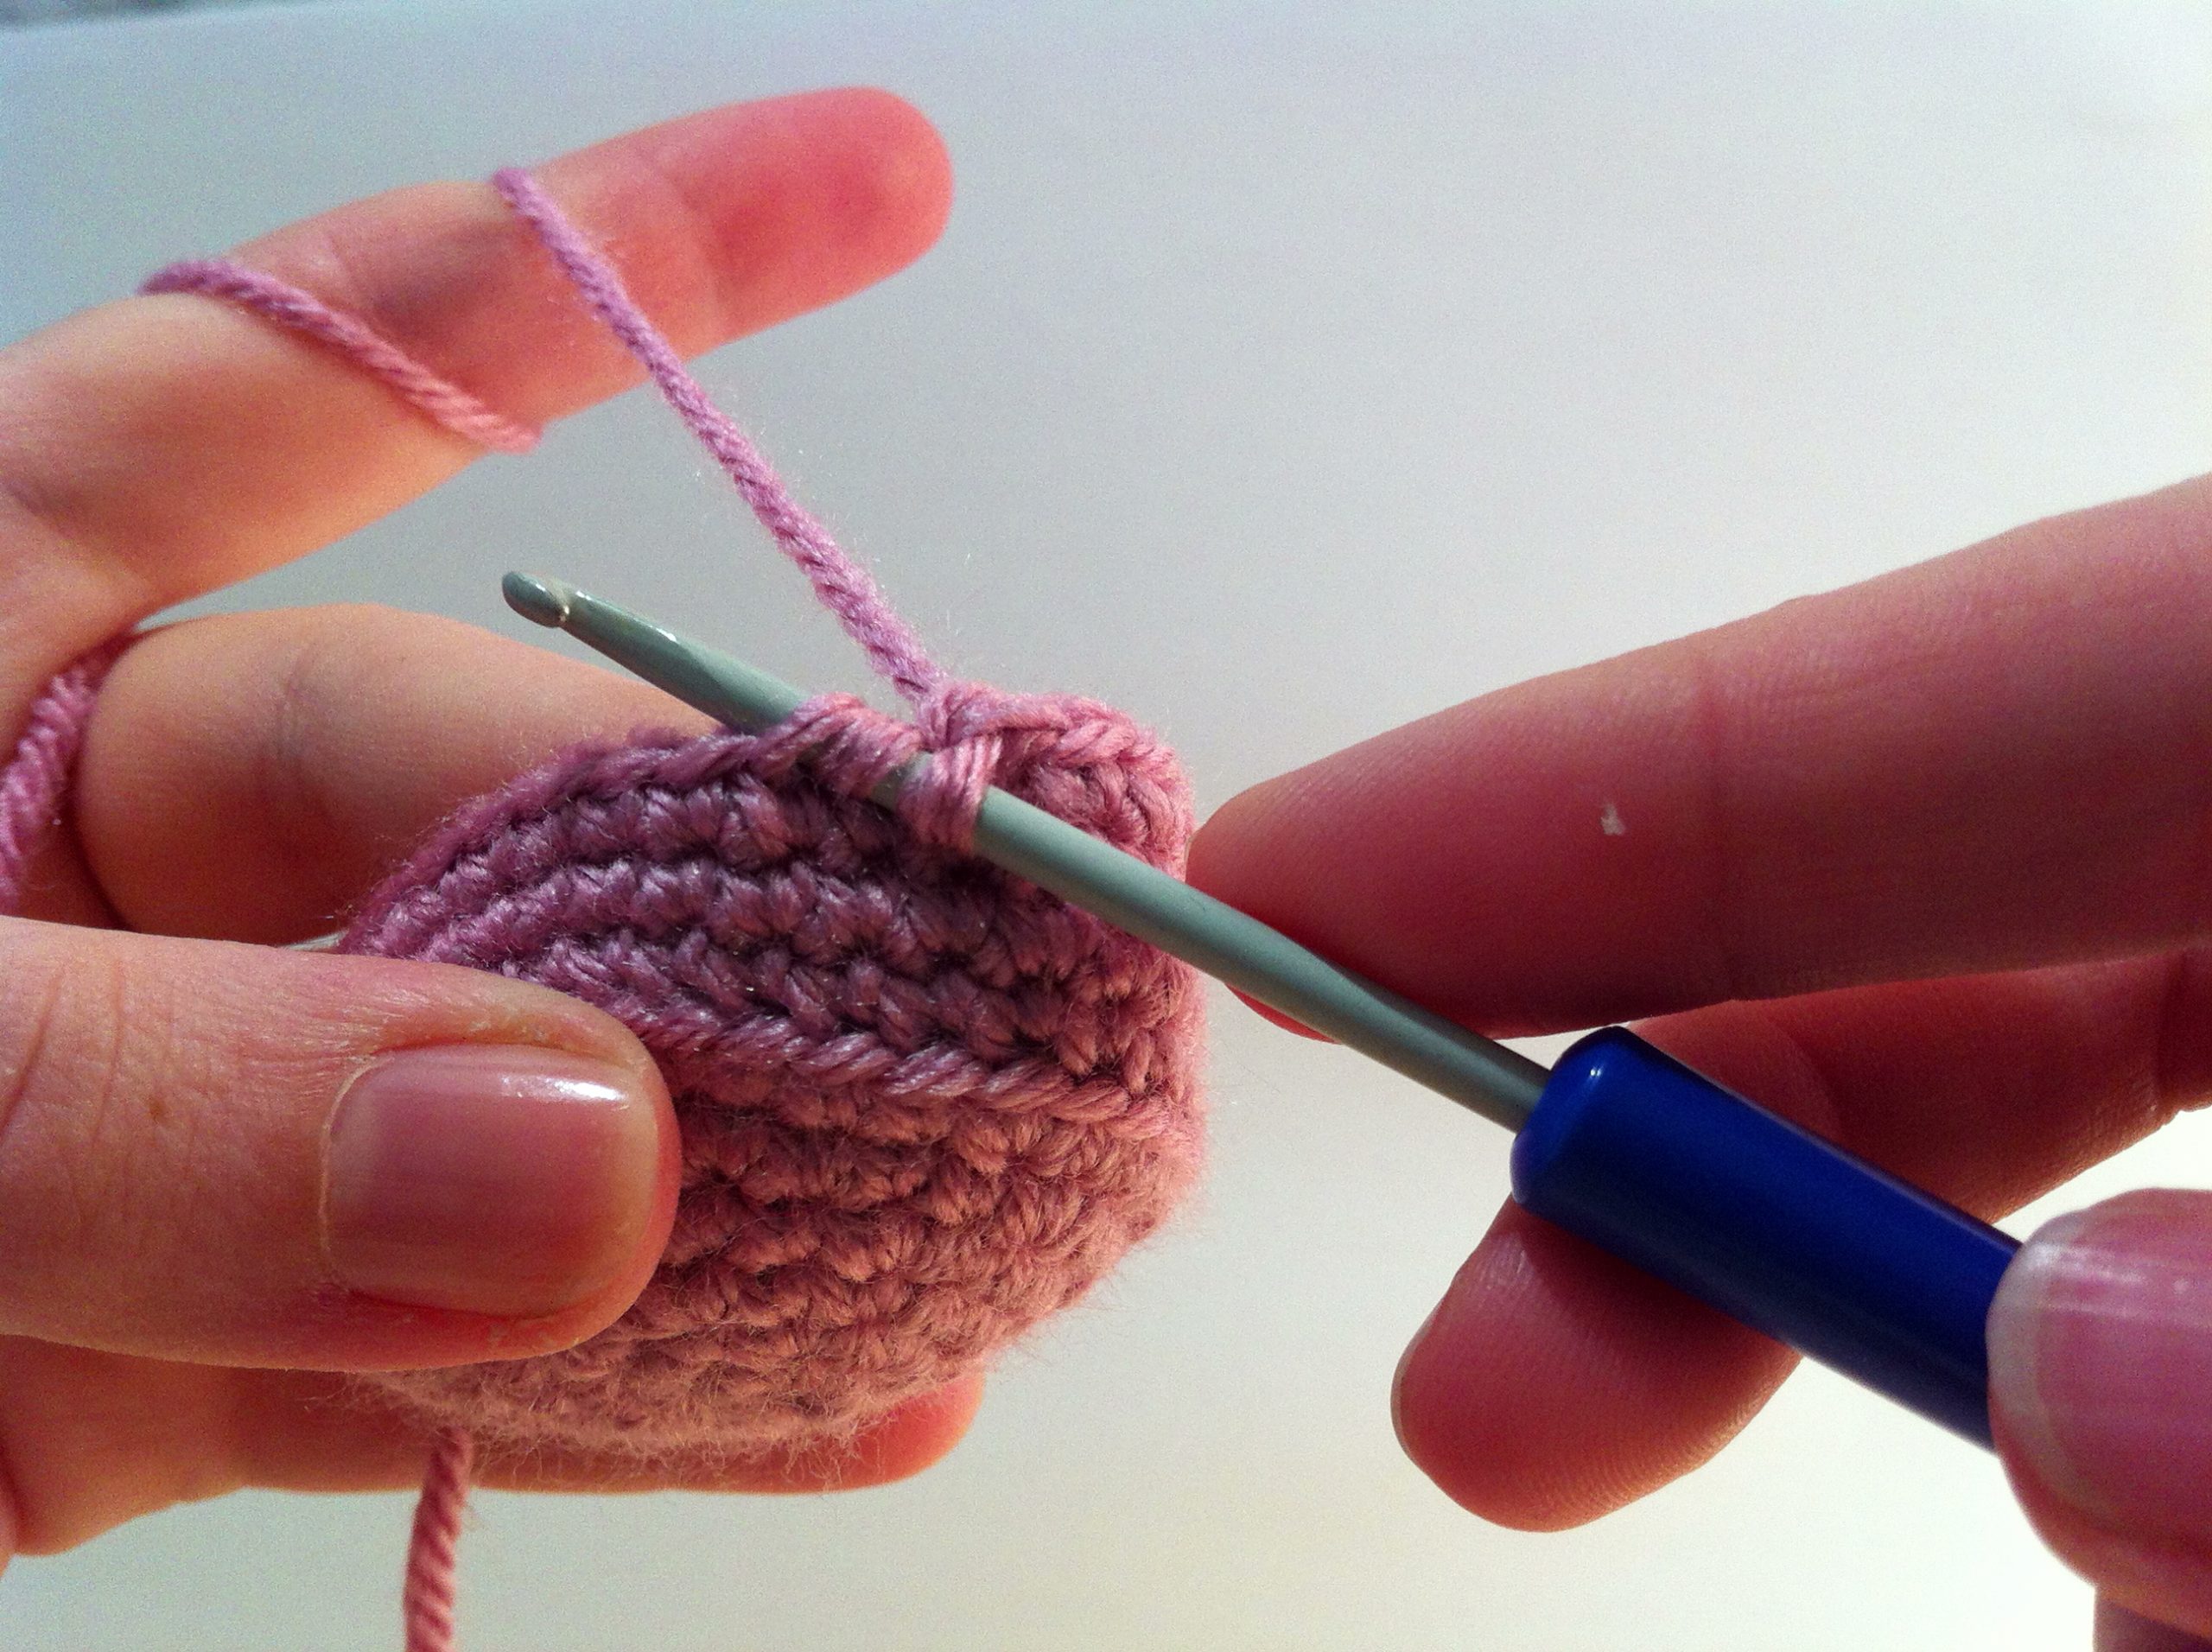
There will be three (probably tight) loops on the hook, yarn over and draw through the first two loops.

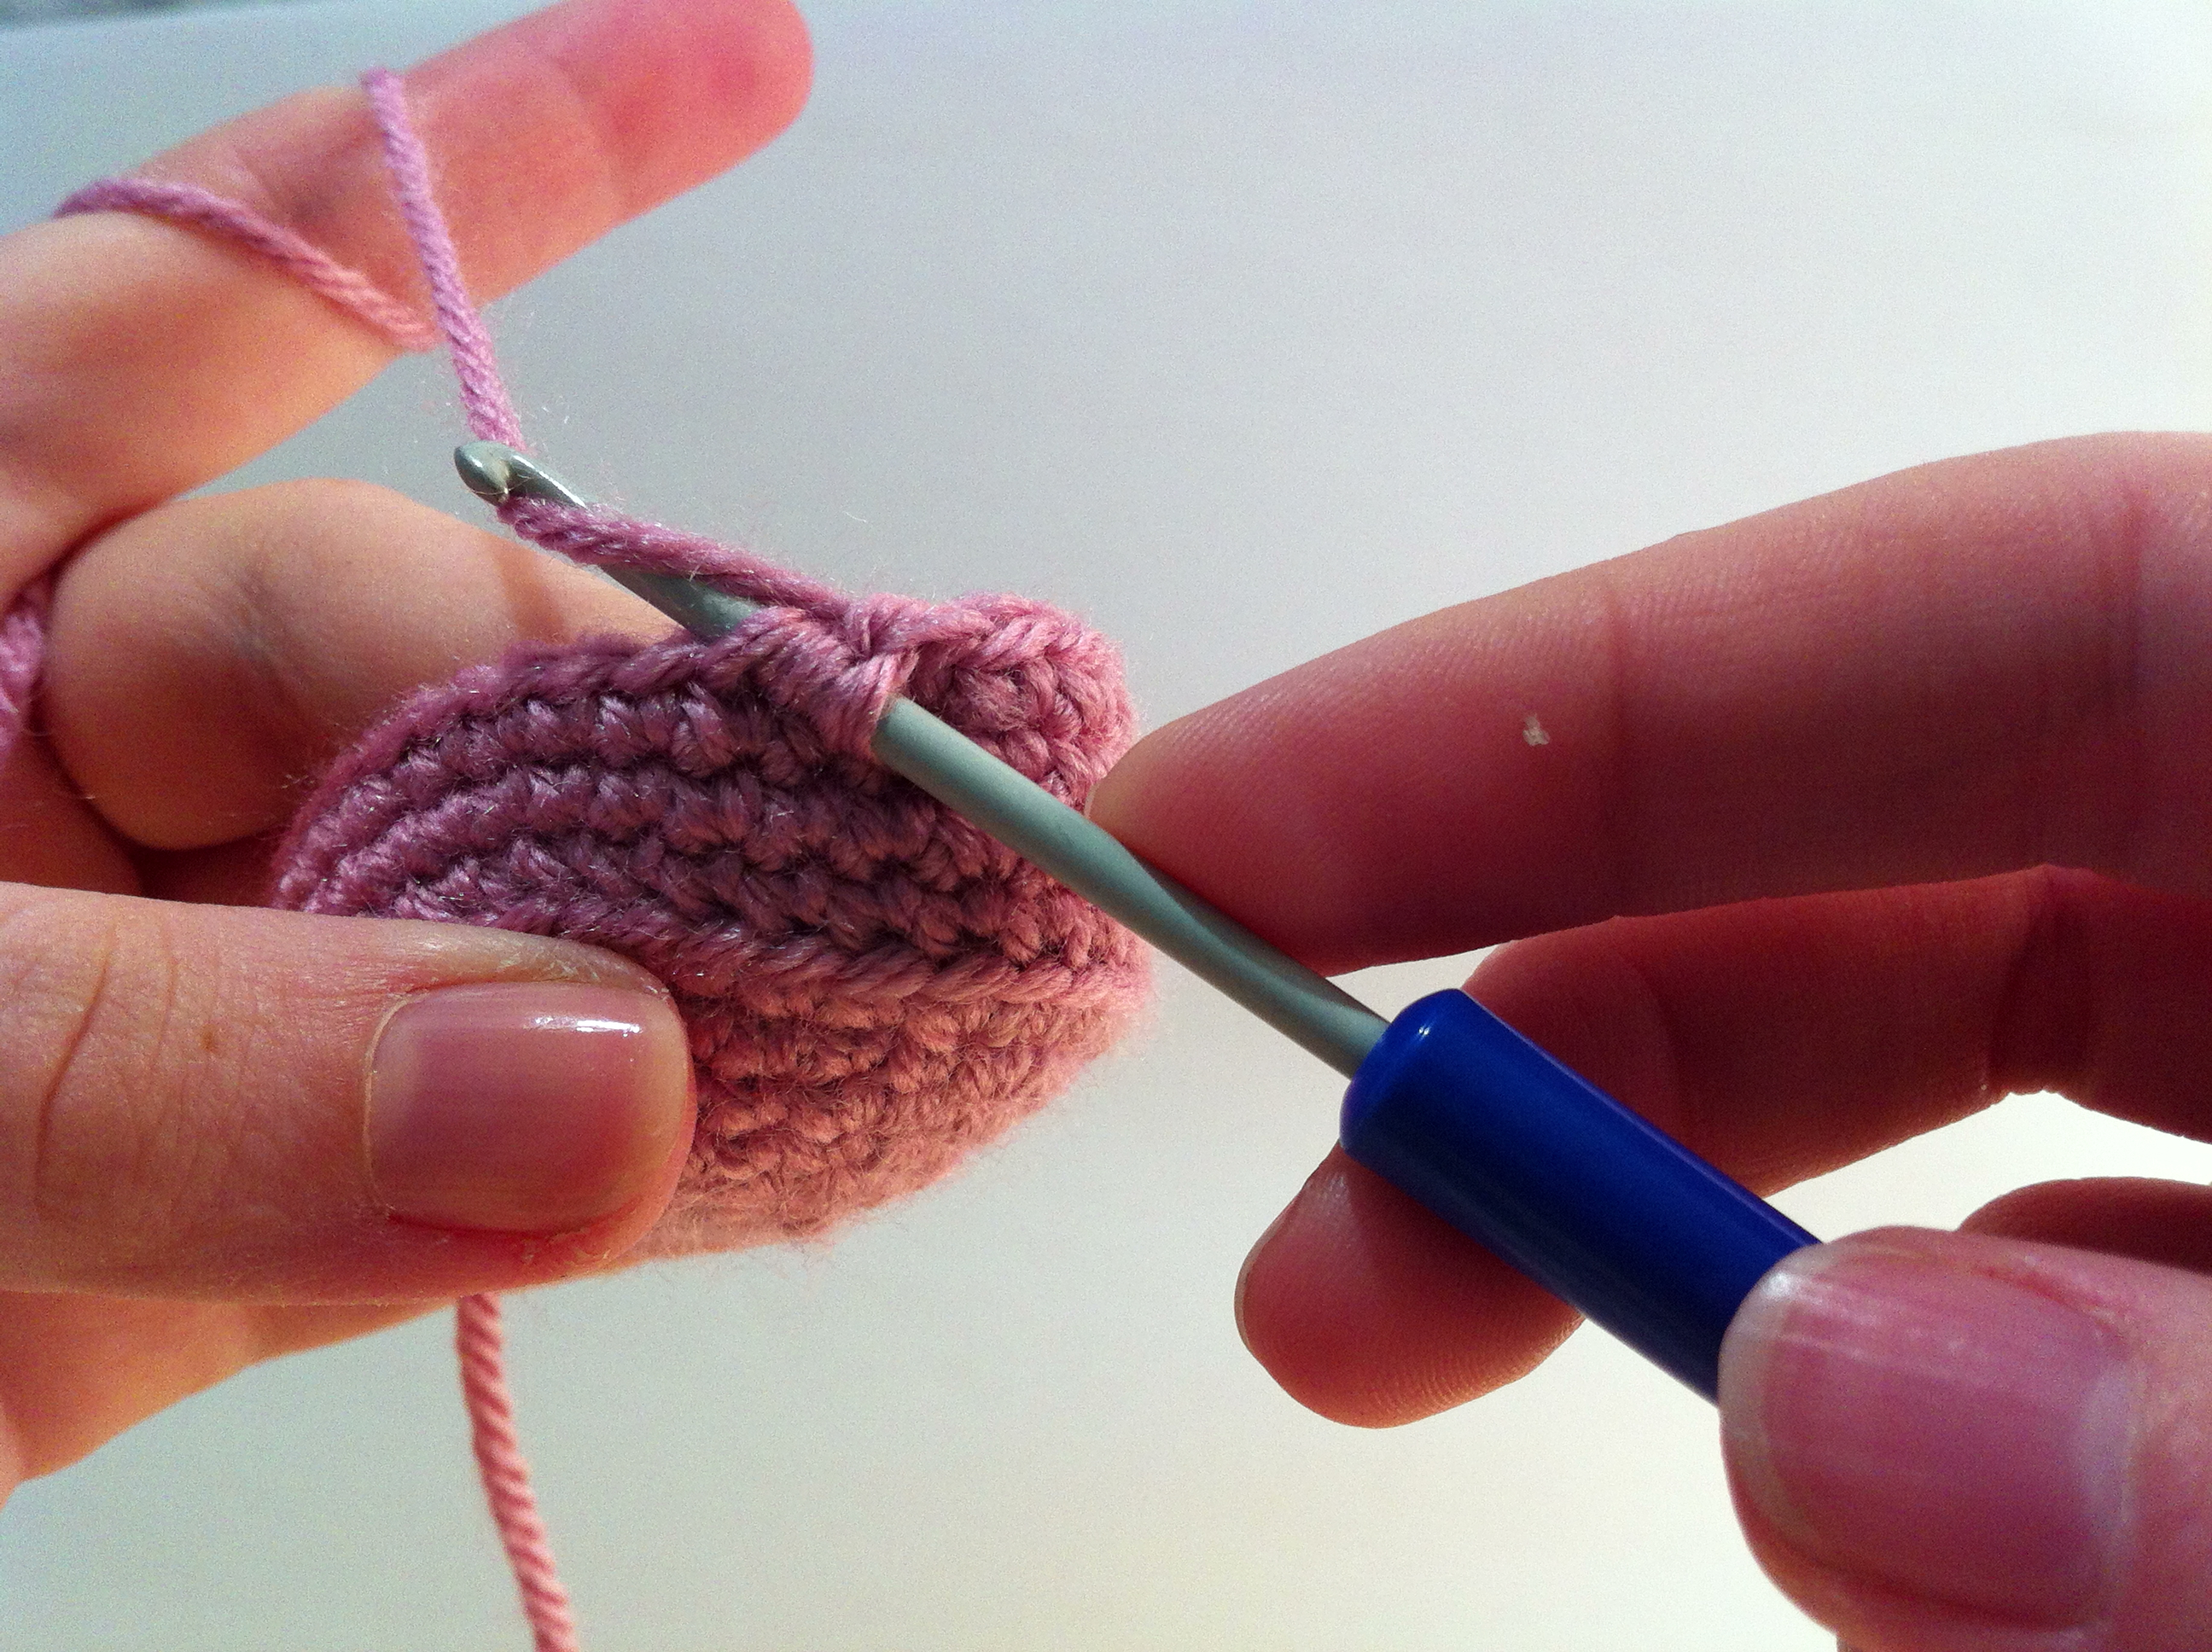
You will still have two loops on your hook. Yarn over again, and draw through the remaining loops.
Done! Going through the front loop instead of both loops is what makes it an “invisible” decrease, and gives your crochet projects a neater finish. Some patterns will specify an invisible decrease, but for all of my patterns you can assume I’m using an invisible one when I write “dec”. A lot of the time the decision to use a regular or invisible decrease can come down to personal preference!
If you prefer learning through video, check out our quick and simple tutorial over on Instagram.

No Comments