If you haven’t seen the Bee and PuppyCat short on Cartoon Hangover youtube channel yet, I highly recommend it. It’s so cute and funny! The creator – Natasha Allegri – worked on Adventure Time along with other Cartoon Hangover members. And thanks to a successful kickstarter, there are new episodes coming out on November 6th! This PuppyCat crochet pattern is nice and simple, works up quickly and looks so cute!
What materials will you need?
Note some of the links on this site are affiliate links. This means I get paid a small fee if you decide to purchase anything at no extra cost to you. I will only ever link products I happily use myself.
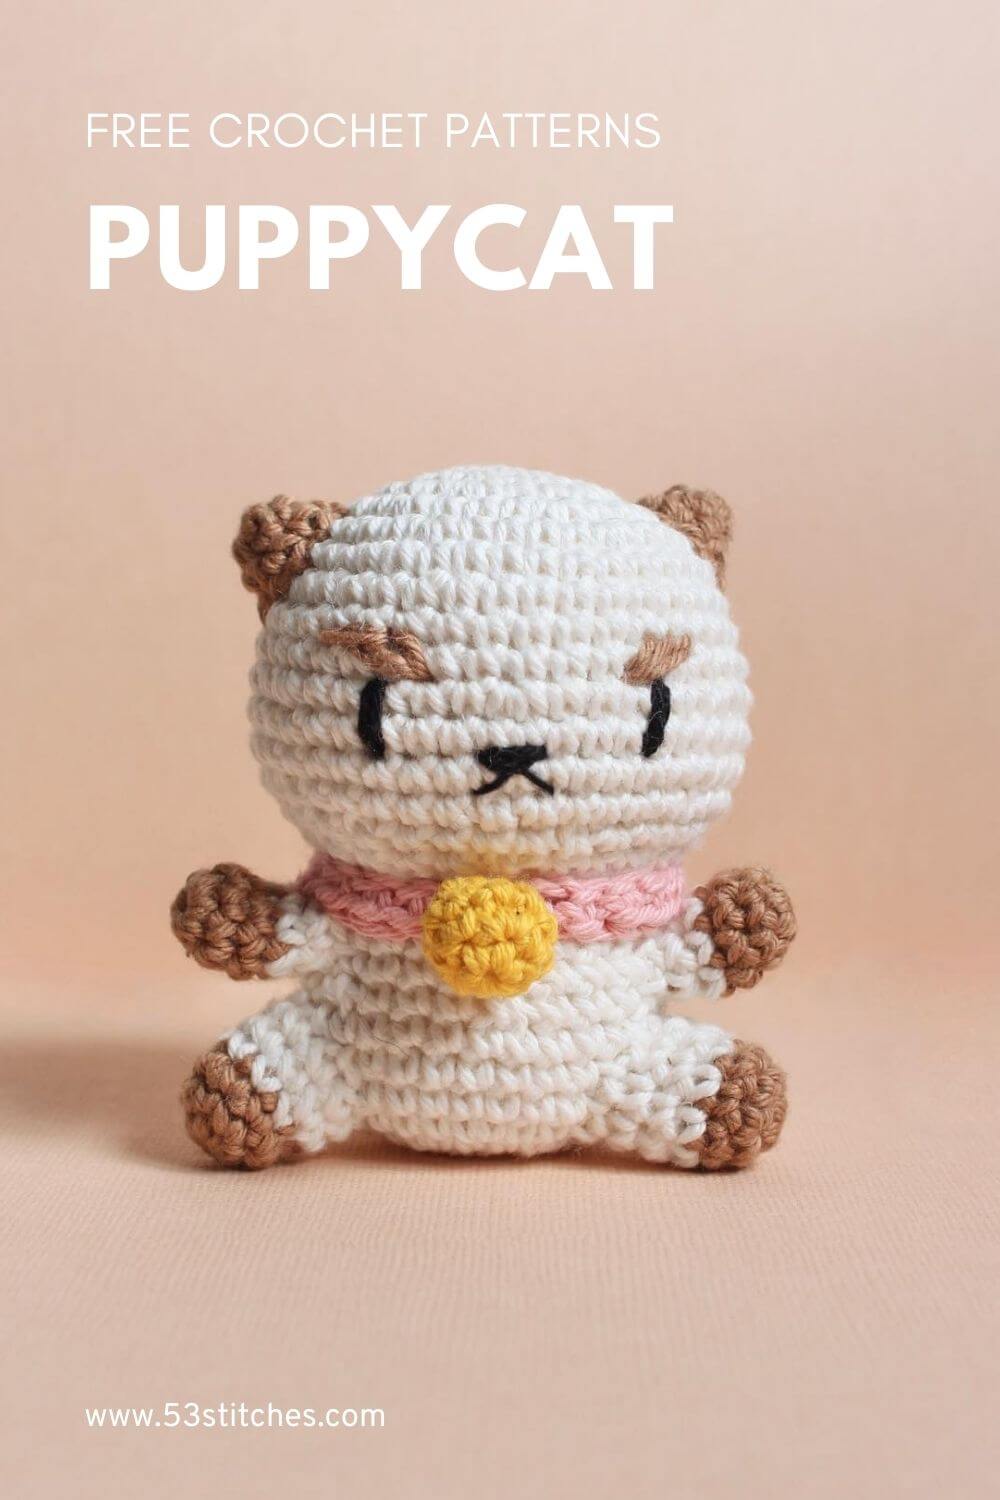
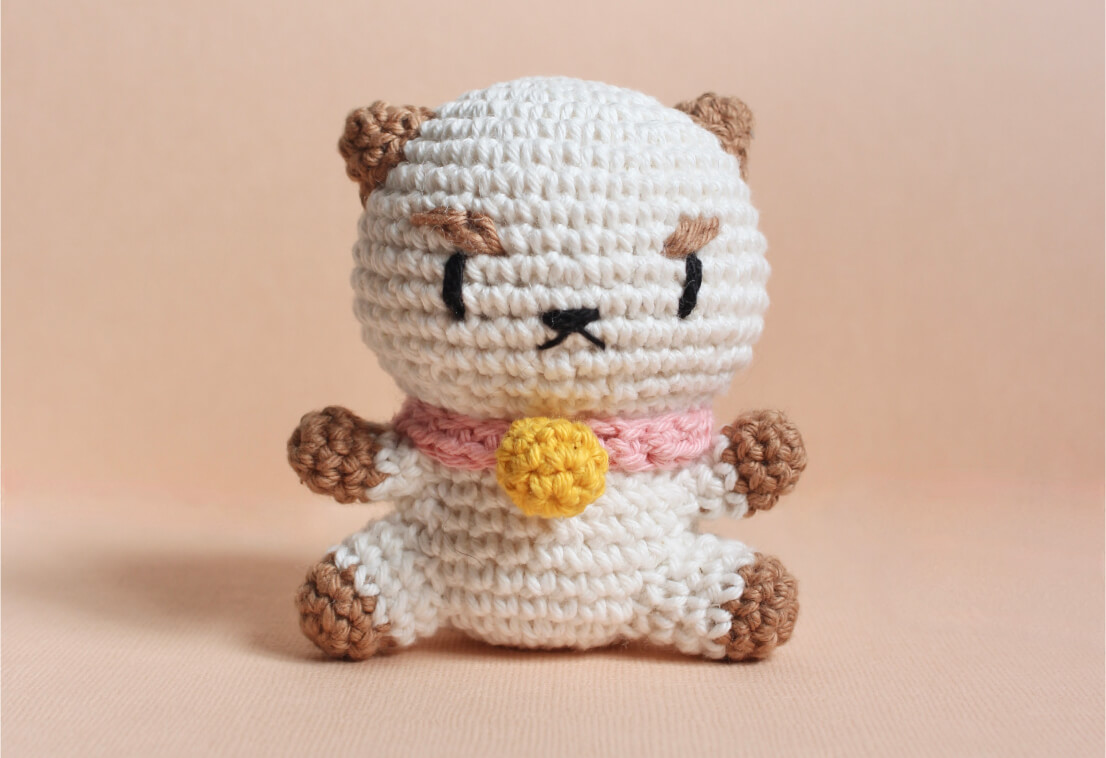
I’ve made this cutie using Paintbox DK Cotton yarn and loved how he turned out so I’ve linked to the colours I used for that version – you can see it in the Pinterest graphic and cover image.
- 3.00mm crochet hook
- white yarn (Paintbox DK Cotton 403 – Champagne White)
- light brown yarn (Paintbox DK Cotton 411 – Coffee Bean)
- black yarn (Paintbox DK Cotton 402 – Pure Black)
- pink yarn (Paintbox DK Cotton 454 – Blush Pink)
- yellow yarn (Paintbox DK Cotton 417 – Melon Sorbet)
- black thread
- polyester filling
- yarn needle
Quick reference for beginners
Check out some of the below tutorials if you get stuck on any of the stitches or techniques
- How to read patterns
- Magic ring
- Single crochet
- Increase
- Decrease
- Chain
- Half double crochet
- How to change colours
- Attaching amigurumi limbs
If you get stuck anywhere else, check out the FAQ.
HEAD
1. (in White) MR 6 (6)
2. [ inc ]x 6 (12)
3. [ inc, sc ]x 6 (18)
4. sc, [ inc, sc 2 ]x 5, inc, sc (24)
5. [ inc, sc 3 ]x 6 (30)
6. sc 2, [ inc, sc 4 ]x 5, inc, sc 2 (36)
7-10. sc 36 (36)
11. [ inc, sc 5 ]x 6 (42)
12-13. sc 42 (42)
14. [ dec, sc 5 ]x 6 (36)
15. sc 2, [ dec, sc 4 ]x 5, dec, sc 2 (30)
16. [ dec, sc 3 ]x 6 (24)
Finish off, leaving a tail for attaching later.
BODY
1. (in White) MR 6 (6)
2. [ inc ]x 6 (12)
3. [ inc, sc ]x 6 (18)
4. sc, [ inc, sc 2 ]x 5, inc, sc (24)
5. [ inc, sc 3 ]x 6 (30)
6-8. sc 30 (30)
9. [ dec, sc 3 ]x 6 (24)
10-12. sc 24 (24)
Finish off.
LEG (make 2)
1. (in Brown) MR 6 (6)
2. [ inc, sc ]x 3 (9)
3-4. sc 9 (9)
5-6. (in White) sc 9 (9)
Finish off, leaving a tail for attaching later.
ARM (make 2)
1. (in Brown) MR 6 (6)
2. [ inc, sc 2 ]x 2 (8)
3. sc 8 (8)
4. (in White) sc 8 (8)
5. dec, sc 6 (7)
Finish off, leaving a tail for attaching later.
TAIL
1. (in Brown) MR 5 (5)
2-3. sc 5 (5)
4-6. (in White) sc 5 (5)
Finish off, leaving a tail for attaching later.
EARS (make 2)
1. (in Brown) MR 6 (6)
2. sc 6 (6)
3. [ inc, sc ]x 3 (9)
Finish off, leaving a tail for attaching later.
COLLAR
1. (in Pink) ch 24
2. ch 1, turn, (starting in second chain from hook) sc 2, hdc 20, sc 2 (24)
Finish off, leaving a tail for attaching later.
BELL
1. (in Yellow/Gold) MR 5 (5)
2. [ inc ]x 5 (10)
3-4. sc 10 (10)
5. [ dec ]x 5 (5)
Finish off, leaving a tail for attaching later.
Putting it all together
That’s all of the crocheting done, now it’s time for assembly!
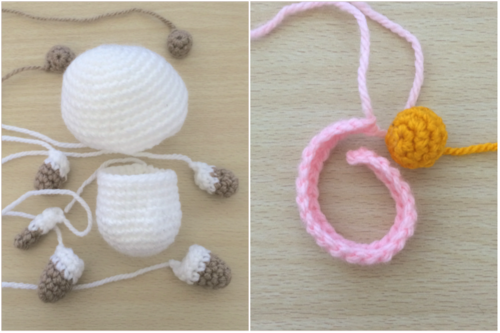
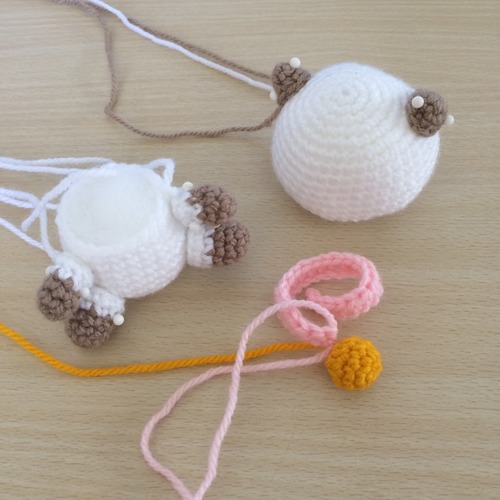
Stuff the head, body and legs. The arms, ears and tail are too small and don’t need any stuffing to maintain their shape. I like to pin all of the pieces in place to make sure they look good before using the tails to attach them.
I usually attach the legs, then tail, then arms, before embroidering the face on and attaching the head. Take a length of black yarn and embroider the eyes and nose. The top of the eyes come out of row 10 and go back into row 12. The nose is on row 12 as well. There are about 4 stitches between the nose and the eyes on either side.
Then take a length of thinner black thread and embroider the mouth in a small upside “V” from the centre of the nose. Last thing left for the face is to take a length of the light brown yarn and embroider on the eyebrows.
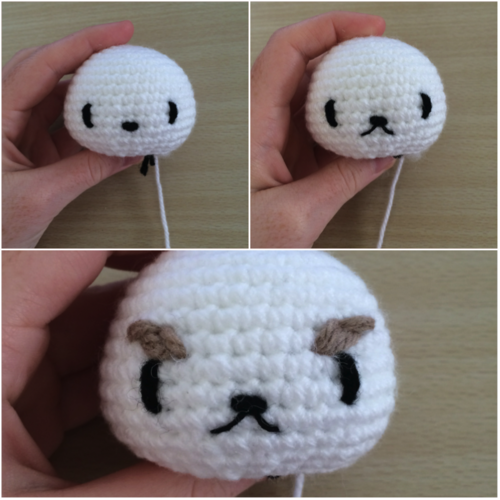
Once the face is done, attach the head and then the ears. I like to attach the head before the ears because it’s easier to find the right placement for the ears. They always end up wonky if I do it first.
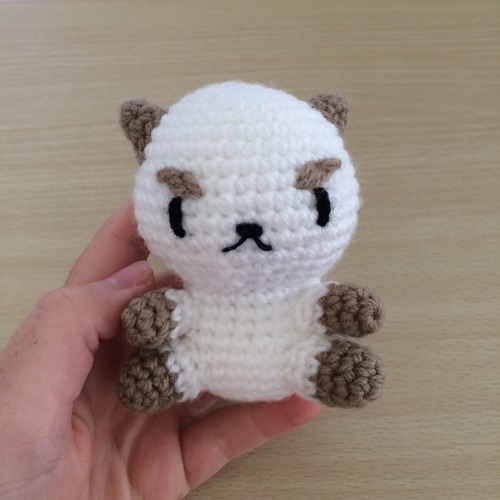
Then all that’s left to do is attach the collar and bell. Use the tails of the collar to attach it, the ends will be at the front and will get covered up by the bell.
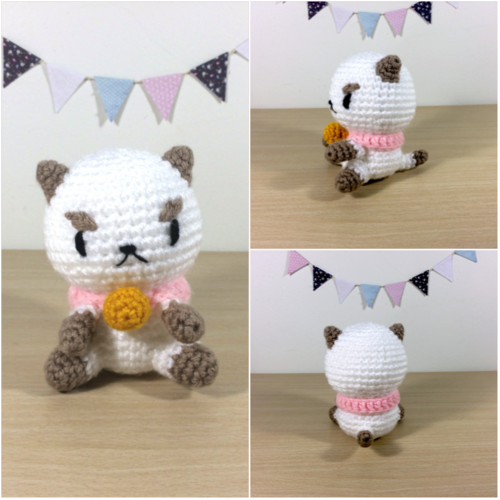
Done! If you share on Instagram or Tumblr, don’t forget to tag @53stitches so I can check it out.


evergifted
February 12, 2022 at 2:02 pmI know I’m really late to this pattern, but I would like to thank you for making such an amazing pattern for a small fandom. It’s a great pattern, and was really fun to make 🙂
Parker
August 8, 2022 at 10:15 amFew things have brought as much joy and satisfactions into my life as being able to create my own Puppycat. This pattern is fantastic and I will treasure him forever
Quintila
December 29, 2022 at 2:53 pmCan you tell me the weight of the yarn? It is 4 or 3?
53stitches
January 11, 2023 at 9:52 amHello! I’m not 100% sure as we use a different weight system than the US in Australia – I use a DK weight yarn, which google suggests is equivalent to a 3 in the US system
Em's Crochet
January 8, 2023 at 9:58 amI absolutely loved doing this pattern! I used blanket yarn so it’d be cuddly! Even if the face did end up a bit to the side lol