When I was new to crochet I tried playing around with chenille yarn and had such a terrible time that I didn’t touch it for years. Recently it popped up all over the place on my social media feeds, and I loved the plush look of it so much I felt determined to give it another go, now that I’d been crocheting for a few years and felt pretty confident in my skills. The chenille almost defeated me again – but I worked out some tips and tricks to make working with it easier and now that I’ve got the hang of it, it’s smooth sailing! There are some people who start crochet with chenille – very impressive!
#1: Skip the magic circle
If you’ve done amigurumi before, you may have started your pieces with a magic circle. For chenille yarn, I suggest skipping it – this switch instantly reduce frustration for me. It can be difficult (or impossible) to close the circle because the chunky yarn doesn’t slide smoothly, and many of them shed or fall apart when you pull on them. The main reason to use a magic circle is to reduce the gap at the start of a piece – chunky yarn fills these gaps anyway! So you can stop punishing yourself.
Instead, try starting your pieces with: ch 2, work your starting stitches into the second chain from the hook.


#2: Feel your stitches
It can be tricky to see your stitches with chunkier yarn, but you can usually feel your way along. This is easier if you’ve crocheted other pieces before, since you’ll be more familiar with what you’re looking for. Pinch the next stitch you want to work into and you will usually be able to feel where the hole that you should put your crochet hook into, and also where the little bars framing the stitch either side are.
#3: Don’t be shy about stitch markers
As with #2, because it can be difficult to see your stitches, don’t be afraid to use AS MANY stitch markers as you need to make your job easier. If you don’t have a heap of stitch markers to spare – you can use scrap pieces of yarn as well! Cotton is great for this job as it won’t leave behind any fluffy pieces like other chenille or acrylic might.
#4: Count after each row
Counting your stitches is good practice for any beginner, but it’s especially true with chenille yarns, where it’s easy to skip or add stitches because of the added difficulty of finding the correct place to stitch. The positive side to this is that chunky yarn is very forgiving of mistakes! If you don’t want to unravel your work, you can usually get away with putting a decrease or increase at the end of your row to help you reach the right number. As long as it’s not happening every round, or near colour changes, you likely won’t be able to spot the difference.
#5: Practice with regular yarn!
Almost every amigurumi pattern can be followed with a different yarn + hook combo! A general rule for amigurumi is to drop 2 hook sizes from what’s recommended on the yarn packaging. The recommend hook size is usually for garments, which tend to want looser stitches for better drape. Amigurumi stitches should be tight to prevent holes, so the hook size should be smaller.
For example – my DK weight yarn band recommends a 4mm hook, so I use a 3mm hook for most of my projects, but you can play around with this to find the tension you like! For bulky weight projects, they often recommend a 7 or 8mm hook, but I’ve made plushies with as small as a 4mm hook for these yarns. I tend to find the sweet spot is around 5-6mm for the look I prefer.
Chenille yarn suggestions
I hope these tips have been helpful and you’ll be crocheting chunky squishy plushies in no time! There are a huge variety of plush yarns available, and they have a lot of different features, so if you find a particular style or brand isn’t working for you try one with different qualities! I still can’t quite get the hang of eyelash yarn, but I’m still trying because I think I could make some cool projects!
Some of my favourite yarns to work with are linked below – these are affiliate links, which means if you purchase anything I get a small portion from the sale at no extra cost to you! These yarns are all a velvet chenille type, which means they’re prone to shedding and have a slight sheen – but the good news is they can all be used interchangeably with each other, so you get heaps of colour choices! I swap between these brands all the time to get the maximum colour range!

Hobbii Baby Snuggle, Honey Bunny and their new range Toucan
Chunky project suggestions
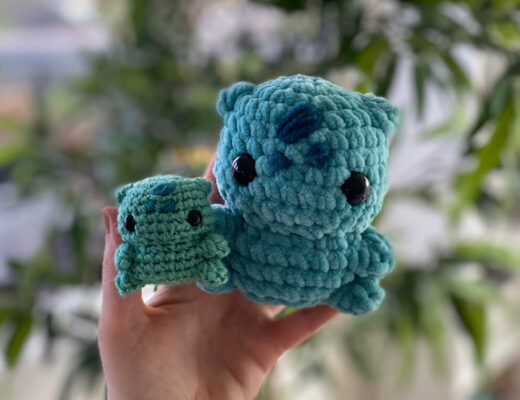
Ready to jump into some chunky yarn projects? Check out my low sew Bulbasaur pattern for a quick and easy project that works up great in plush yarns!


