
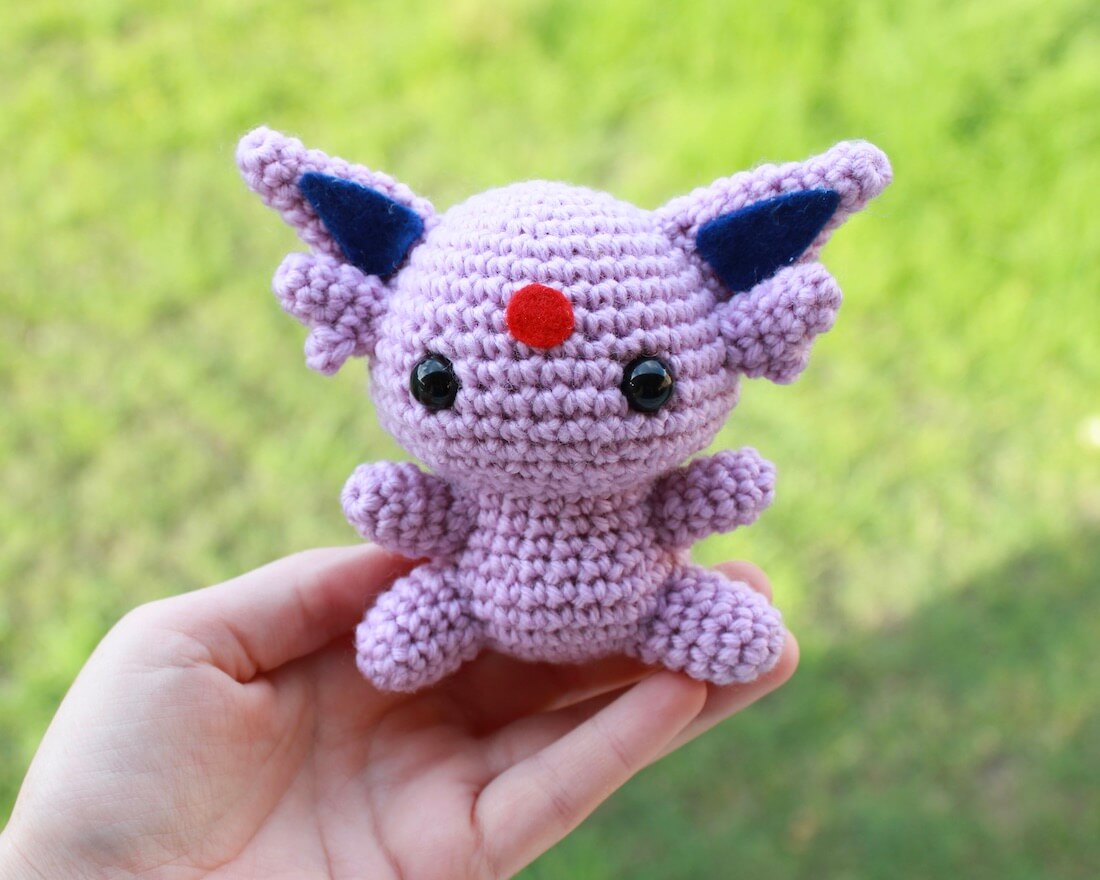
I wanted to work on some more Pokemon, and I’ve seen some great Eeveelutions so I decided to try my hand at my own. My first Pokemon game was Pokemon Silver on the Game Boy colour, and I accidentally evolved my Eevee into an Espeon, unaware that she could even evolve without some kind of stone! But since Espeon was very pretty I didn’t mind. I later learnt they only evolve when they love you, which was very cute. This crochet Espeon pattern is the perfect way to get a pocket sized Espeon to take around outside of the game!
You can purchase and ad-free PDF of this pattern over on my Ravelry or Etsy, and if you do a huge thank-you in advance for your wonderful support! You can also find a diy crochet kit on my Etsy which has all the materials you need to make your own!
What materials will you need?
Note some of the links on this site are affiliate links. This means I get paid a small fee if you decide to purchase anything at no extra cost to you. I will only ever link products I happily use myself.
- 3.00mm crochet hook
- 2 x 10mm safety eyes
- light pink/purple yarn, like a pale lavender
- red felt
- blue felt
When I started creating Espeon I thought I had a great lilac yarn to use, but when I pulled up a reference picture I realised she was a lot more pink than I had originally thought, and the colour I had was way too purple. So instead I used Cascade 220 Superwash in 840 – Iris. I find this yarn a little lighter in weight/gauge than the ones I usually use though, so I used a 3.5mm hook when making Espeon so that she would be the same size as my other Pokemon crochet patterns.
Quick reference for beginners
Check out some of the below tutorials if you get stuck on any of the stitches or techniques
- How to read patterns
- Magic ring
- Single crochet
- Increase
- Decrease
- Attaching amigurumi limbs
- Popcorn stitch
If you get stuck anywhere else, check out the FAQ.
Crochet Espeon pattern
HEAD
1. (in Lilac) MR 6 (6)
2. [ inc ]x 6 (12)
3. [ inc, sc ]x 6 (18)
4. sc, [ inc, sc 2 ]x 5, inc, sc (24)
5. [ inc, sc 3 ]x 6 (30)
6. sc 2, [ inc, sc 4 ]x 5, inc, sc 2 (36)
7-10. sc 36 (36)
11. [ inc, sc 5 ]x 6 (42)
12-13. sc 42 (42)
14. [ dec, sc 5 ]x 6 (36)
15. sc 2, [ dec, sc 4 ]x 5, dec, sc 2 (30)
16. [ dec, sc 3 ]x 6 (24)
Finish off, leaving a tail for sewing. Insert the safety eyes between rows 11 and 12, with approximately 7 or 8 stitches between them.
BODY
1. (in Lilac) MR 6 (6)
2. [ inc ]x 6 (12)
3. [ inc, sc ]x 6 (18)
4. sc, [ inc, sc 2 ]x 5, inc, sc (24)
5. [ inc, sc 3 ]x 6 (30)
6-8. sc 30 (30)
9. [ dec, sc 3 ]x 6 (24)
10-12. sc 24 (24)
Finish off.
LEG (make 2)
1. (in Lilac) MR 6 (6)
2. [ inc, sc ]x 3 (9)
3-6. sc 9 (9)
Finish off, leaving a tail for sewing.
ARM (make 2)
1. (in Lilac) MR 6 (6)
2. [ inc, sc 2 ]x 2 (8)
3-4. sc 8 (8)
5. dec, sc 6, (7)
Finish off, leaving a tail for sewing.
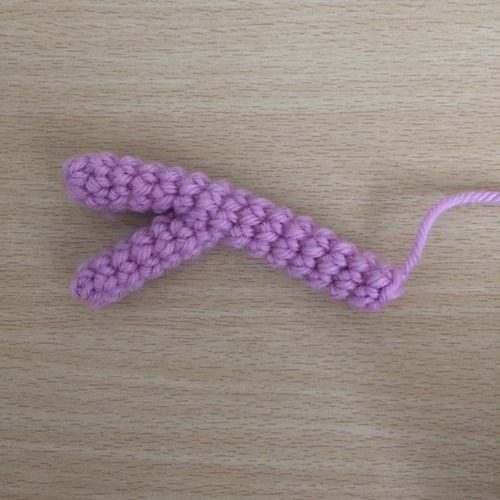
TAIL
Main Tail
1. (in Lilac) MR 6 (6)
2-16. sc 6 (6)
Finish off, leaving tail for sewing.
Split
1. (in Lilac) MR 6 (6)
2-7. sc 6 (6)
Finish off, leaving tail for sewing. Then take the smaller piece of the tail and attach it to the longer piece, to create the split shape pictured below.
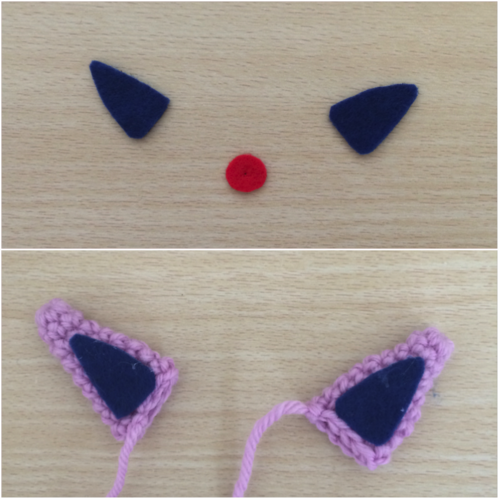
EARS (make 2)
Ear
1. (in Lilac) MR 6 (6)
2-3. sc 6 (6)
4. [ inc, sc 2 ]x 2 (8)
5. sc 8 (8)
6. [ inc, sc 3 ]x 2 (10)
7-9. sc 10 (10)
Finish off, leaving tail for sewing.
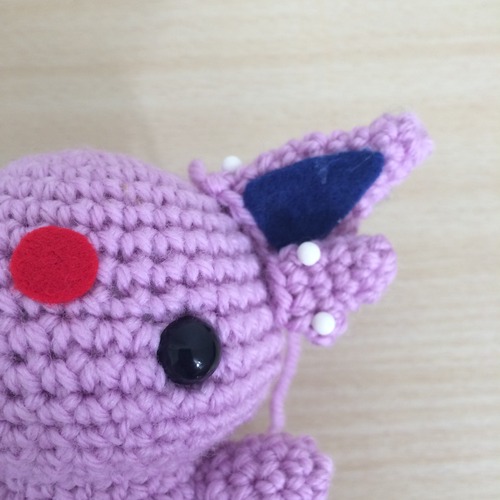
Now take a piece of blue felt and cut out a triangular-like piece to be the inside of the ear. Then glue this piece in place.
Bottom Fluffy Whiskers
1. (in Lilac) MR 6 (6)
2-3. sc 6 (6)
4. sc 3, popcorn 5sc*, sc 2 (6)
5. sc 6 (6)
Finish off, leaving tail for sewing.
*If you don’t know how to complete a popcorn stitch, have a look at my step-by-step instructions for one here. It’s a simple stitch once you’ve learnt it and it’s great for making thumbs or small lumps in a piece.
Putting it all together
Now that everything is crocheted it’s time to put it together and add detailing.
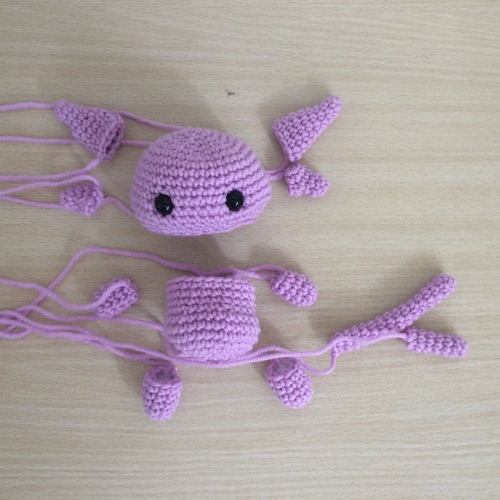
Stuff the head, body and legs. The arms, ears and tail don’t require stuffing. I like to pin all of the pieces together to get an idea of placement before I attach them.
I usually attach them in this order: legs, tail, arm, then the head, top part of the ear, bottom part of the ear. I find the ears easier to centre after the head has already been attached.
At this point I also cut a small red circle out of felt, and glue it above the eyes, centred between them. I’ve seen some people use small sticker gems or other items, so you can use whichever you want!

Here are some more pictures of how I place the ears, the main part slightly behind and above the whiskers.
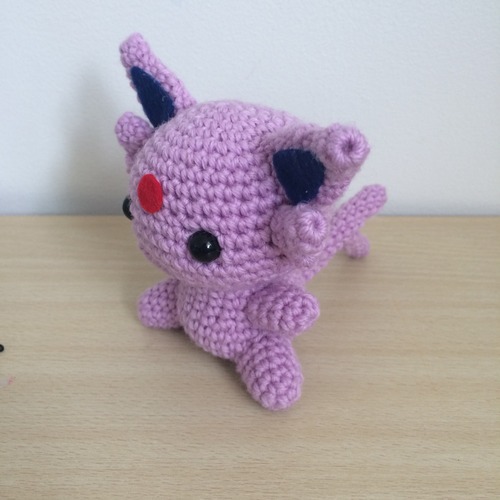
Done! This cute Espeon amigurumi Pokemon is fairly simple and was heaps of fun to create!
Other Pokemon crochet patterns
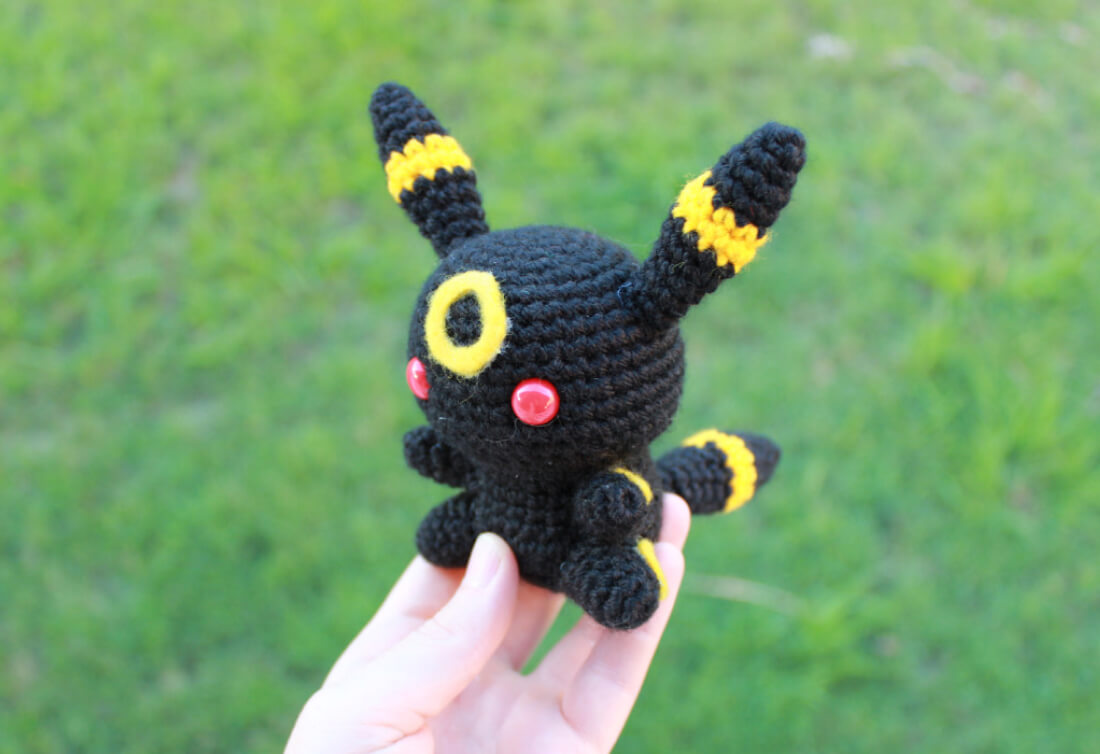
If you haven’t had enough of the Eeveelutions check out the links below for shortcuts to the others in the collection.
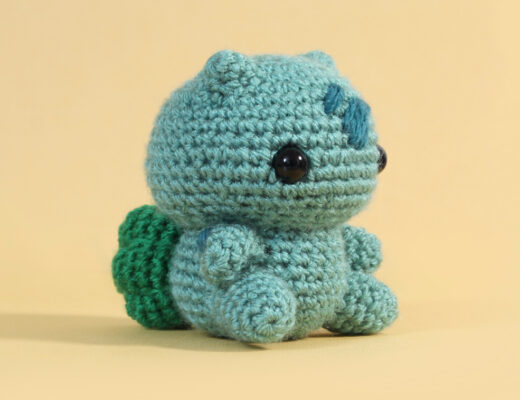
Vaporeon | Jolteon | Flareon | Umbreon | Eevee | Leafeon | Glaceon | Sylveon
You can also check out my other Pokemon crochet patterns here.


Steph
September 8, 2022 at 5:22 amThis is amazingly cute, thank you so much! I’m curious, do you think it would get the same result if I crochet the head and body as one piece together from the top of the head down? I’m done with the head and considering just reversing the pattern for the body to keep going neck-down.
53stitches
January 11, 2023 at 9:59 amAbsolutely! I haven’t tried it with Espeon myself, but it’s the method I used on the Tony Tony Chopper pattern when going from the head to the body, which is all worked in one piece for him. I do a row in the front loop only when switching from the head to the body to help make it a sharper, more defined curve, so you could do the same thing here. Apologies for the delayed reply!