
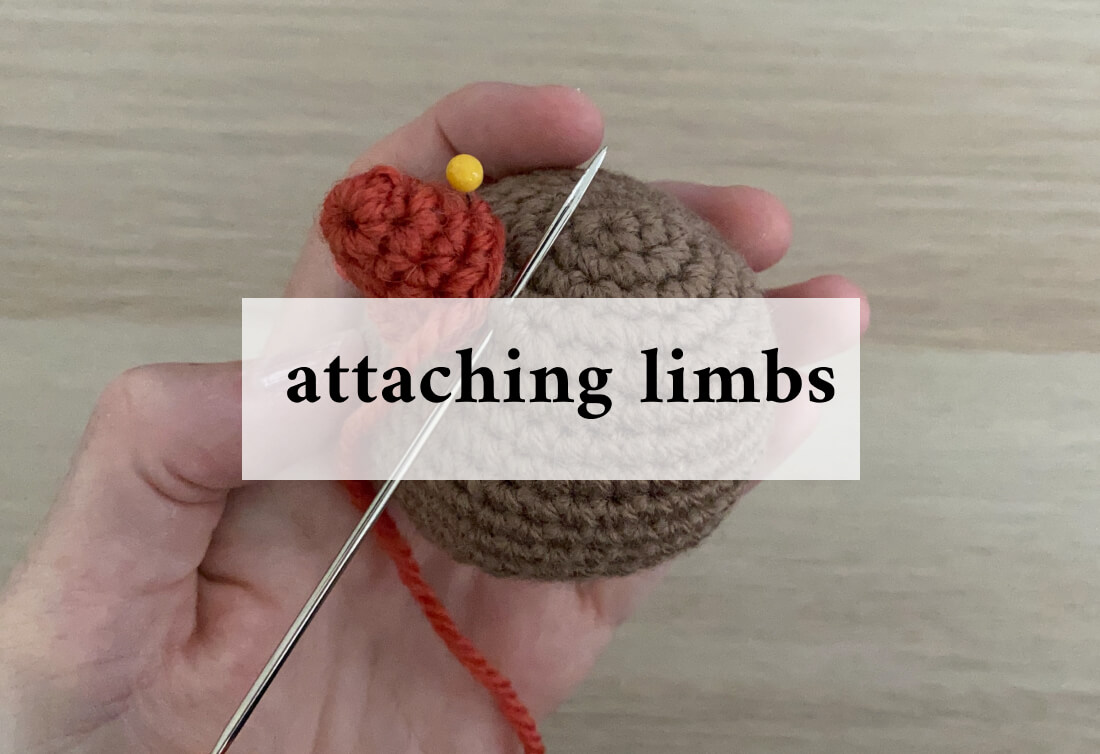
Joining crochet pieces together is often people’s least favourite part of creating adorable amigurumi dolls. Some of that stems from not being sure what the best way to do it is! Luckily there are a couple of ways to make this process to attach limbs easier, and make sure that your dolls are held together nice a securely.
You can download a PDF copy of this tutorial and a bunch of other techniques from the Techniques References page.
Join an open crochet piece to a closed piece
This type of join happens when you want to attach a stuffed arm, leg or head to a body. This is the type of attaching you’ll see most often in my patterns. If you prefer learning through video, check out this tutorial over on Instagram.
Typically, the pattern will say to leave a tail when you finish the open piece. If you didn’t leave a tail (or accidentally cut it off), no worries! You can simply cut another length of yarn and use that to sew the limbs together, you’ll simply have to hide an additional end when done.
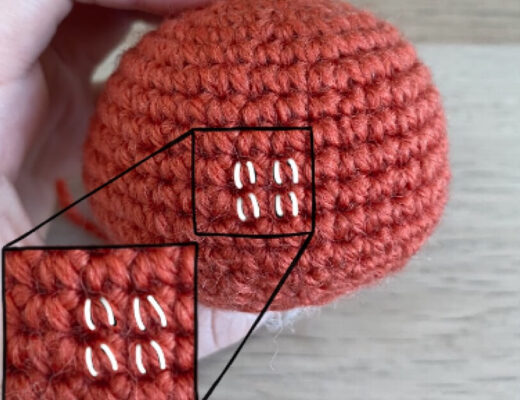
The example below uses a different coloured ear to help it stand out. This hopefully also helps show how seamless the join is when it’s done – you can hardly see which yarn was used to do the sewing!
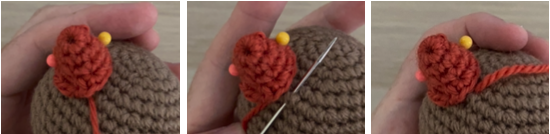
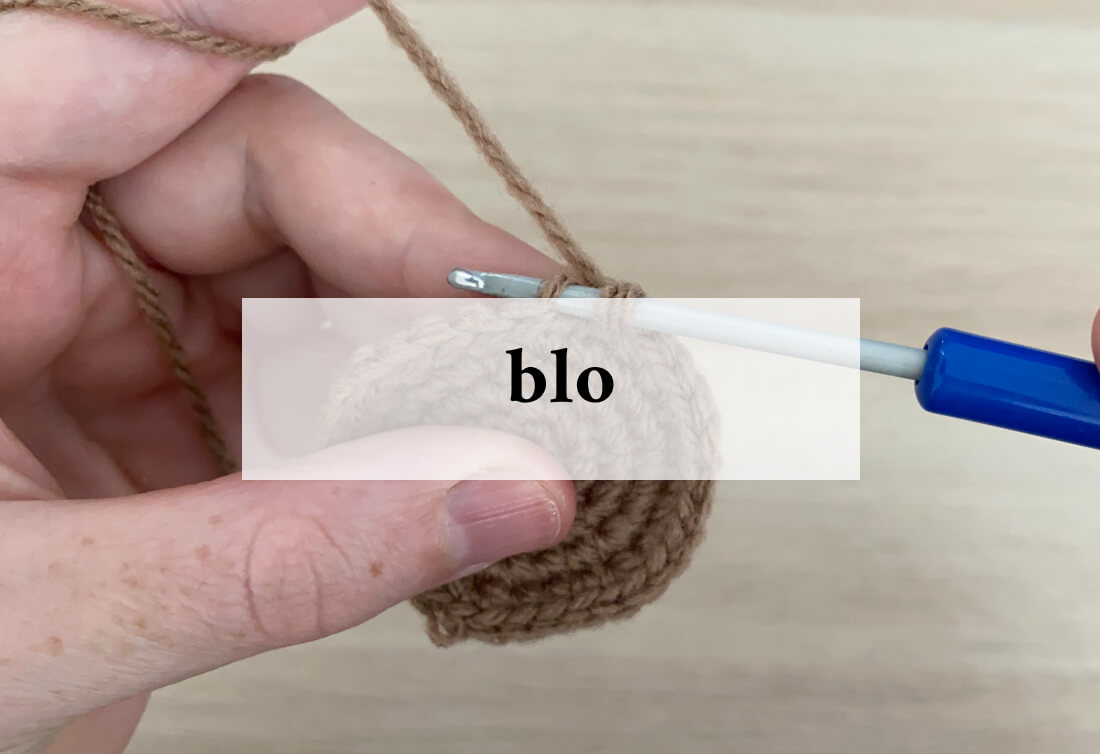
First, take as many sewing pins as you’d like to pin your piece in place. Thread the tail onto a yarn needle. Insert your needle under the stitches closest to the edge of where you’re attaching as you can. When you pull that thread tight, you can see that it practically disappears and you can’t see where the thread went in.
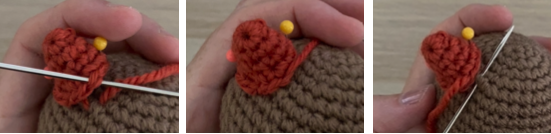
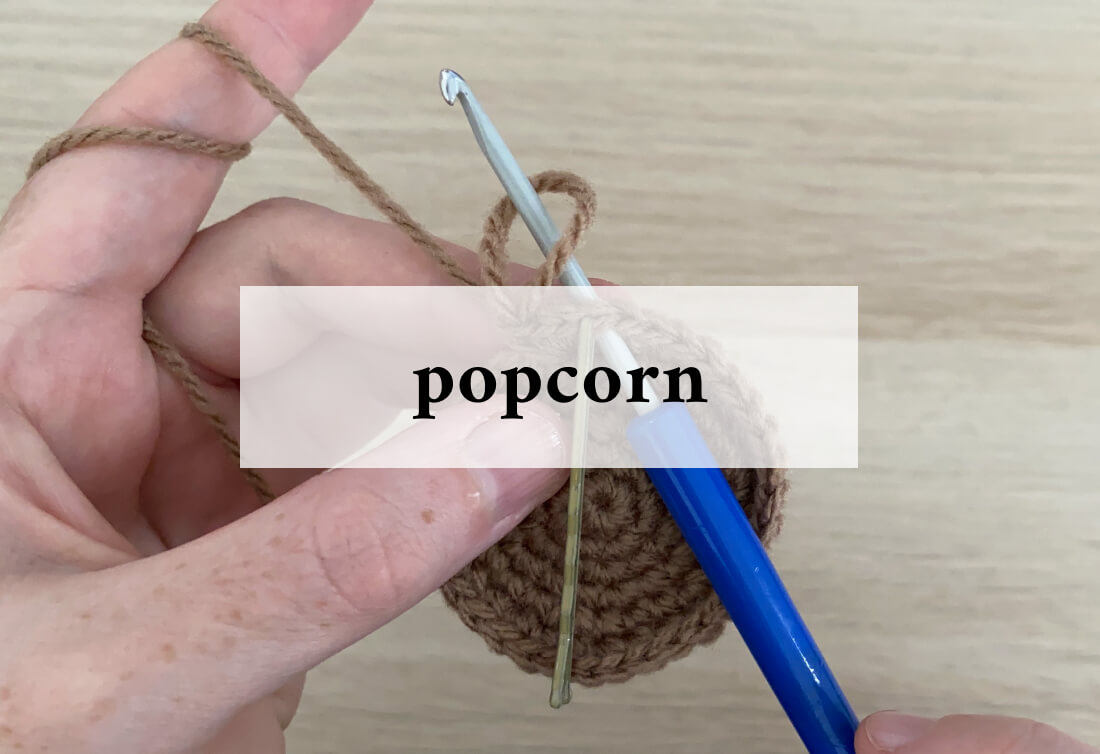
Next, bring your needle back under the next stitch of the piece your attaching. I like to go from the inside of the open piece to the outside as I feel it’s tidier, but do whichever is most comfortable for you. Once you pull it tight again, you can see those stitches are pretty invisible. Then go back into the same stitch you just came out of and move to the next one.
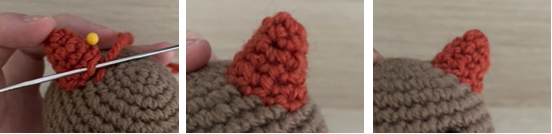
Keep doing this around every stitch of the open piece until you reach the end. Now you have a nice, clean seam where the two pieces are joined! Going through every stitch is what really helps this look seamless. Only going through one or two stitches will hold your piece in place, but you’ll see the final row of the open piece and it’ll look a little bit more obvious.

Haley
November 4, 2022 at 3:54 amVery helpful, but how do I tie it off/end it after sewing around?
53stitches
January 11, 2023 at 9:57 amHello! Oops, I have missed that step. I usually just thread the remaining yarn through the larger closed piece and poke it out the other side somewhere, then trim it and poke the tail so it disappears back into the piece. I’ve never had a limb come loose from this method but you could try and knot it to make it more secure somehow if you were concerned about the loose end 🙂
Leoni
November 11, 2022 at 9:40 pmYou have an amazing website and I love that your instructions are clear and precise. Thank you so much for taking the time to give us these wonderful patterns and tutorials I am from a little coastal town in KwaZulu-Natal, South Africa.